
One Room Challenge Week 4: The Punch List

Welcome to week 4 of the One Room Challenge! If you're new to this whole thing, here's a quick intro: Linda, of Calling It Home, invites bloggers to participate in a six week makeover challenge twice a year, and this time around I decided to jump in as a guest participant! I'm giving my home office (AKA the Mix & Match Design Company headquarters) a fresh start. Feel free to go back to Week 1 (the "before" and inspiration images), Week 2 (the design plan), and Week 3 (workspace progress) to catch up on what's been happening.
If you came for pretty photos today like I shared in last week's post about the progress that's been happening in my workspace, you're going to be sorely disappointed. That photo at the top from last week's post is about as close as you'll get! 😜 This week, it's all about the punch list - i.e. the little things that seem like such minor tasks, but they always take longer than you think to complete. And they're not very exciting to talk about, but since they're oh-so-necessary, and this challenge is about sharing everything that goes into a six week makeover, that's what you're going to get in today's post!
It also could've been titled "It Gets Worse Before It Gets Better." If you've been tracking the behind the scenes stuff on my Instagram Stories, you had the privilege of seeing a video when the room was at its worst earlier this week. Here's a screen shot from that video (sorry about the low quality) to give you an idea of what we were dealing with:

Oy. Everything was pushed into the center of the room so I could paint the trim and I had just brought home a bunch of supplies from Home Depot that ended up in the middle of the floor, so it was a hot mess. Thankfully, we're past that now!
So! With that lovely image now forever imprinted on your brain, here's what was on my punch list:
- Paint trim, baseboards, closet moulding, radiator, door, and window casings Behr Ultra Pure White (my favorite bright white for trim)
- Replace dated brass door handles and hardware with satin nickel set
- Remove bifold closet doors
- Fill nail holes from closet door removal and paint that area
- Wash, iron, and hem new curtains that will hang in place of the bifold closet doors
- Paint new curtain rods and brackets matte brass
- Install curtain hardware
I love how this challenge has pushed me to try new things and flex my DIY muscles. I consider myself to be pretty handy, and for small handyman-type projects, I always like to try and tackle it myself before calling in a professional. (This line of thinking definitely has its limits, but in low risk situations, I figure why not try!)
A prime example of this "try it first myself" mentality was replacing the shiny brass door hardware and handles. Have I ever done that before? Nope, but I had the tools for it, and knew that the worst that could happen was that I couldn't do it and had to call someone in to fix it. And guess what? It wasn't hard! I replaced the hinges, door knob, and associated hardware pretty quickly without too much frustration.
Here's what they looked like before with the shiny, dated brass (this is our guest room door) and after (on the office door):
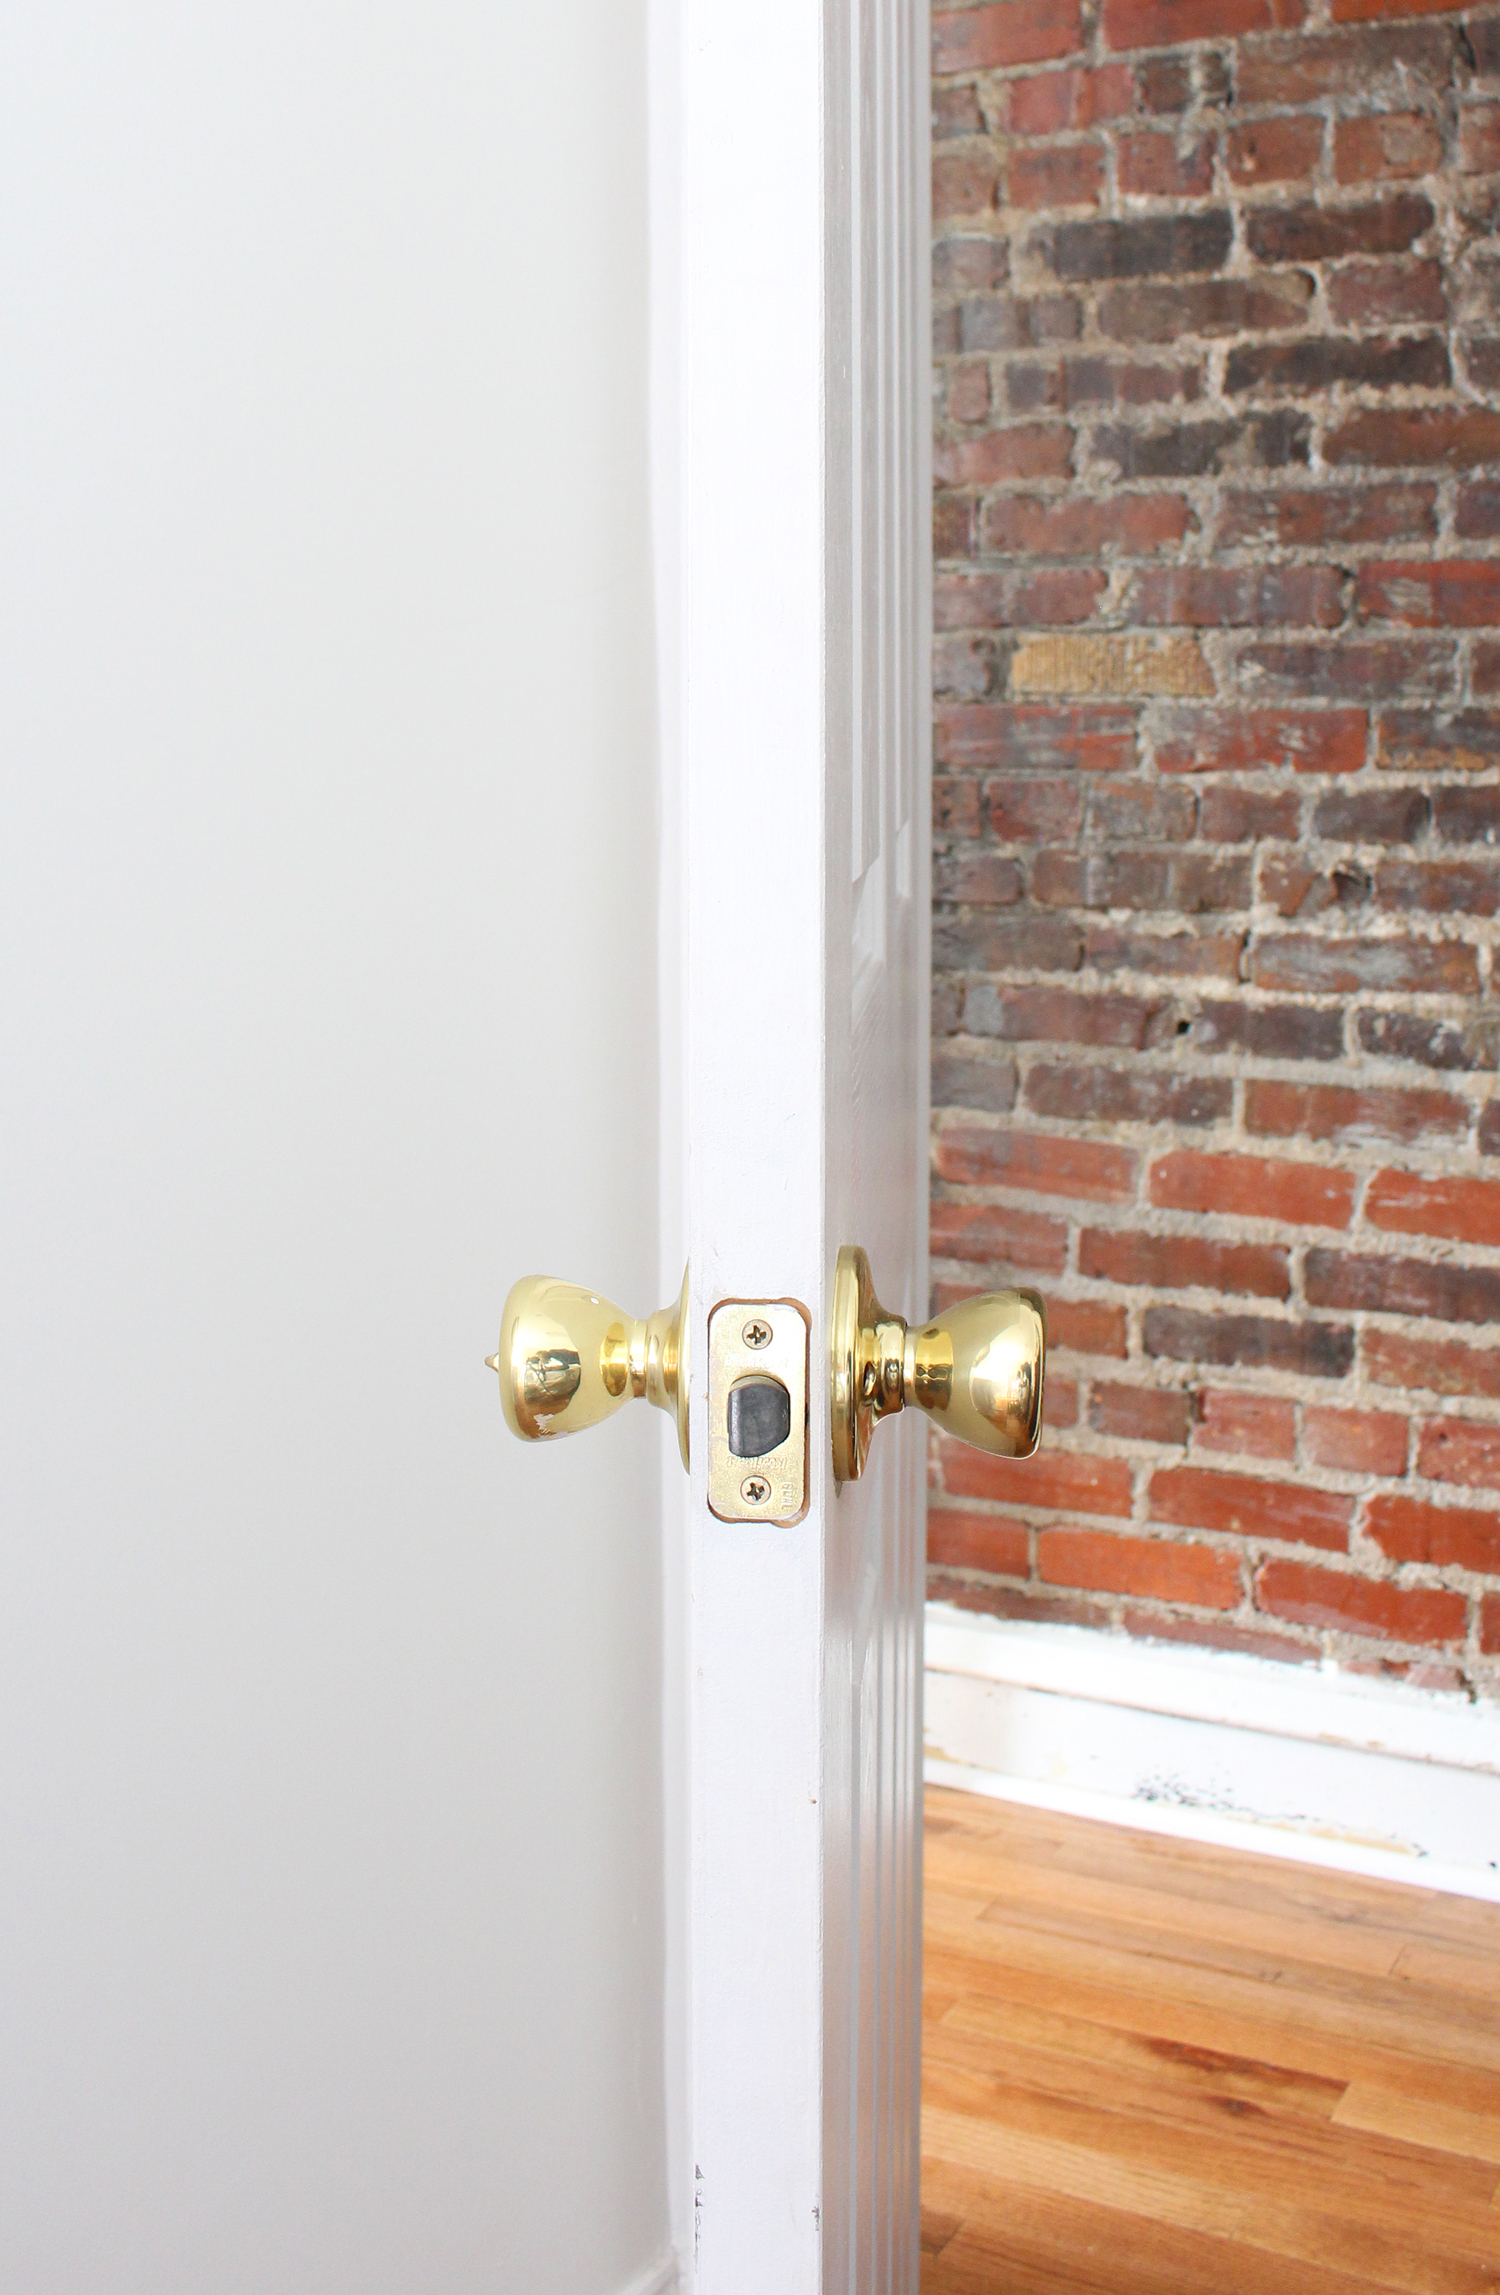

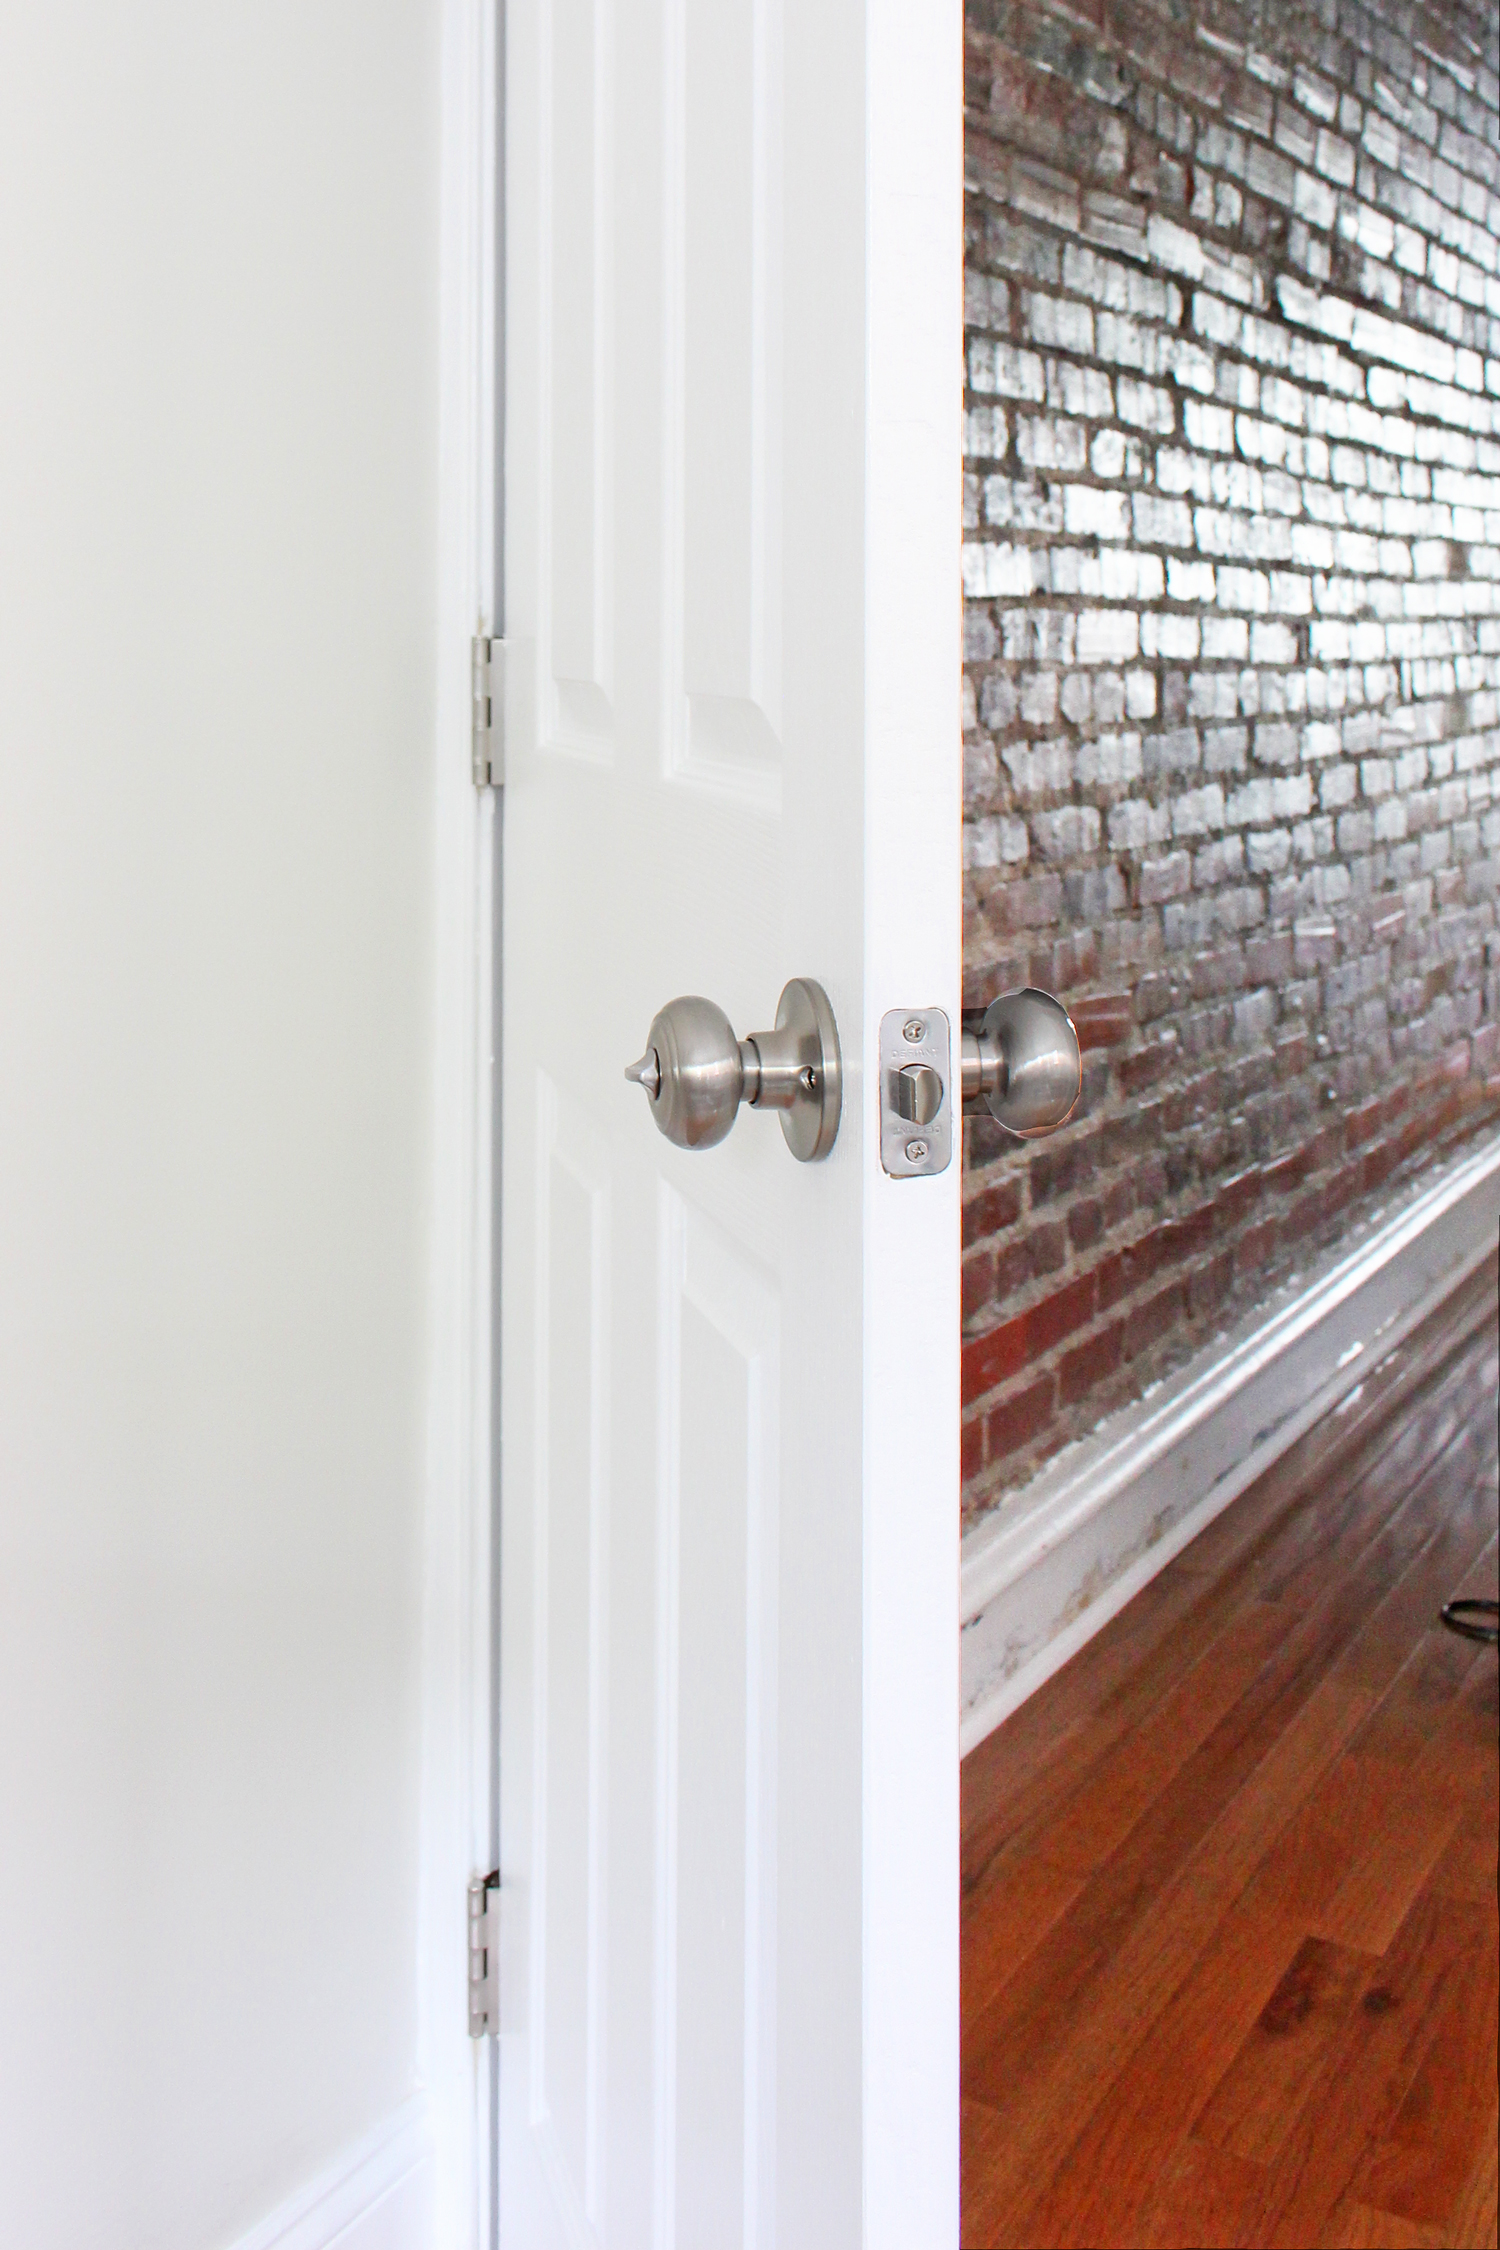
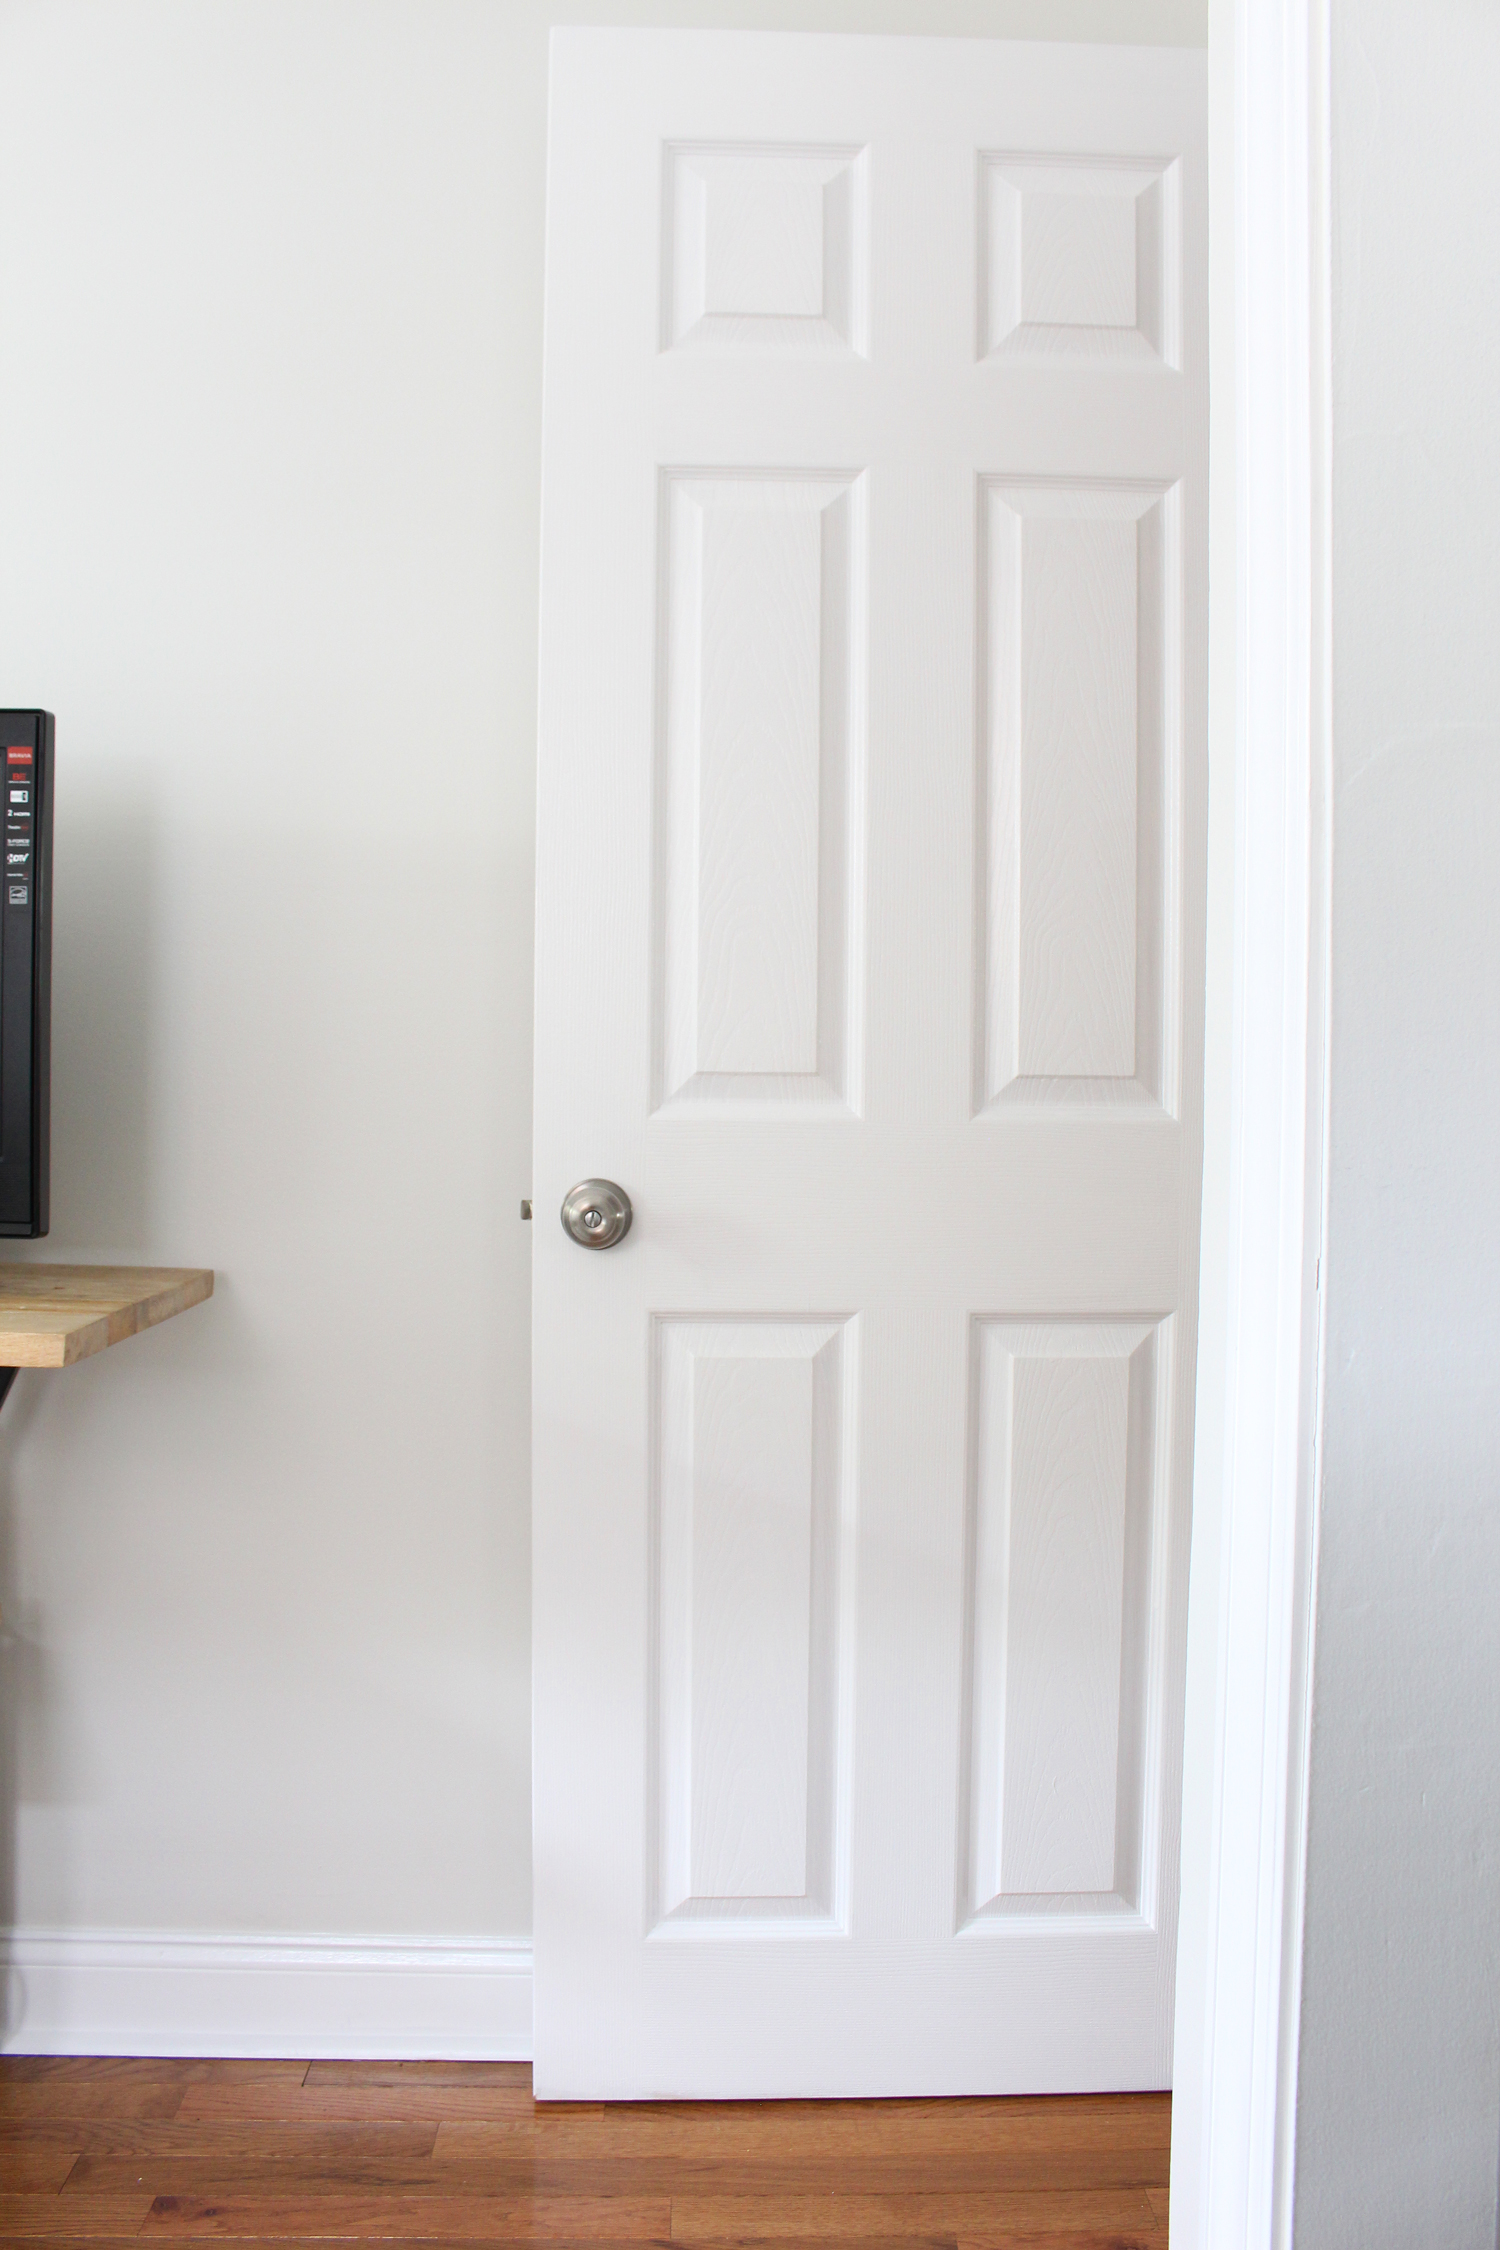
Those new satin nickel knobs and hinges pulled those doors out of the '80s and into the modern day! Remind me why it took me a year and a half to make this happen? I can't wait to swap them out on the other doors in the house. In the photos of the new hardware, you can also get a peek at the newly painted bright white baseboards and door. It's amazing how much of a difference paint can make.
The only thing I didn't get to finishing on that punch list before I snapped photos for this week's post was hemming the curtains*, but I did get the rods painted and installed. If you remember way back in Week 2, I was debating on what to use for rods, and if I should hang them inside the door frames, or above. I settled on going the inside route, and decided to make my own rods using a little DIY action.
I liked the look of a solid rod, rather than an adjustable/extendable one, so I purchased two wooden dowels and two sets of closet pole sockets so I could hang them right inside the frame. I painted all of the pieces using my favorite matte metallic brass paint from Modern Masters and installed them as close to the top of the door frame as I could. Then I hung the gray curtains from them using brass ring clips. I love how it all turned out!

These are so much better than the janky bifold doors we had in there before! I can't wait to show both closets to you once the curtains are hemmed.
We're down to the final two weeks of the ORC, and I'm feelin' good about finishing up this room in time for the reveal on May 11th. Next week, I'll hopefully be sharing some progress on the "lounge" side of the office - stay tuned!

*This post contains affiliate links. That means when you buy through my links, I'll earn a small commission from your purchase at no cost to you. Thanks for supporting Mix & Match in this way!