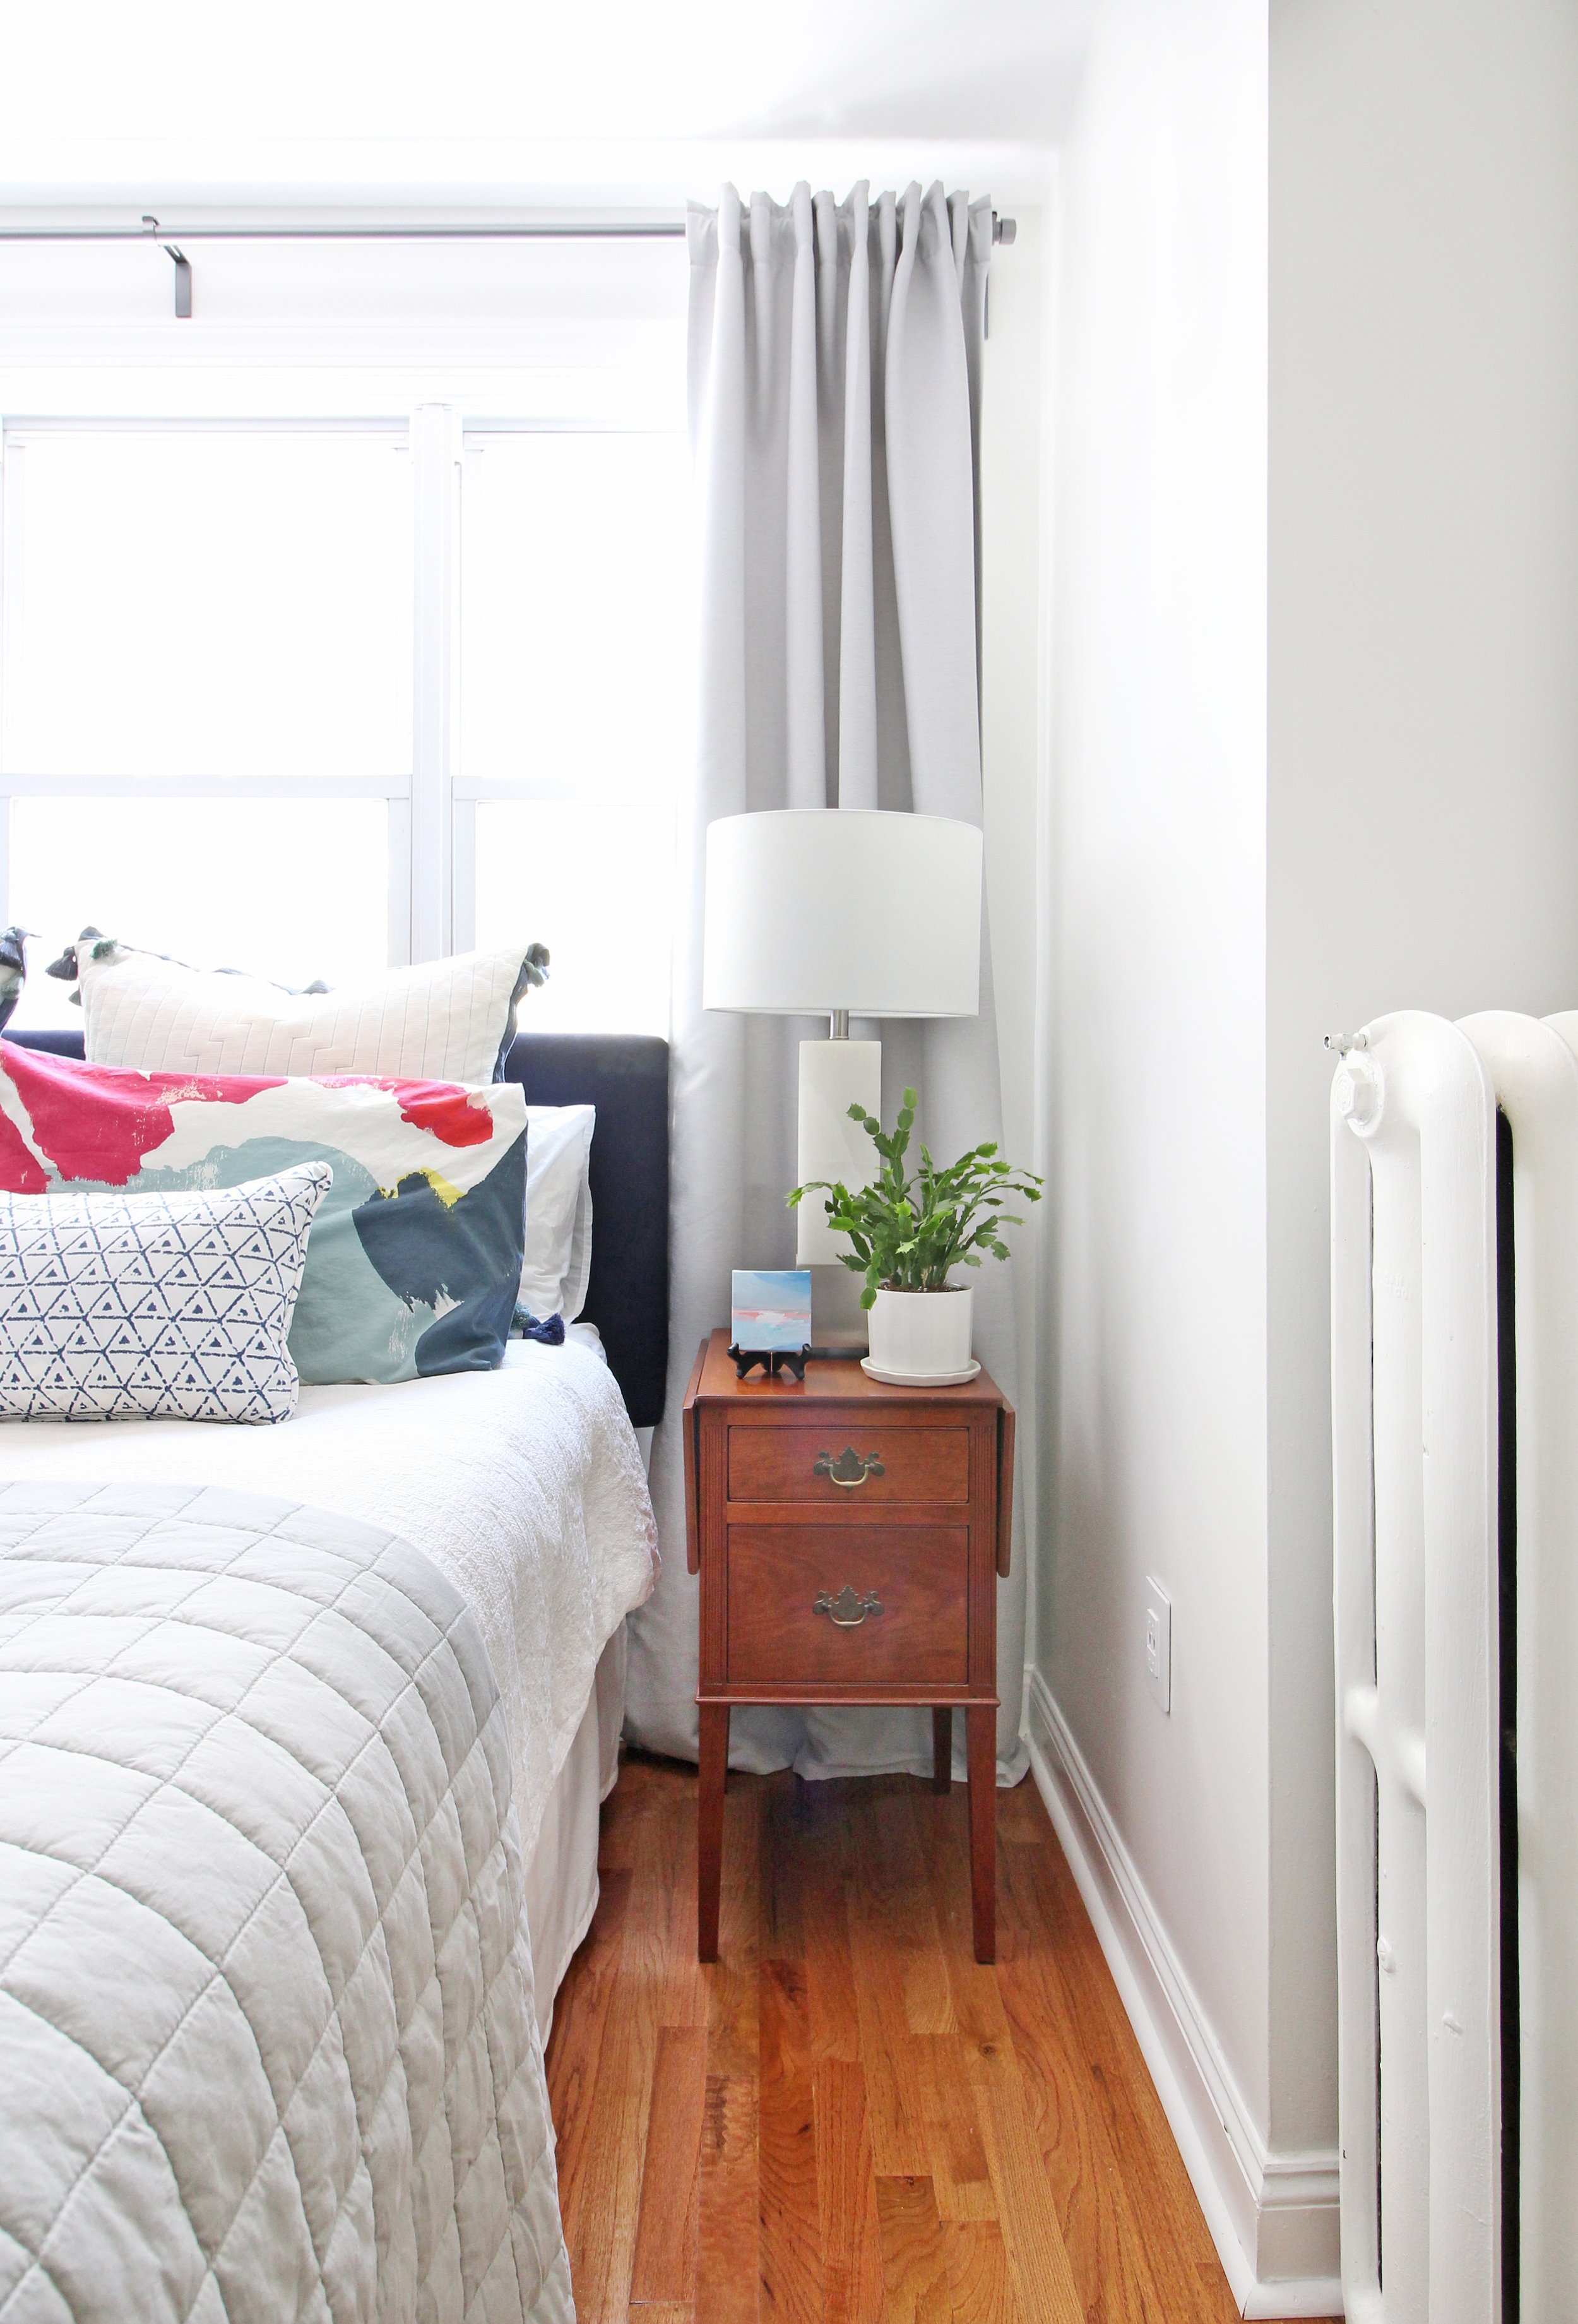
Blackout Curtains: A Roundup & How to Hang Them
(*This post contains affiliate links, which means Mix & Match Design Co. earns a small commission from your purchase at no cost to you.)
Ahh, sleep. One of those essential things in life that many of us probably don’t get enough of, but crave!
Now, there’s a lot that goes into creating a lovely bedroom that’s set up well to maximize restful sleep, but one design element I want to focus on today is blackout curtains. Having a way to make a room completely dark and stay dark - even in the wee hours of the morning - is key to a good night’s sleep.
Blackout curtains are one way to do that, and I got a request to share some off-the-shelf options that won’t break the bank! So, I turned on my research brain and found eight good options that promise a dark room and look pretty doing their job.
Before we get into those though, I want to pass along some curtain hanging tips - knowing how to hang your drapes correctly is important for both their functionality and look.
How to measure for blackout curtains
The first step is to measure. I always recommend hanging your curtains high and wide. That means you want to mount your rod high above your window casing (this often means close to the ceiling) and 8”-12” beyond the window casing on each side. This makes your window look larger, lets in the maximum amount of natural light (when desired!), and gives it all a designer polish. A bonus to hanging them this way is that it also blocks out a ton of light by fully covering the window and extending beyond it.
Once you know your floor-to-rod measurement, you can look for curtains in that height range. You want those curtains to just kiss the floor or sit a touch above. That may mean hemming them.
Then, figure out how many panels you need by measuring the width of the window and add 16-24” for the rod extension. Multiply that number by 1.5-2 depending on how full you want your curtains to look when they’re closed. I generally like 1.5x fullness unless you want a really full, luxurious look. This means the curtains won’t be pulled completely flat when closed, which is a good thing!
The only exception to this is if you choose a curtain that has a pinch pleat. Do not add extra width to these. The pleat does the work of adding the extra fullness to the look!
How to hang curtains
Once you have your curtain panels set, it’s time to hang them! You’ll need to choose a rod and any applicable hanging accessories like rings or drapery hooks.
If you really want to maximize the amount of light blocking, I’d suggest using a French Return rod that looks like this one below. By curving back into the wall, your curtain will terminate as close to the wall as possible to block the light.
If you’re a little less picky about how dark it is in your bedroom, a “regular” curtain rod works well too! I like this one a lot as a budget friendly option.
Then you’ll want to make sure you have the right rings or drapery hooks to hang the panels from the rod. Some curtains also have back tabs, which work well for hanging too. I prefer using one of those options over a the rod pocket, and definitely over a grommet setup. It looks a little more high end, even if you’re using a lower priced curtain!
If you’re one of the lucky ones who can use a ready-made length curtain without having to hem it, the easiest way to get your hanging placement exactly right is to assemble the curtain rod and hang the panel from it on the ground, then hold it up and mark the bracket hanging height at the place where the curtains just touch the floor. Grab a friend to help you do this! One of you can hold the rod in place and the other can mark the right spot.
If you have to hem your curtains, go ahead and hang your rod in the right spot, attach the curtains, and then figure out how much to hem them.
A roundup of ready-made blackout curtains
Now let’s take a look at the eight blackout curtains I’ve found for y’all! I stuck to solid colors for this roundup since that’s what I often use in my design work, but of course you’re not limited to those if you’d like some pattern. Most of these come in multiple colors as well, so if you see one you like, click through to the website and see if they have the perfect color for your space!
I’d classify all of these as affordable curtain options. Some are even super budget-friendly!
My criteria for these were that they:
Have a nice “weight” to them and that they have a true blackout liner
Have one or more hanging options like back tab or tape for drapery pins
Have multiple length options (some even have extra wide widths, which is great for a bank of windows or sliding doors)
Below are all eight options! You’ll find links to them below the graphic, as well as a visual clickable slider that you can use to head to the website to shop.
Have more curtain questions? Leave me a comment or let’s chat over on Instagram!


