
Before & After: Our Little Girl’s Bathroom

About a year ago when we moved into our new-to-us 1920s home, we realized pretty quickly that we’d need to renovate two of the bathrooms. These tiny 5’x7.5’ spaces belonged to each of our kid’s bedrooms and they each had elements that were basically unusable (a broken hot water lever on one sink, a drippy tub…the list goes on), so we basically all ended up using the master bathroom those first 6 months. It was time to make some changes and get our bathroom back!
We spent the early part of the summer renovating both bathrooms at the same time and man, what a difference it made to have two more usable bathrooms again! Today I’m excited to share the before and after of my daughter’s bathroom. I’m still putting some finishing touches on my son’s, so that’ll have to wait for another day, but it’s coming, I promise.
My hope for her bathroom was to make it much more functional and bring in some English Cottage style with a touch of modern flair. I wanted to create something that felt classic and would honor the age of the house, but also be fun for a little girl to use now. I’m really happy with how it turned out and she is too! As much as an almost-2 year old can tell you, at least. 😉
Let’s do a little before and after walkthrough! Since we changed the floor plan, I’ll try to make it clear which angles are the same.
Before:

If you can believe it, this was a Jack and Jill style bathroom between two bedrooms. In the photo above, I’m standing in the doorway on the opposite side. It had been modified over the years, but not well, and it was time to give it a full makeover. Having to accommodate an extra door made for an awkward layout and only allowed for a tiny vanity. We made the decision to close off the door by the toilet and place the vanity there, which made a world of difference! The tub and toilet stayed in place, and we removed the radiator to offer a little more breathing room by the window.
After (same angle!):

Goodbye door, hello vanity! Lining up the tub, vanity, and toilet made for a much more functional space.
The striped tile for the tub surround was one of the first design choices I made in here and everything else played off of it. It’s the same subway tile in ivory and white, and the vertical stripe emphasizes the 9’ ceiling height. It’s a subtle stripe, but it’s oh-so cute in person.
The final piece to go in here was the wallpaper!* I went around and around in circles trying to find the right one and finally landed on this blue and pink floral block print that was the perfect finishing touch. It toes the line between cottage and modern so well - I just love it.
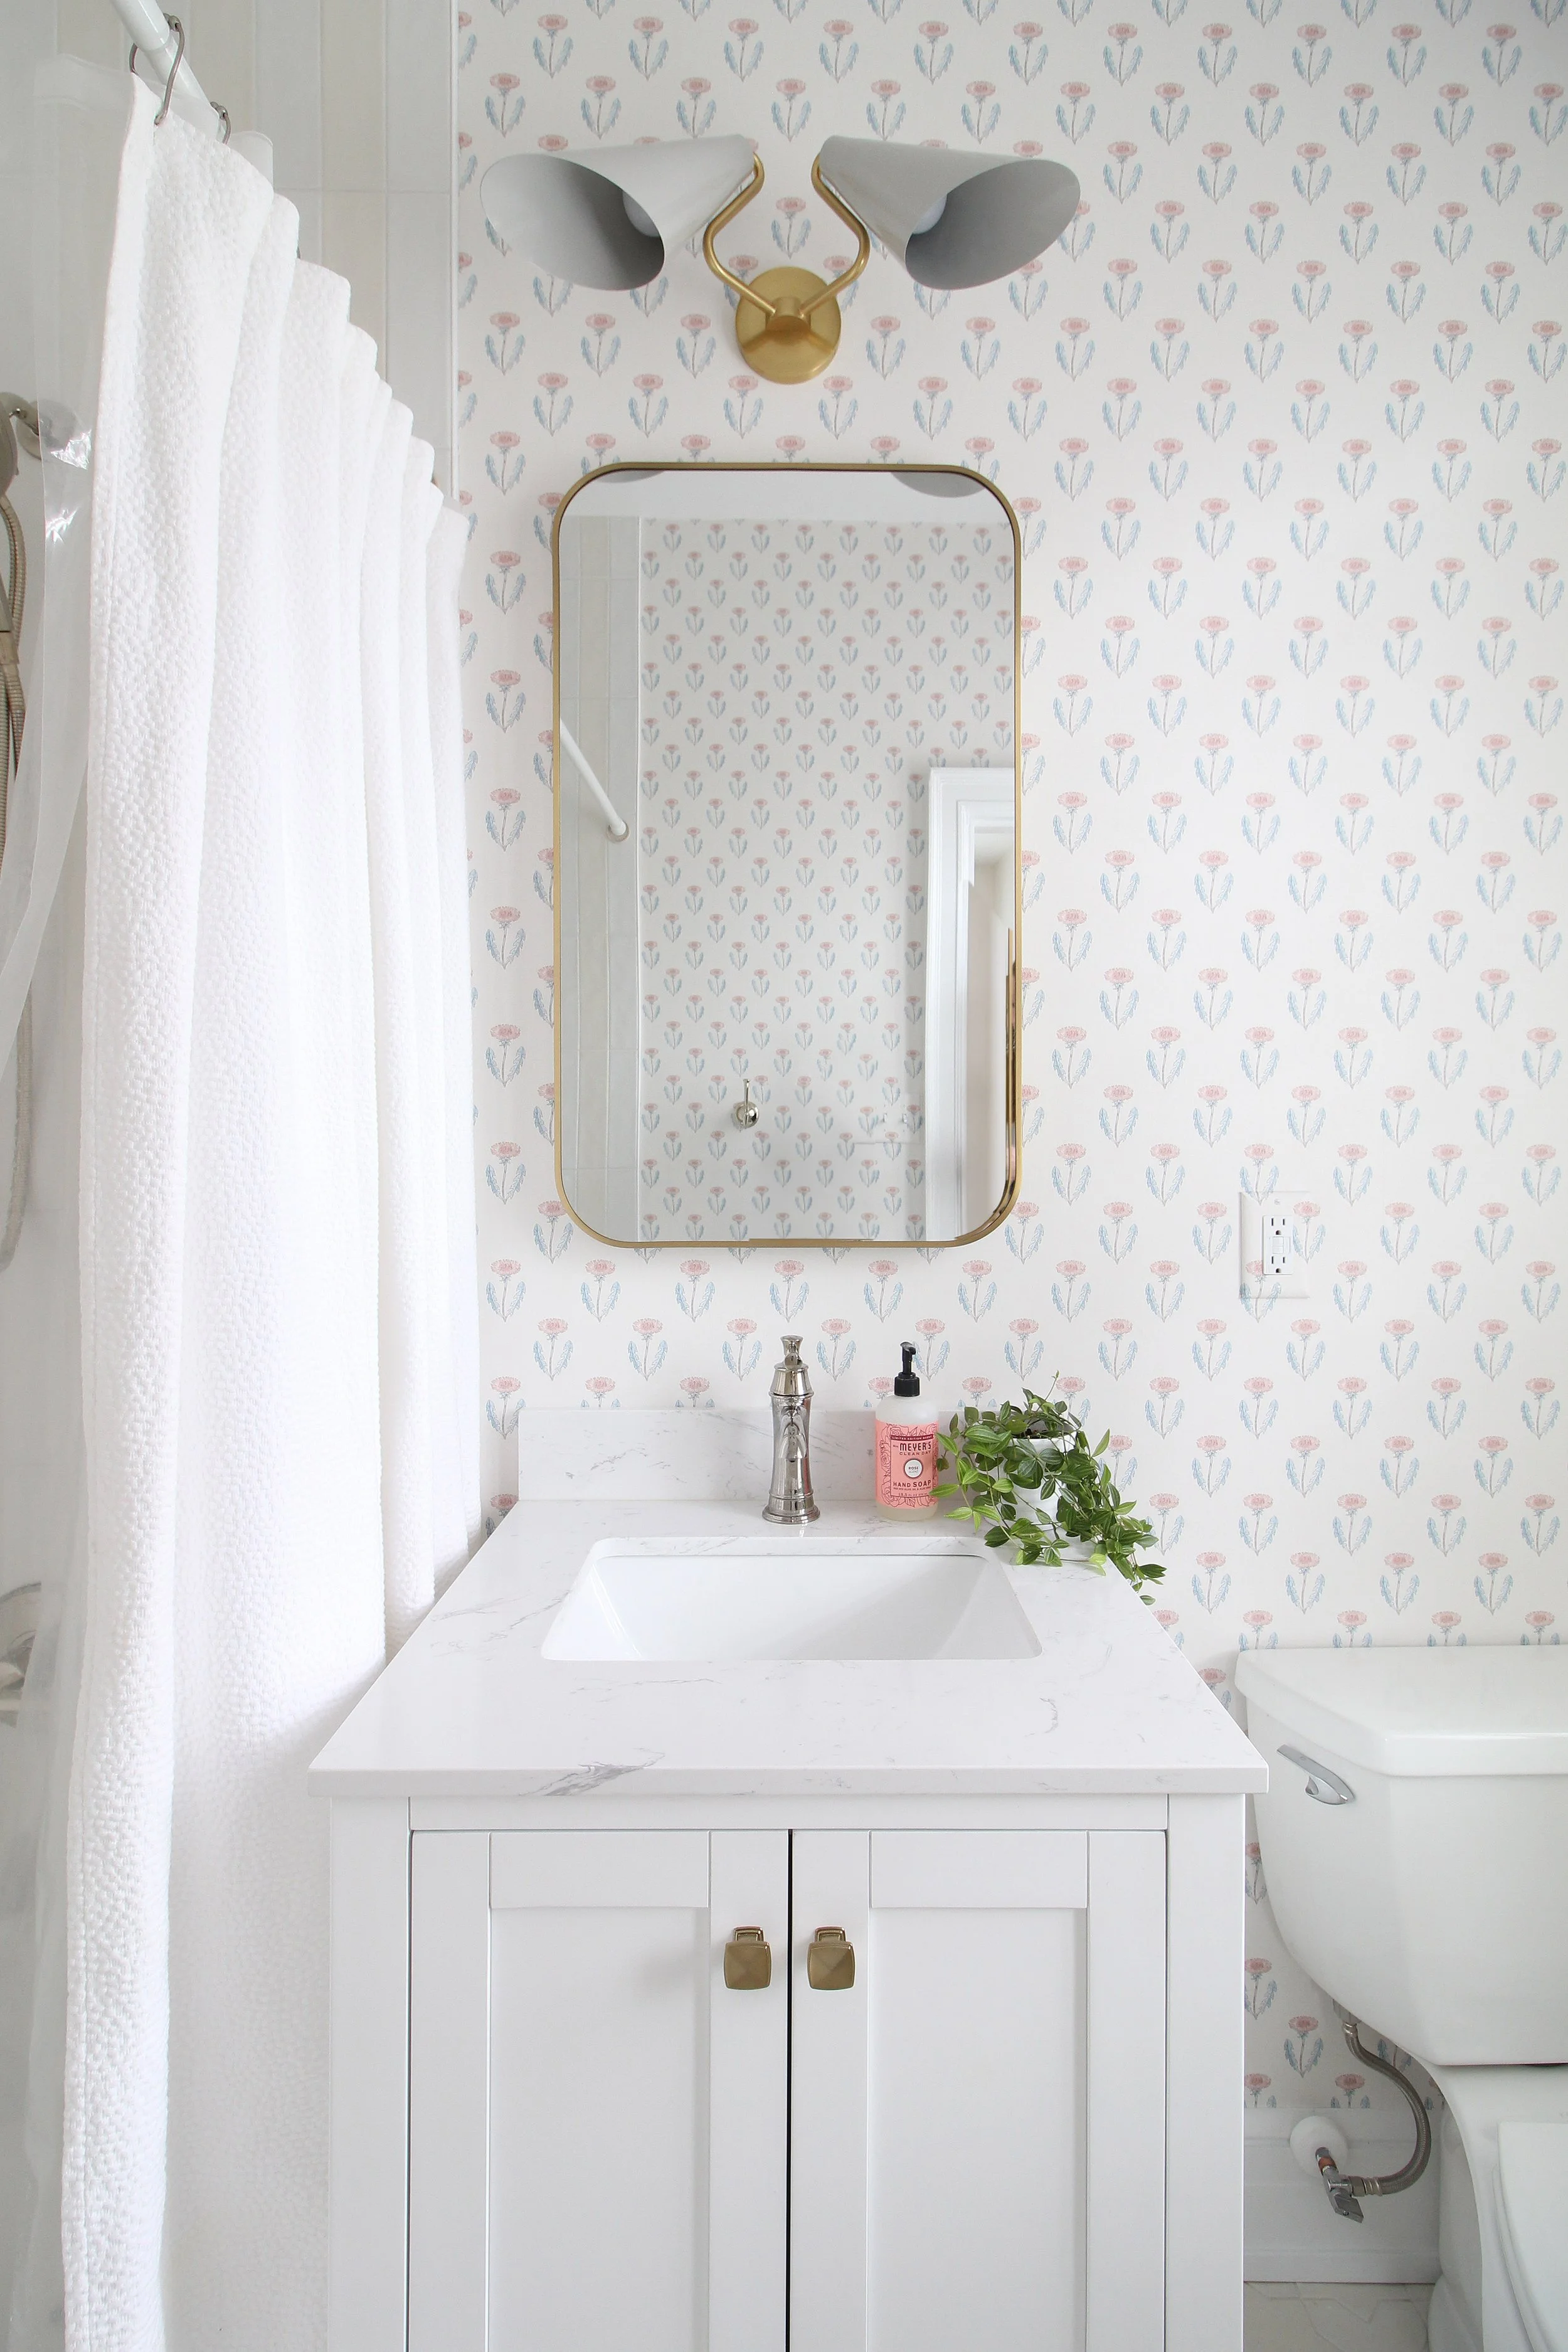
A small (24”), but mighty white vanity with brass hardware keeps things feeling light and bright. I mixed two metals in here - brass and polished nickel. The plumbing fixtures including the shower head, tub spout, and vanity faucet are polished nickel, and you’ll see brass in the hardware, medicine cabinet, and vanity light.
When you’re mixing metals in a bathroom, a good rule of thumb is to repeat your metals at least twice, and to match your bathroom accessories to your plumbing fixture finish. That’s not a hard and a fast rule, but it’s an easy way to get it right! It’s not shown here, but the toilet paper holder and towel hook match the polished nickel shower fixtures and faucet.
Before:


After (same angle!):
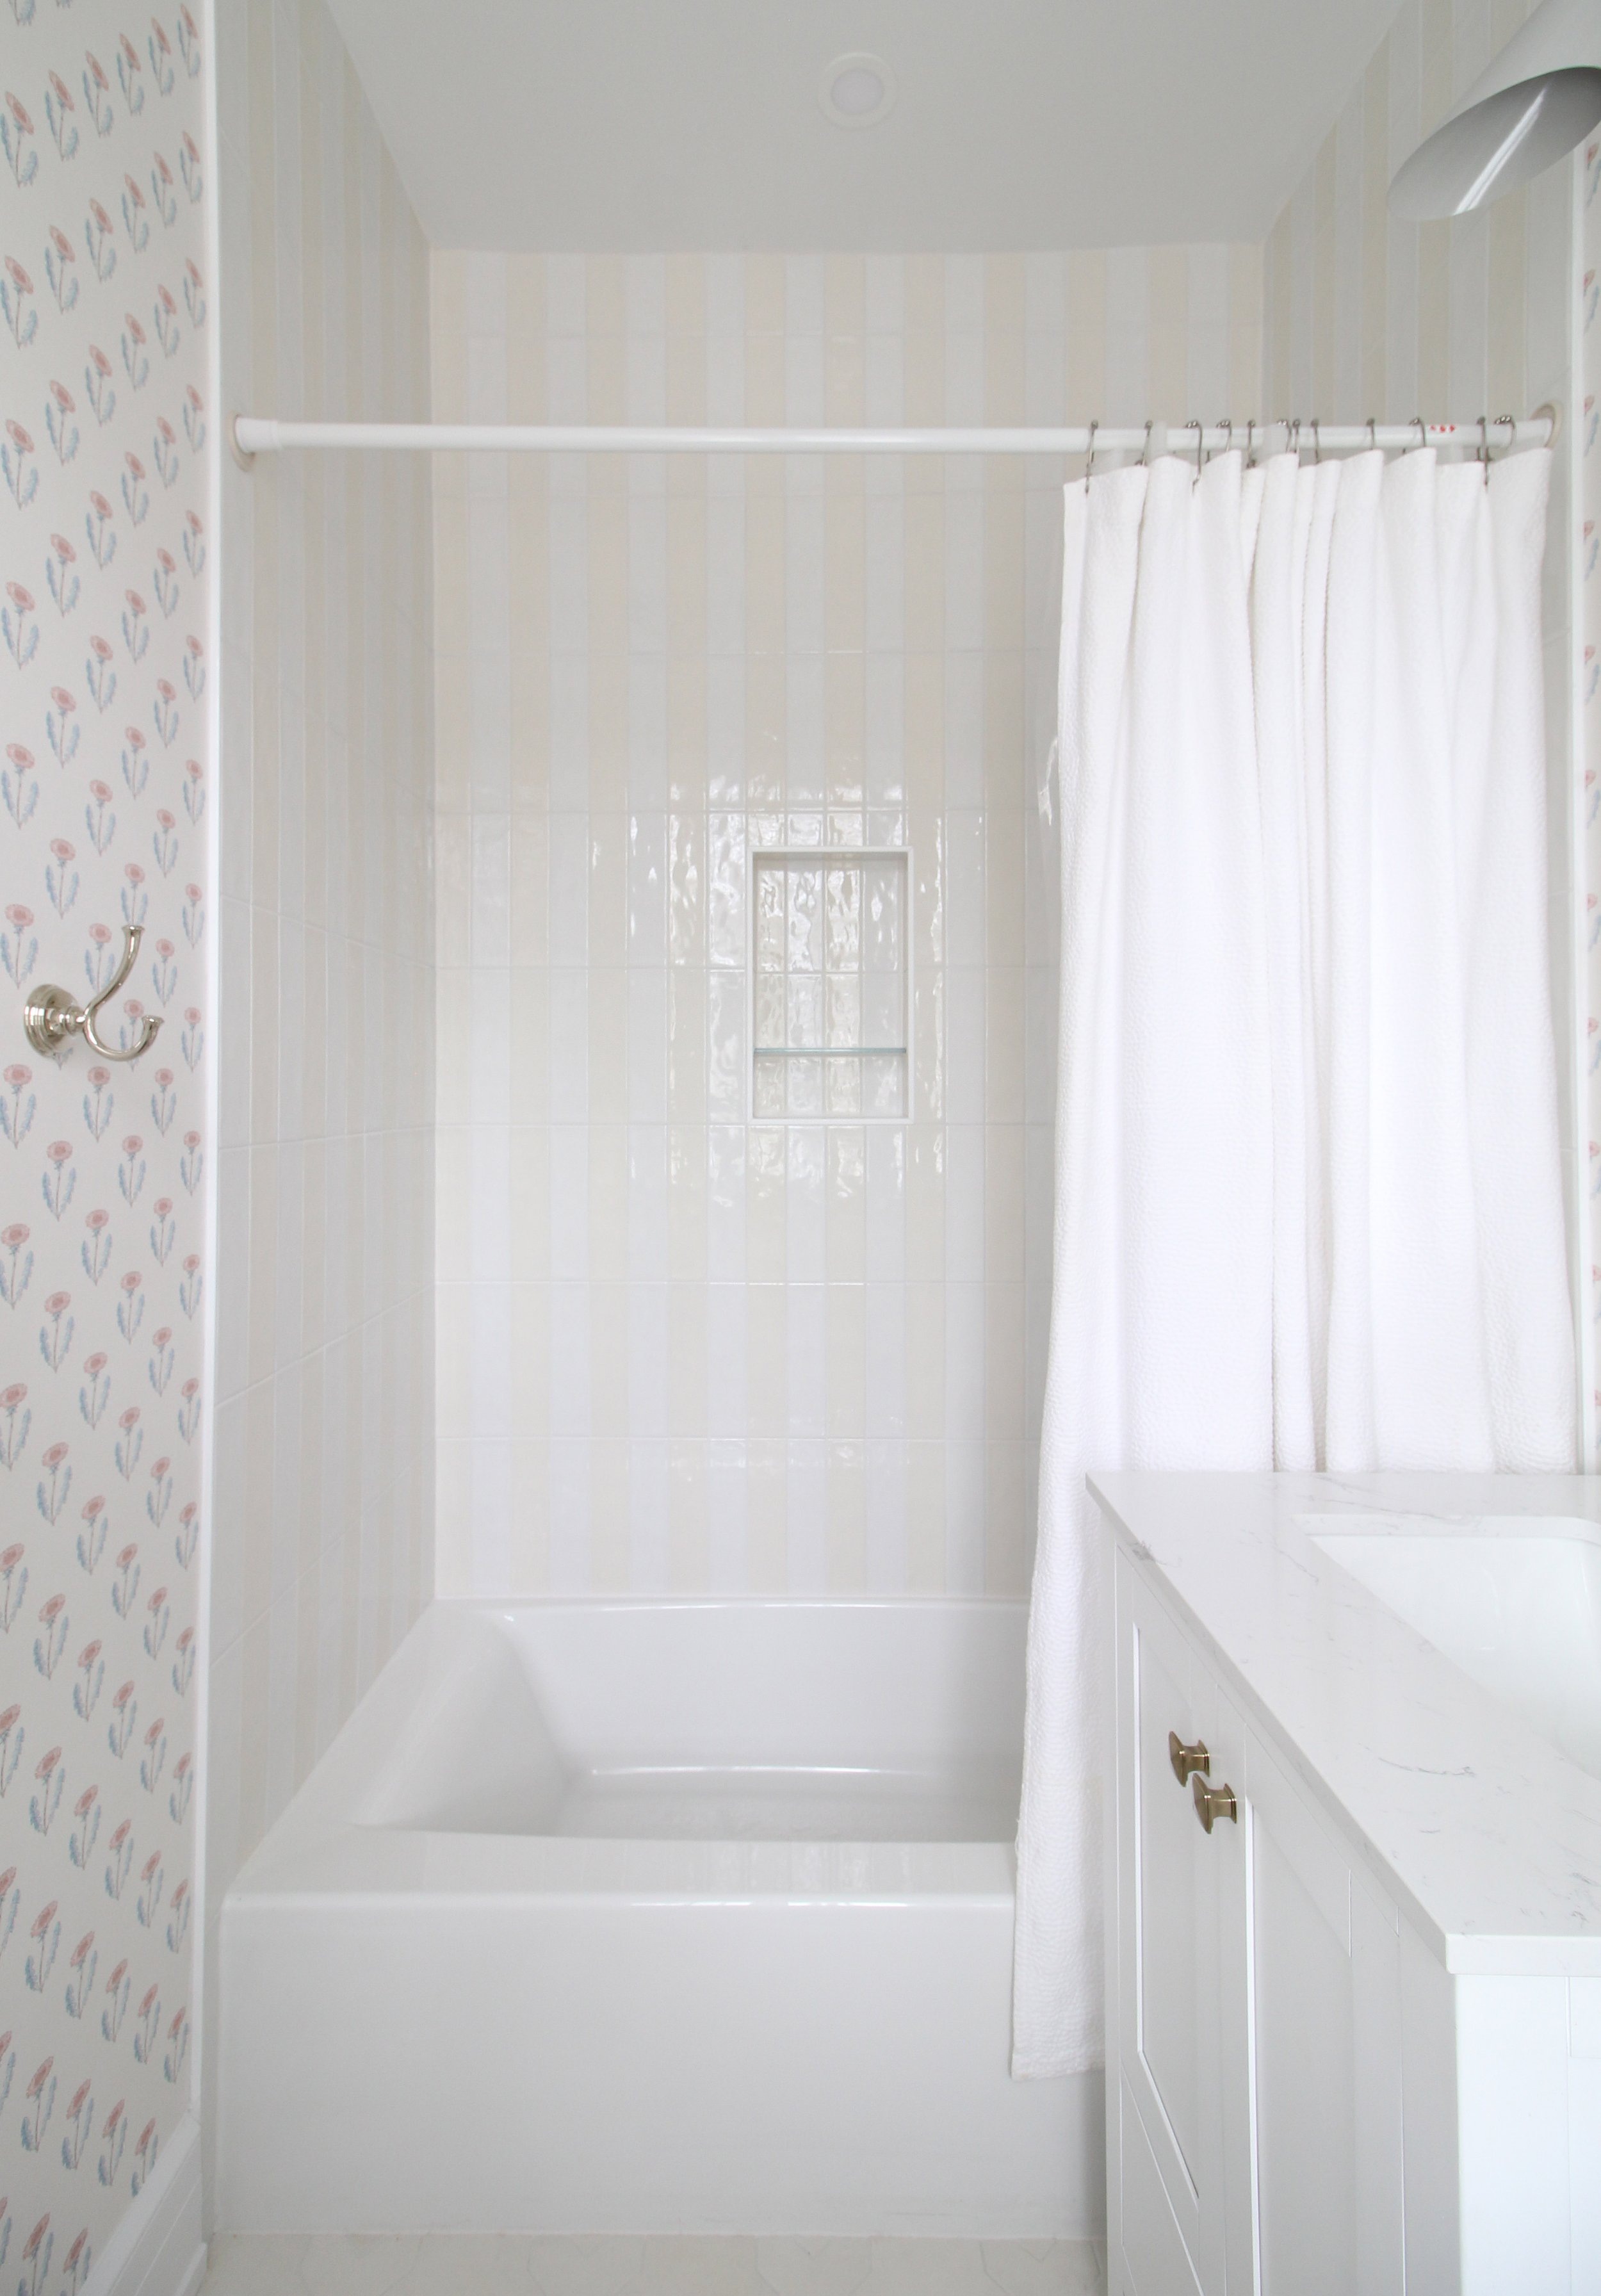
Here’s that striped tub surround in all its glory! I wanted this bathroom to be able to grow with our daughter over time and a classic stripe was a good way to ensure that. The tub is also low profile, so when she starts using it more as a shower down the road, she’ll be able to do that without a big step over the edge.
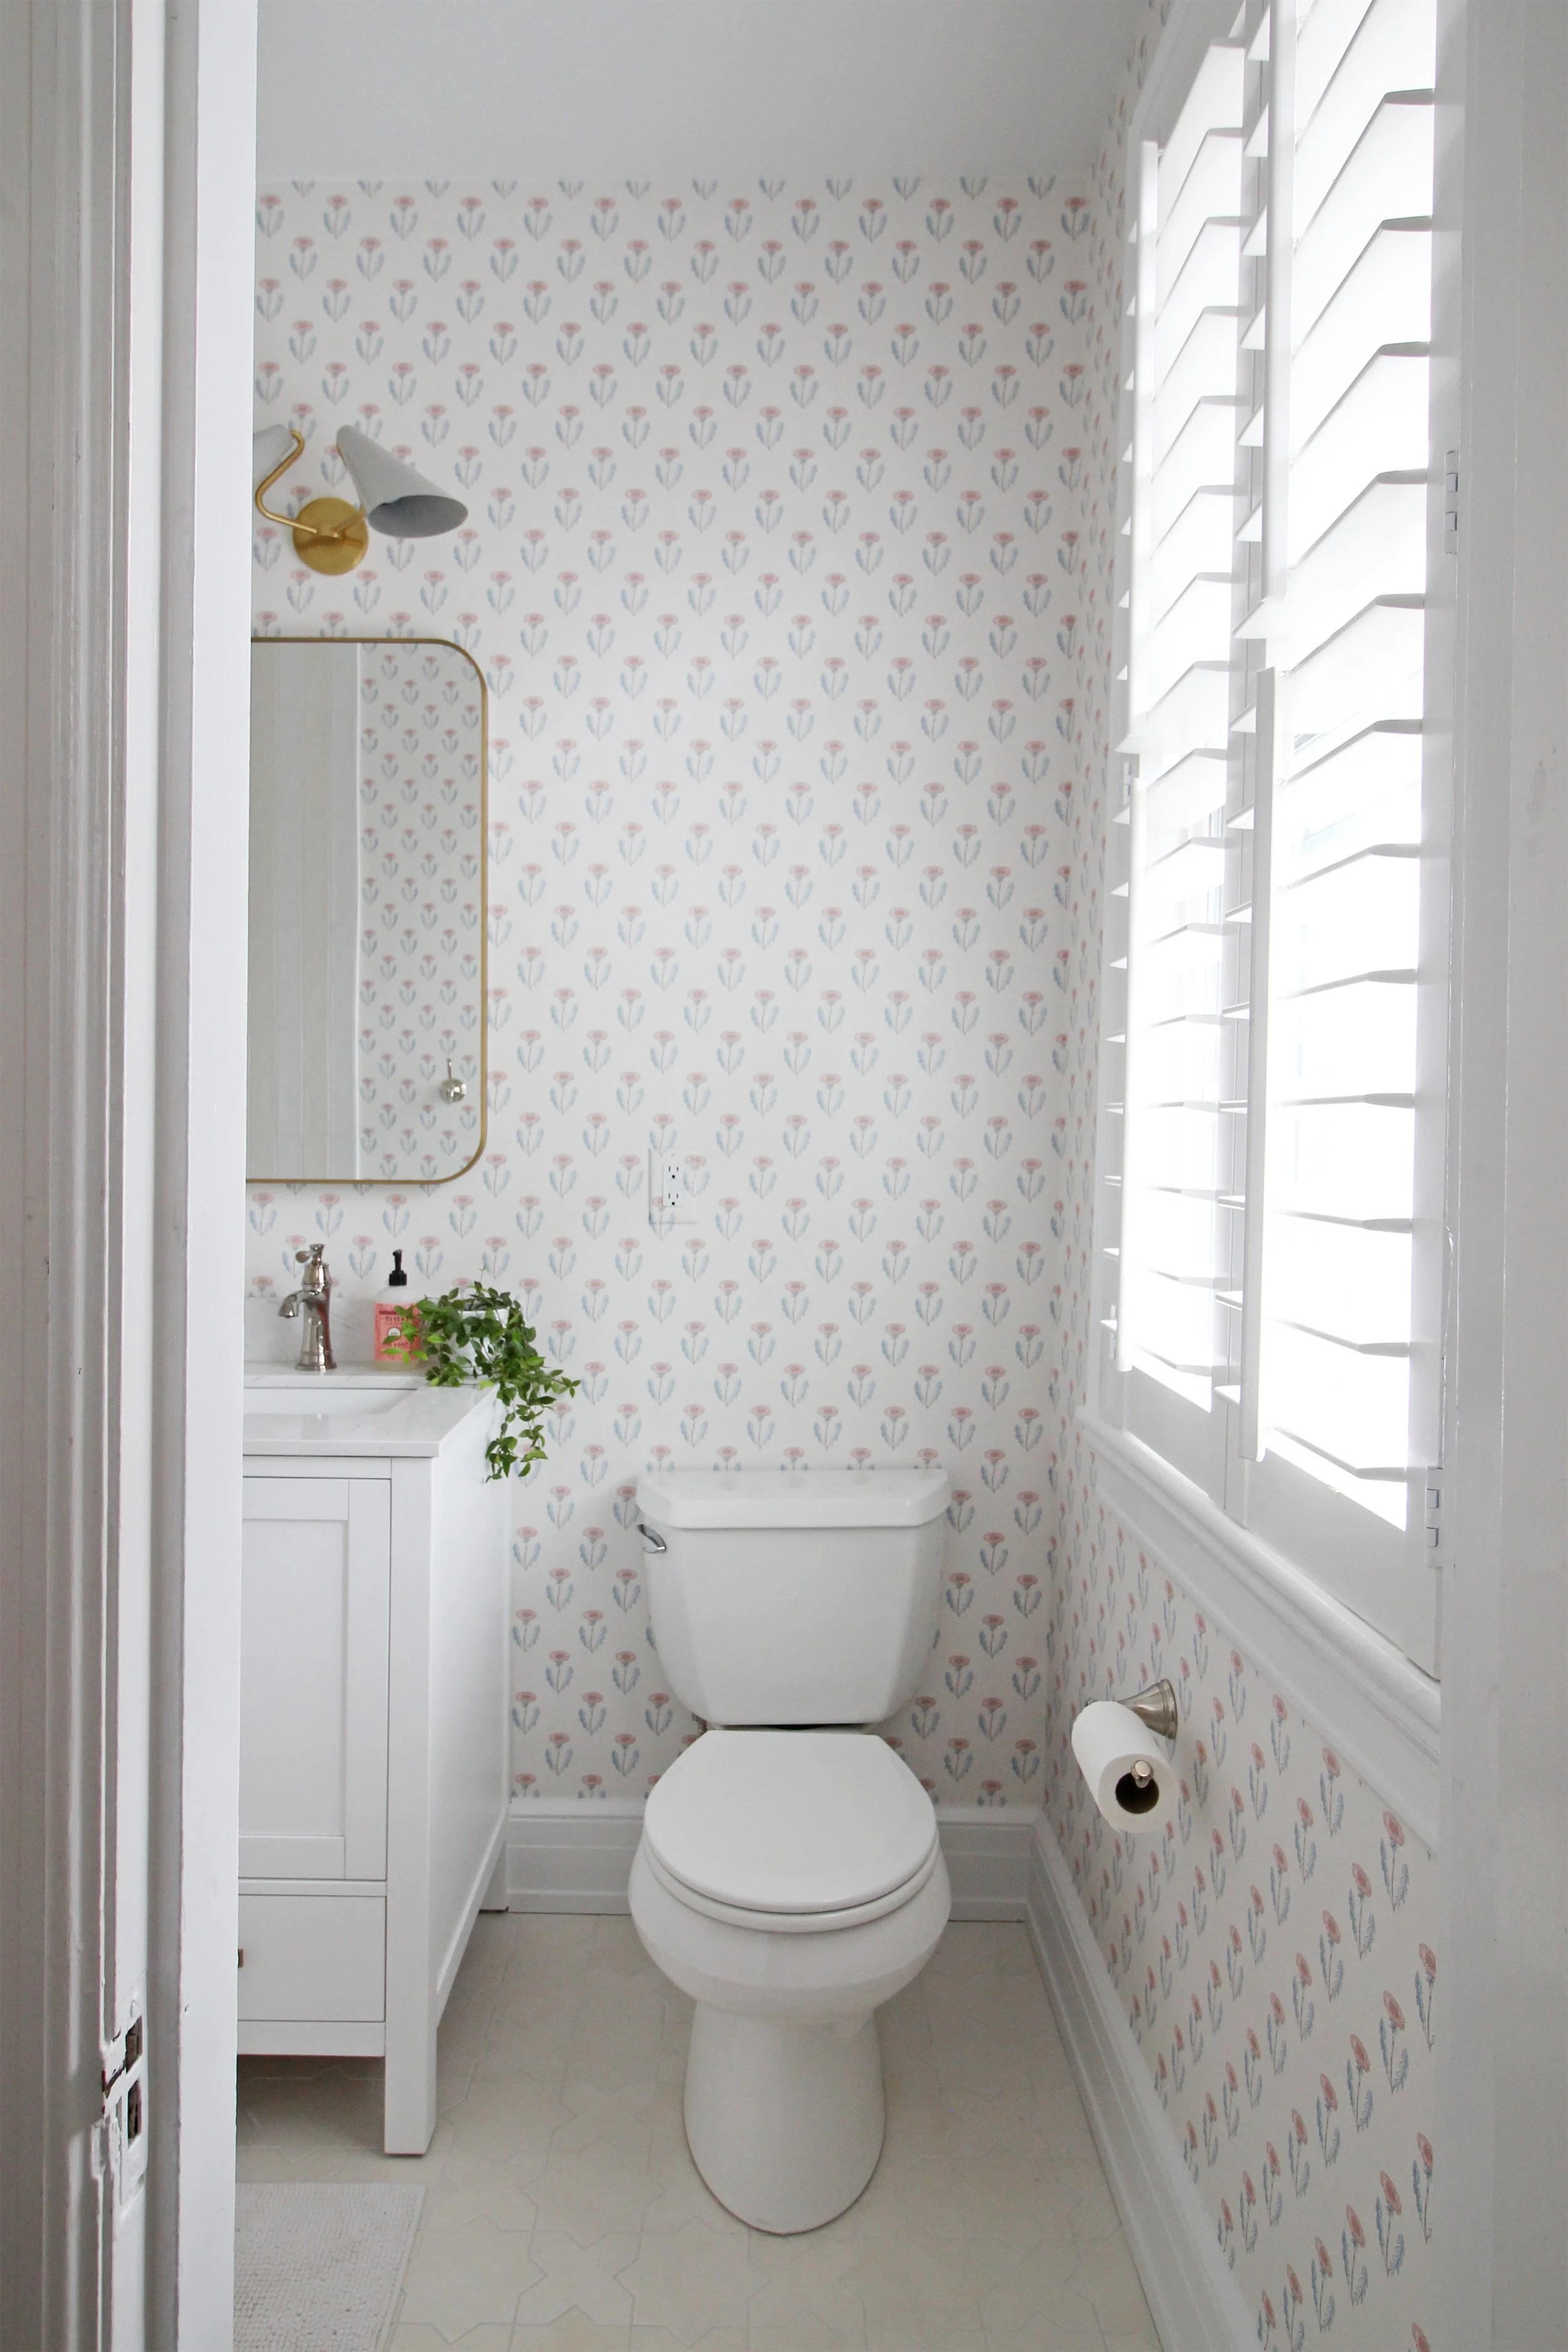
It’s tough to see in the image above, but if you scroll down to the last photo, you can see the floor tile a little better. I chose a star and cross tile in a bone white color and it’s so pretty. It adds just a little more texture and interest to the bathroom, while still keeping things light. My only gripe with this tile is it shows every smudge and bit of dirt. I think because it’s a matte tile, it just grabs onto things. I’m probably going to seal it with a porcelain floor sealer to try and help it resist picking things up a bit. I’ll keep you posted!
To wrap things up, below are two final images that capture a couple of more angles and then I’ve got all the sources for you at the end. I’m absolutely in love with this bathroom and hope our daughter enjoys using it for many years to come!

SOURCES
*These are affiliate links, which means Mix & Match Design Co. earns a small commission from your purchase at no cost to you.
Wallpaper | Vanity | Faucet | Medicine Cabinet | Vanity Light | Shower Tile (Ivory & White Colors) | Floor Tile | Bathtub | Shower Head Fixture | Tub Spout | Shower Trim | Toilet Paper Holder | Towel Hook | Shower Curtain