
Our 1926 Colonial Renovation: The Plans, Progress & What's Changing
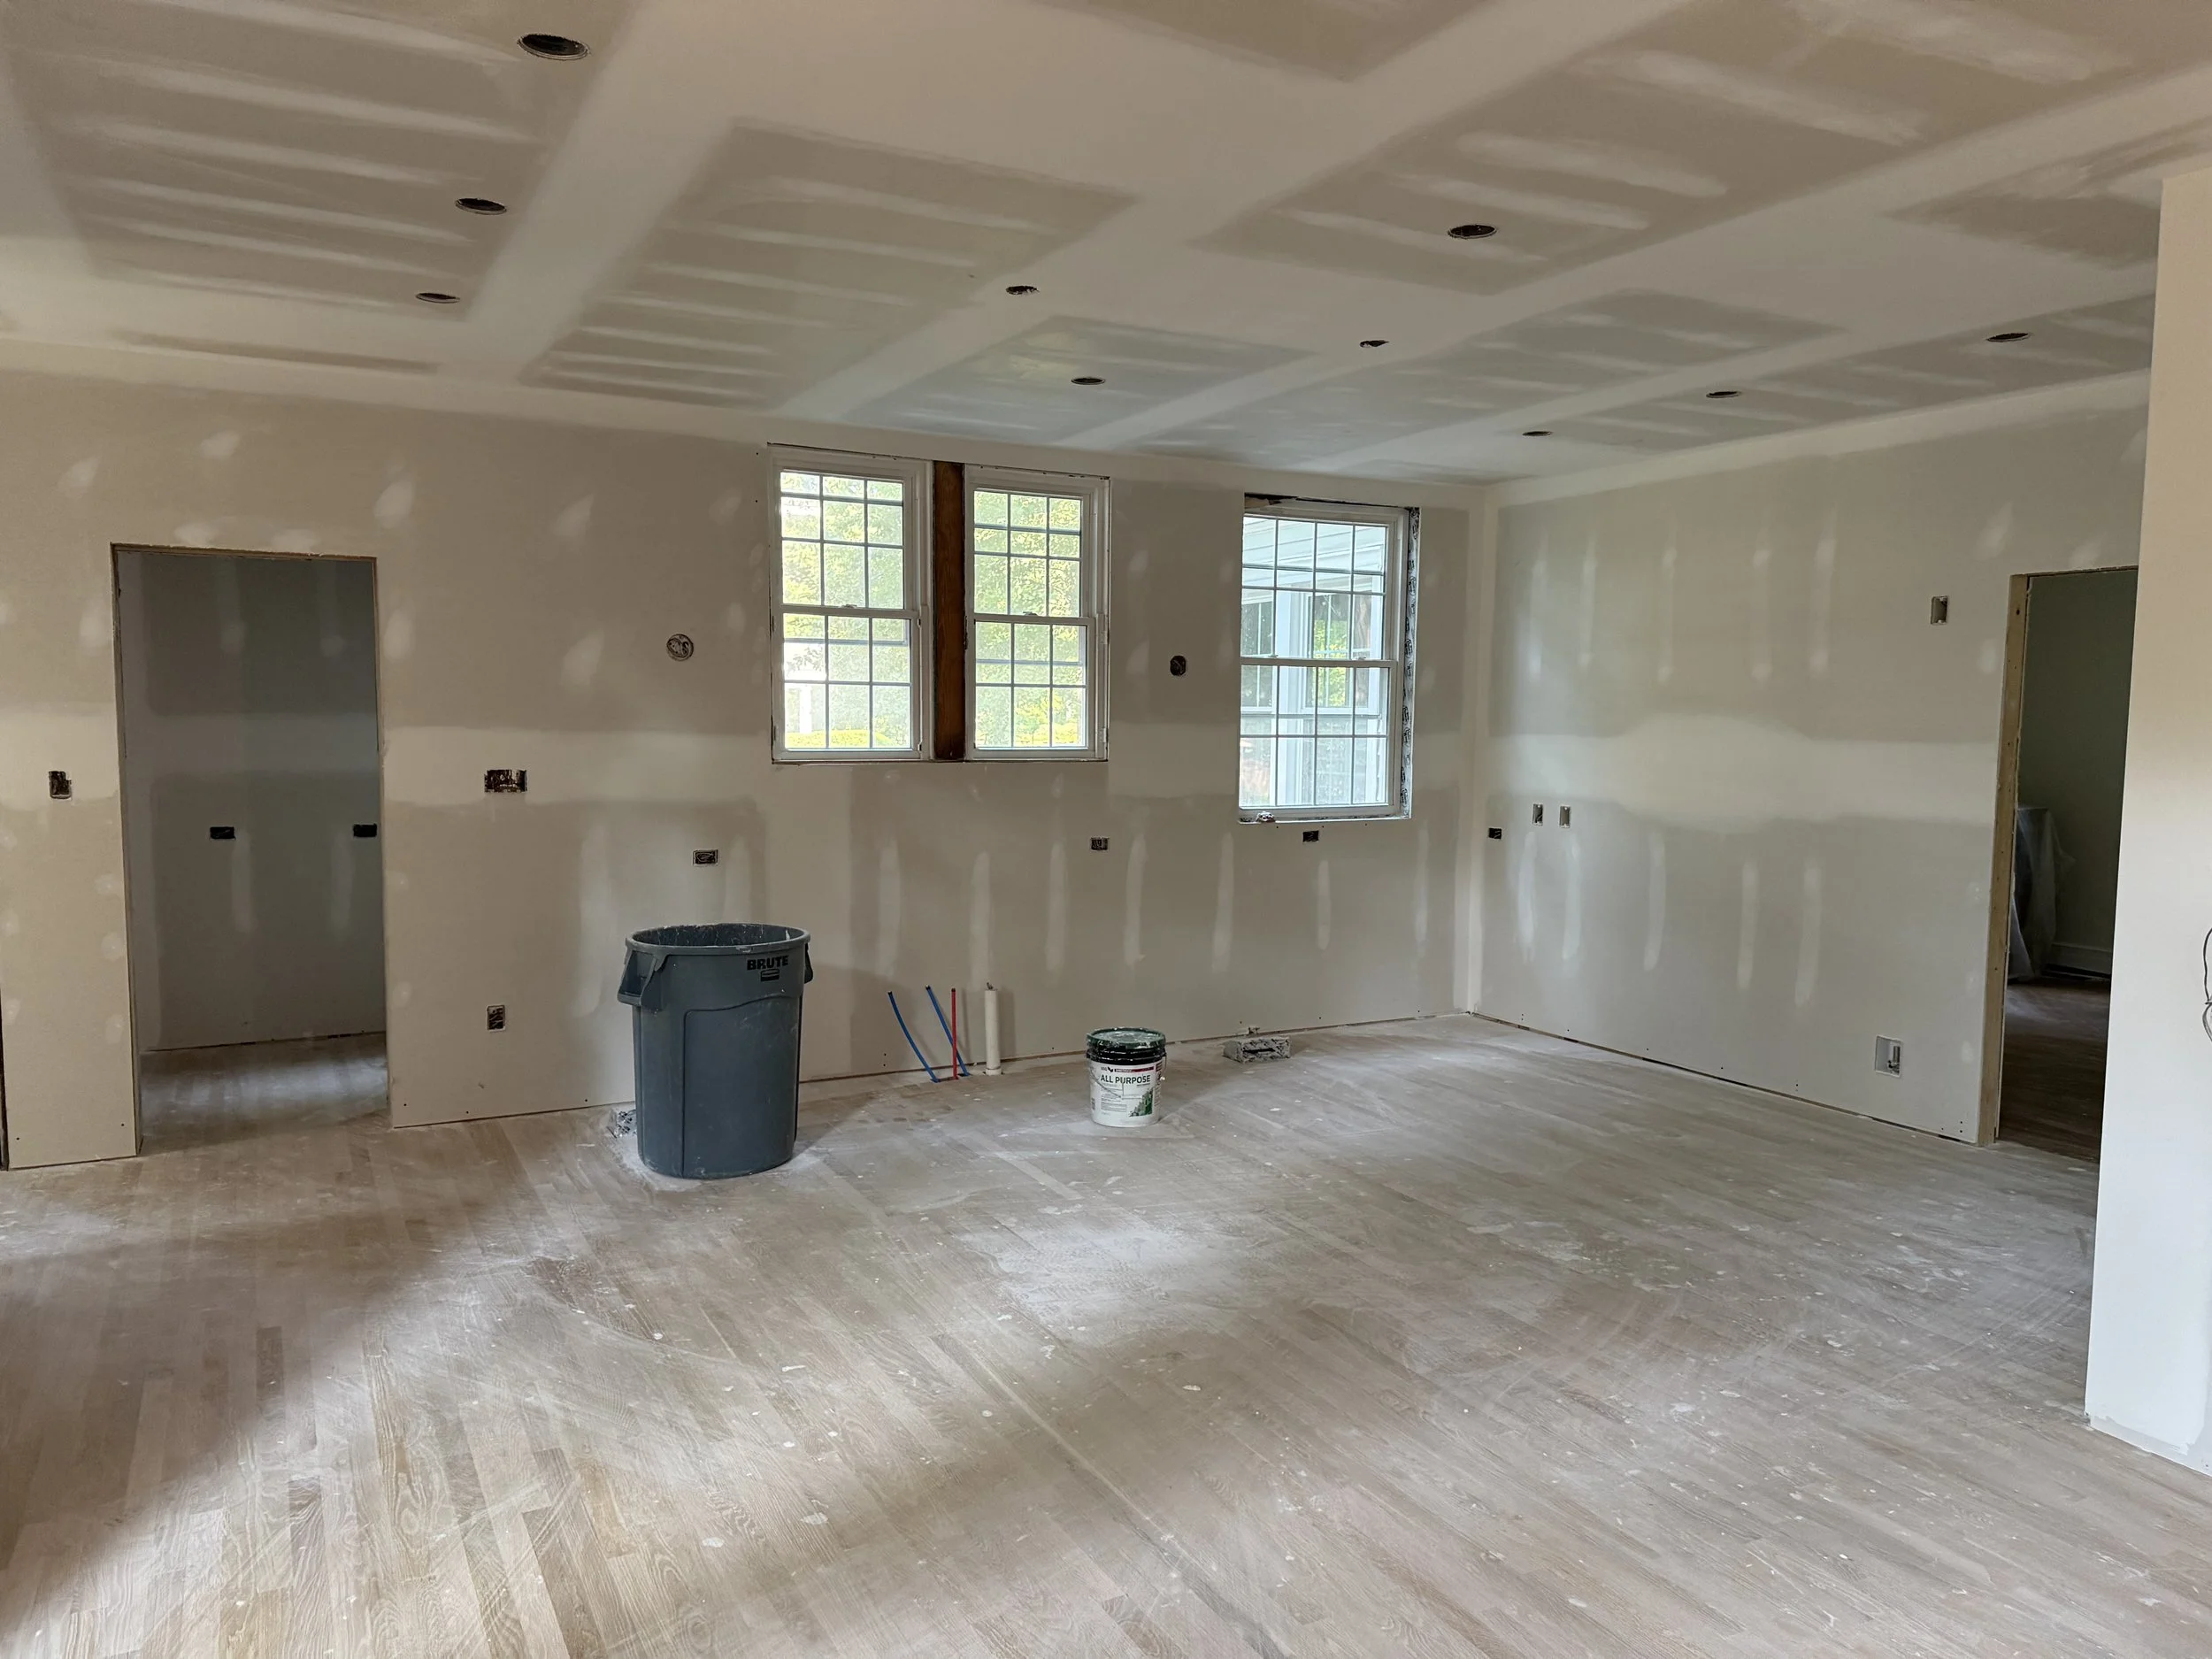
If you follow along on Instagram, you already know that our renovation is much farther along than the blog would suggest! I shared our initial kitchen inspiration back in April, and then somewhere between finalizing plans, making what felt like a million decisions, packing up half our house and actually starting construction, blogging about the process fell pretty far down the list.
There is so much I want to share about this renovation—not just the finished spaces, but how we got there. So I'm going to rewind a bit to start catching you up. Grab your coffee, friends, and enjoy the deep dive catchup post!
Rather than trying to recreate a week-by-week renovation diary, I'm planning to share the process in pieces: the overall plans, the design decisions, the materials we chose, things we changed along the way, and eventually, of course, the finished rooms.
Today, we're starting with the big picture.
A Little Background on Our House
Our house was built in 1926, and one of the things we've always loved about it is that it still has so much of the character you'd hope to find in a house that's 100 years old. She’s a gracious old lady, but the layout needed some work.
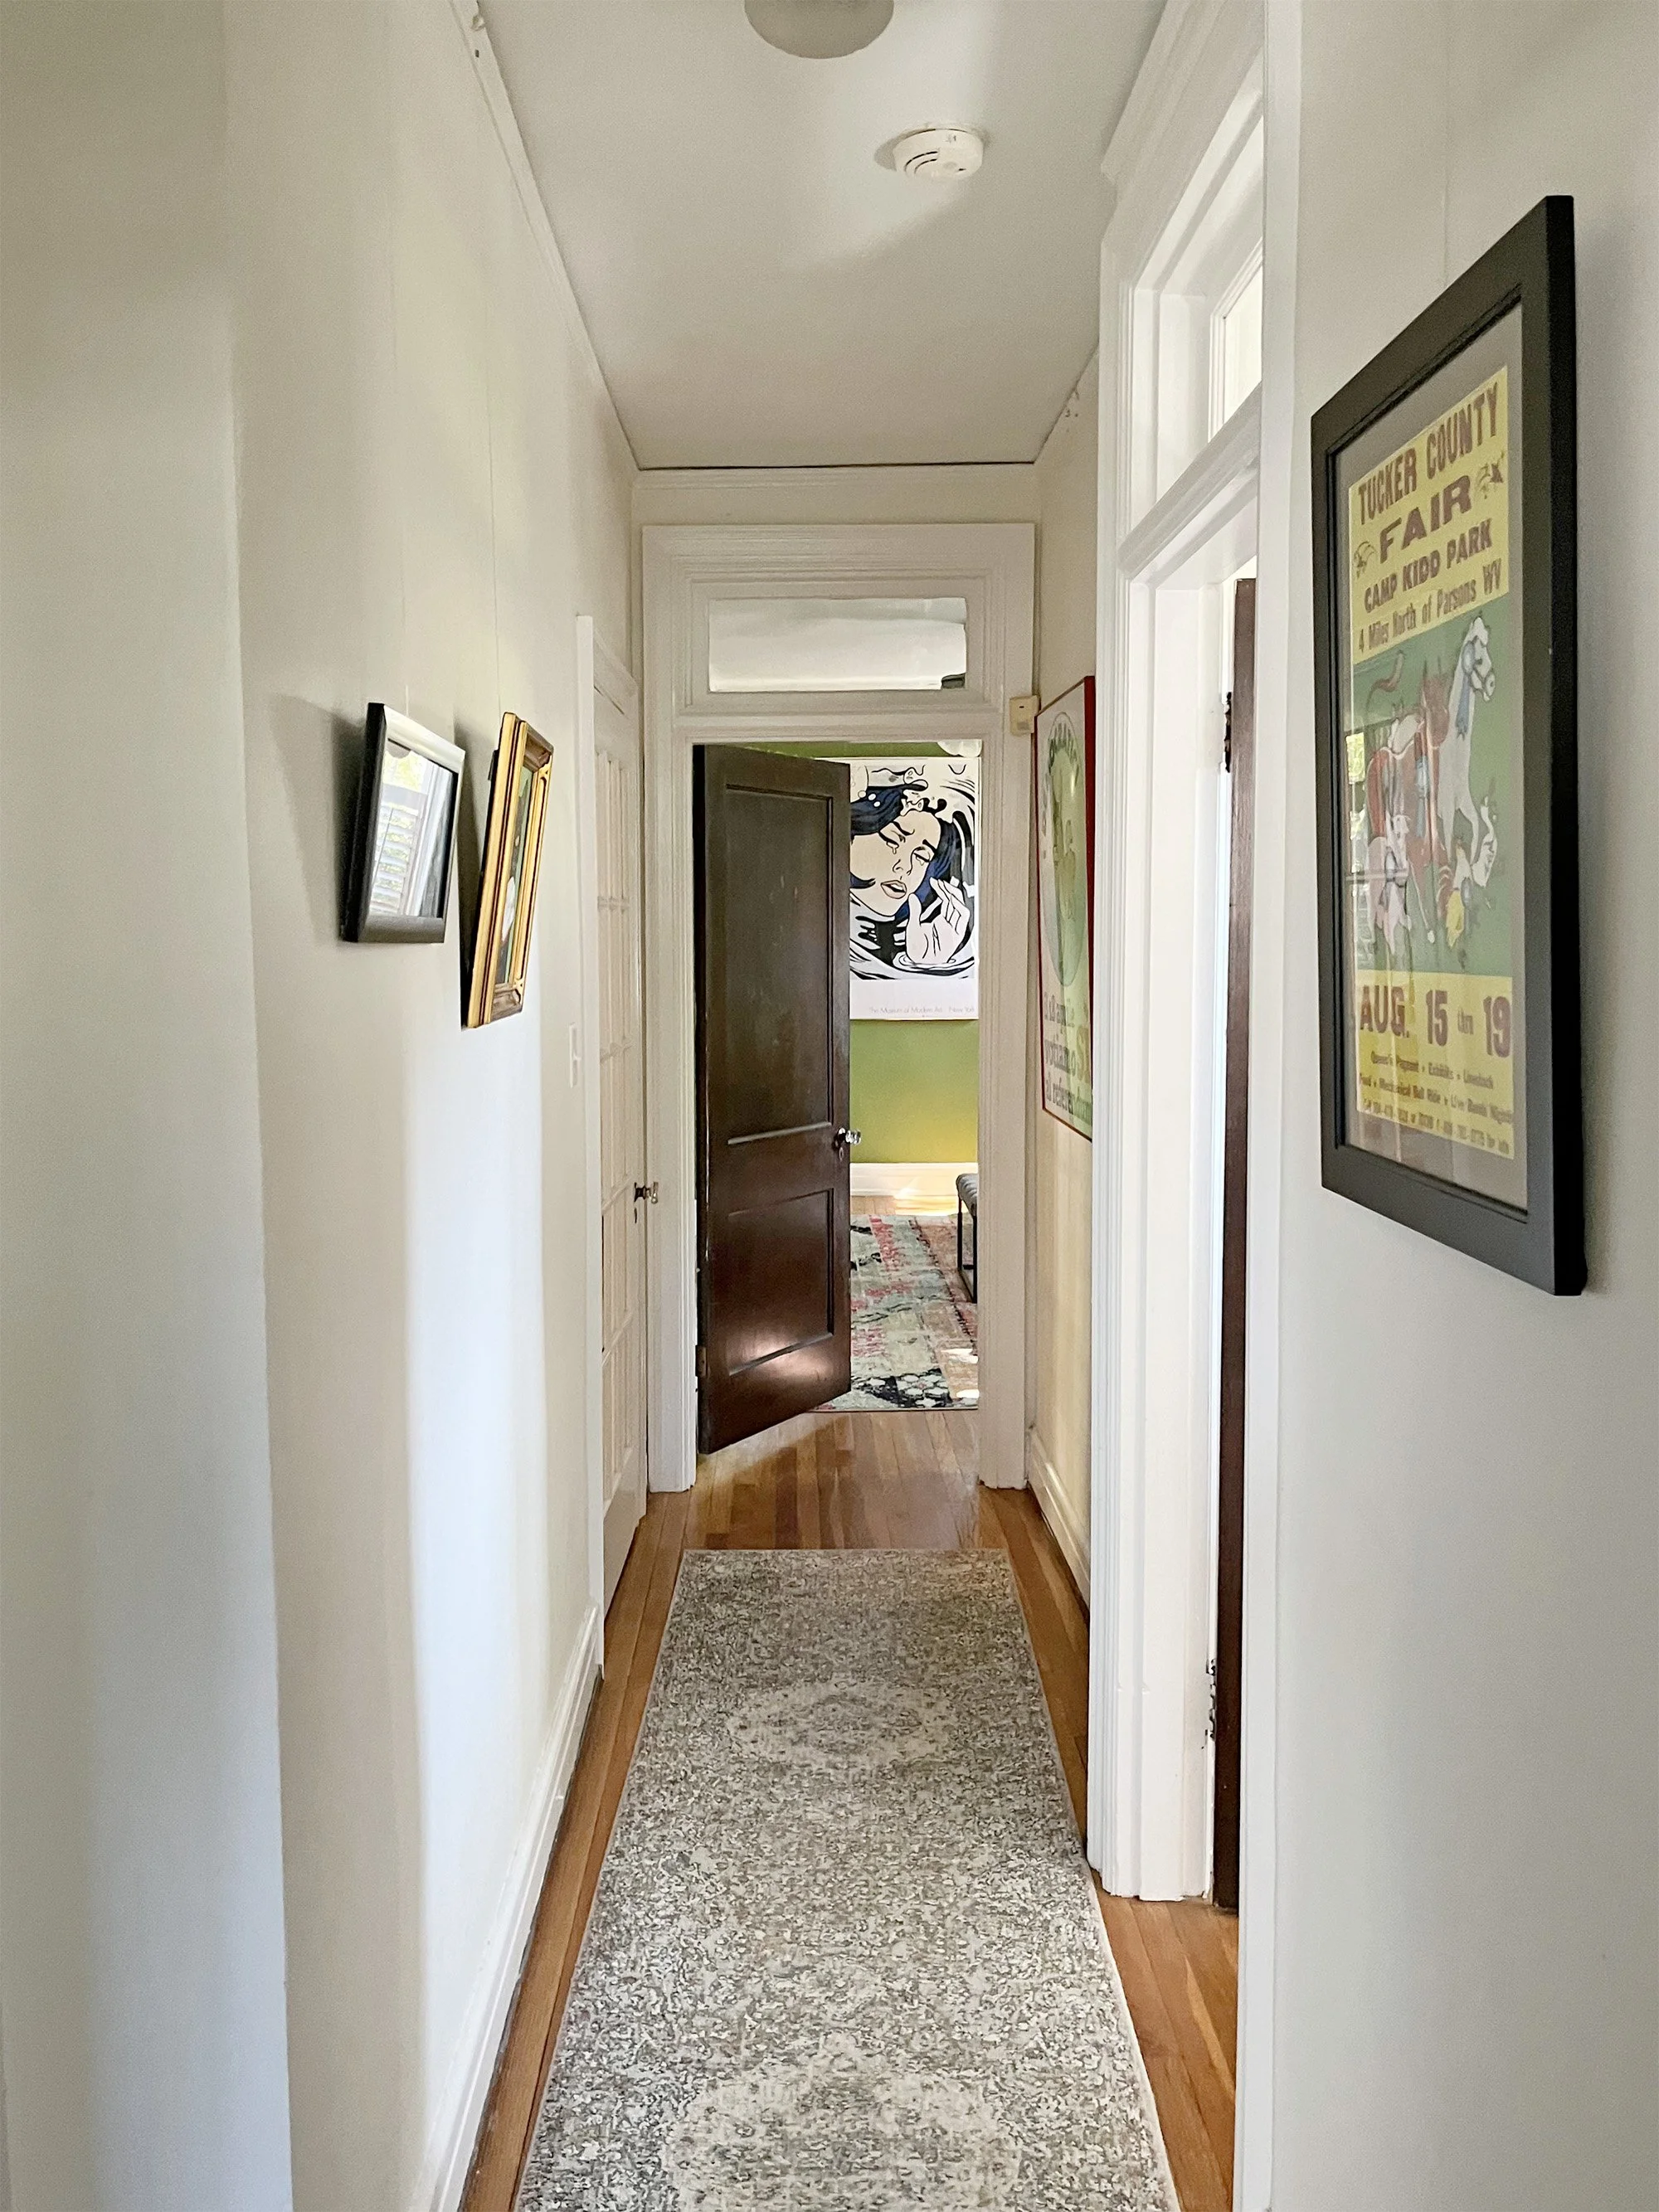
It was built as a duplex (kind of wild for that era!) and still had all the original bedrooms and bathrooms—including two on the first floor that shared a Jack and Jill bath (you can see those through the back hallway pictured below). We’ve got plenty of bedroom space upstairs, so we knew we’d be eliminating those spaces as they currently functioned to create a more open and spacious plan that worked for how we live as a family and entertain.
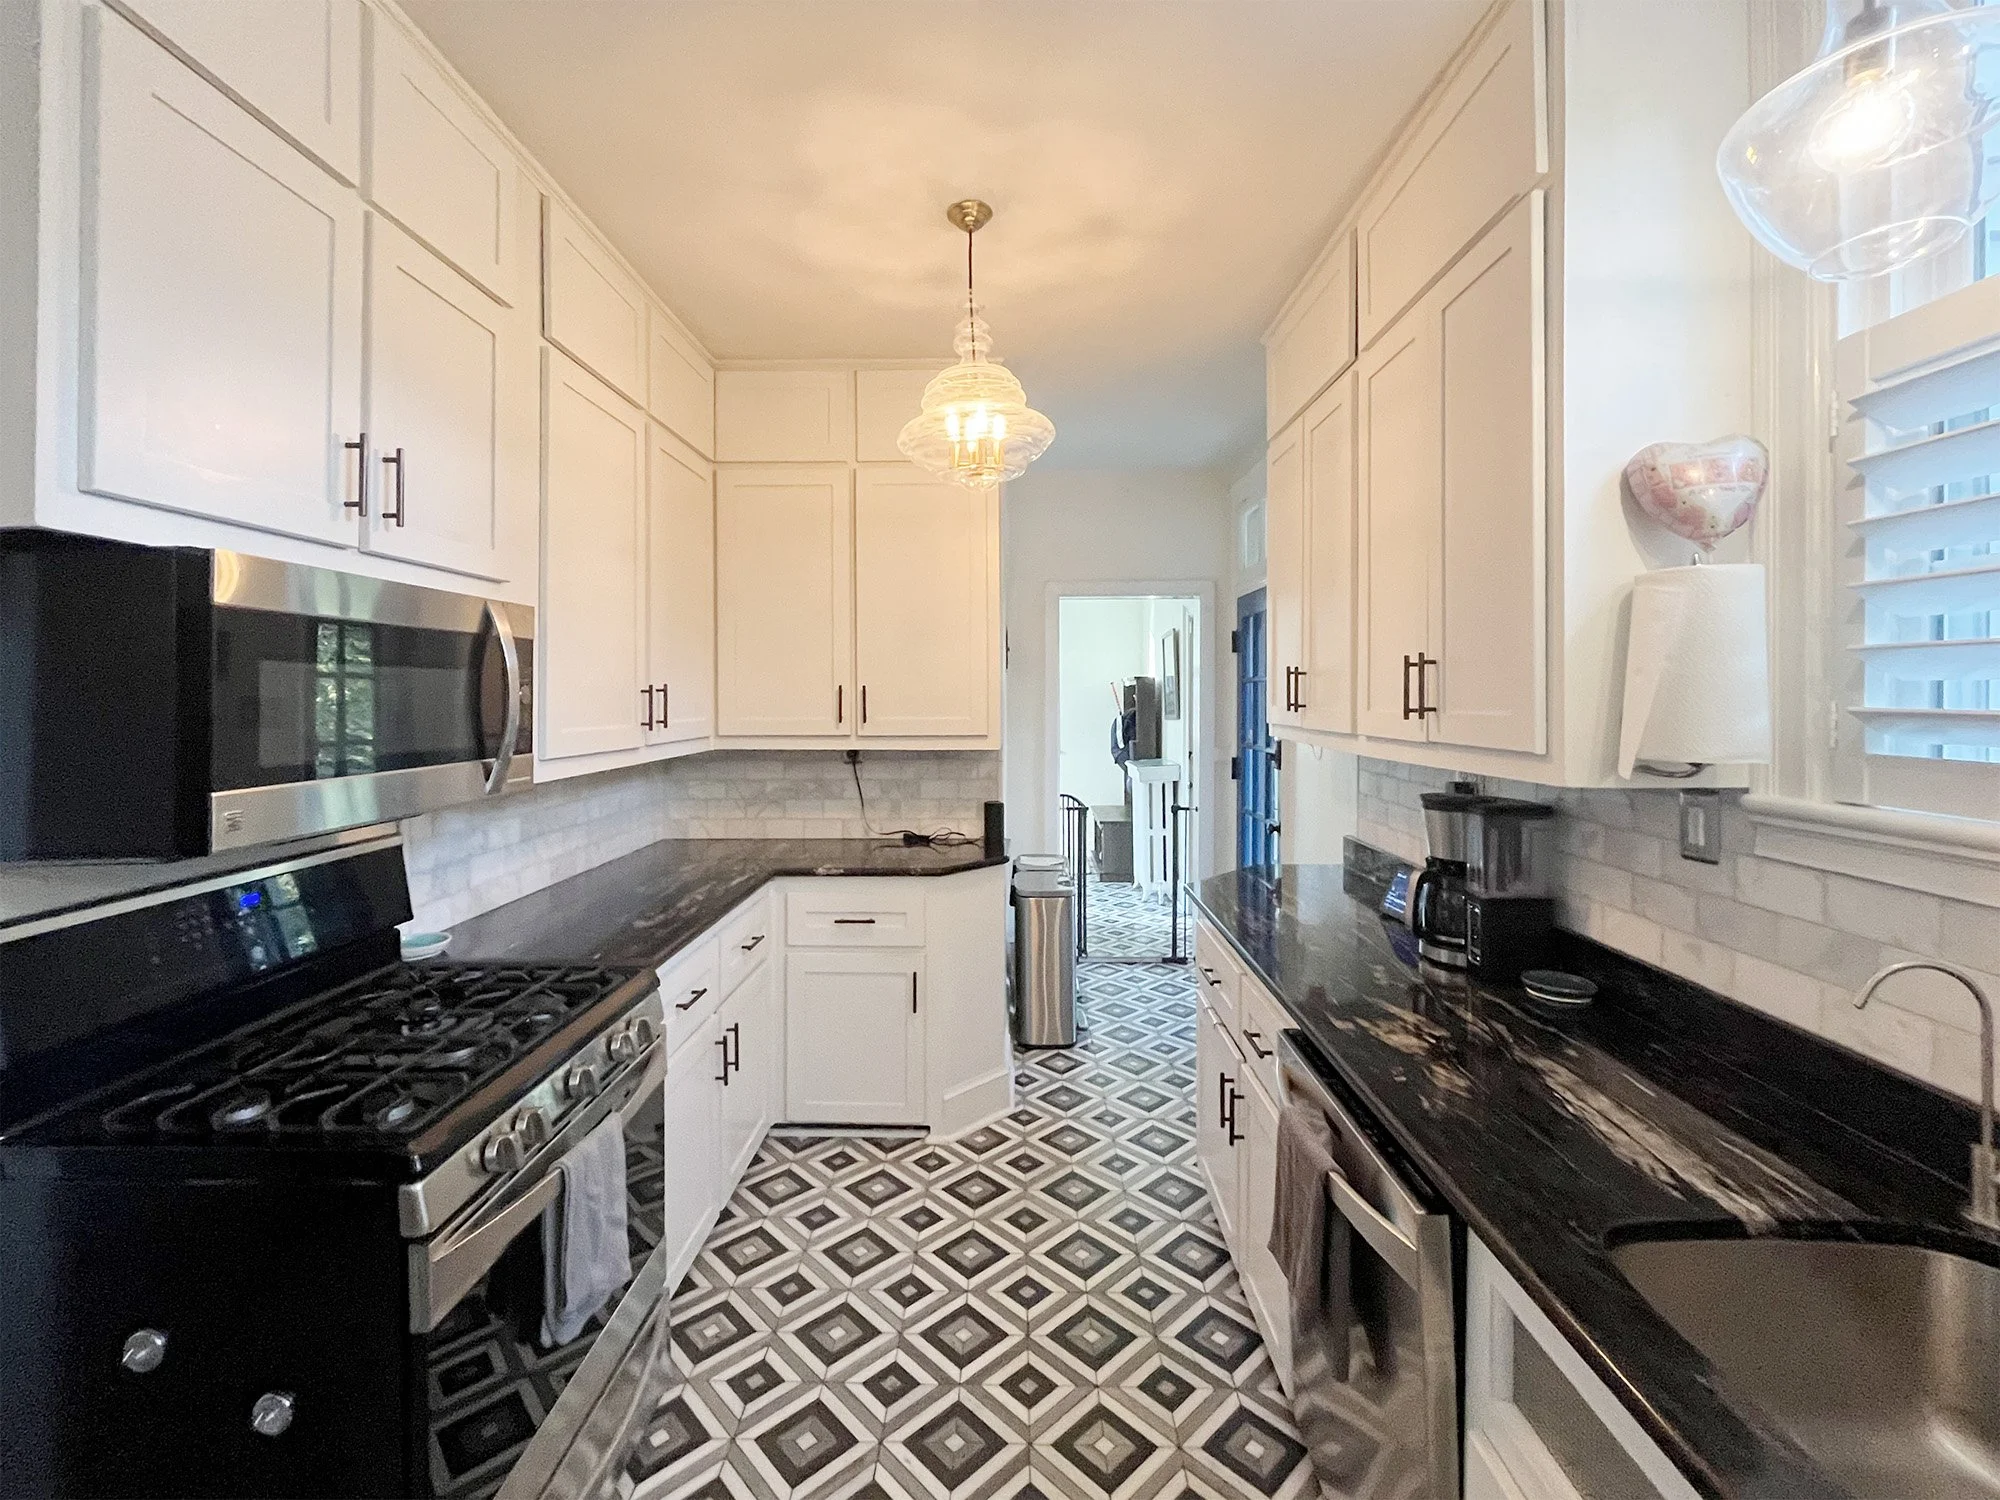
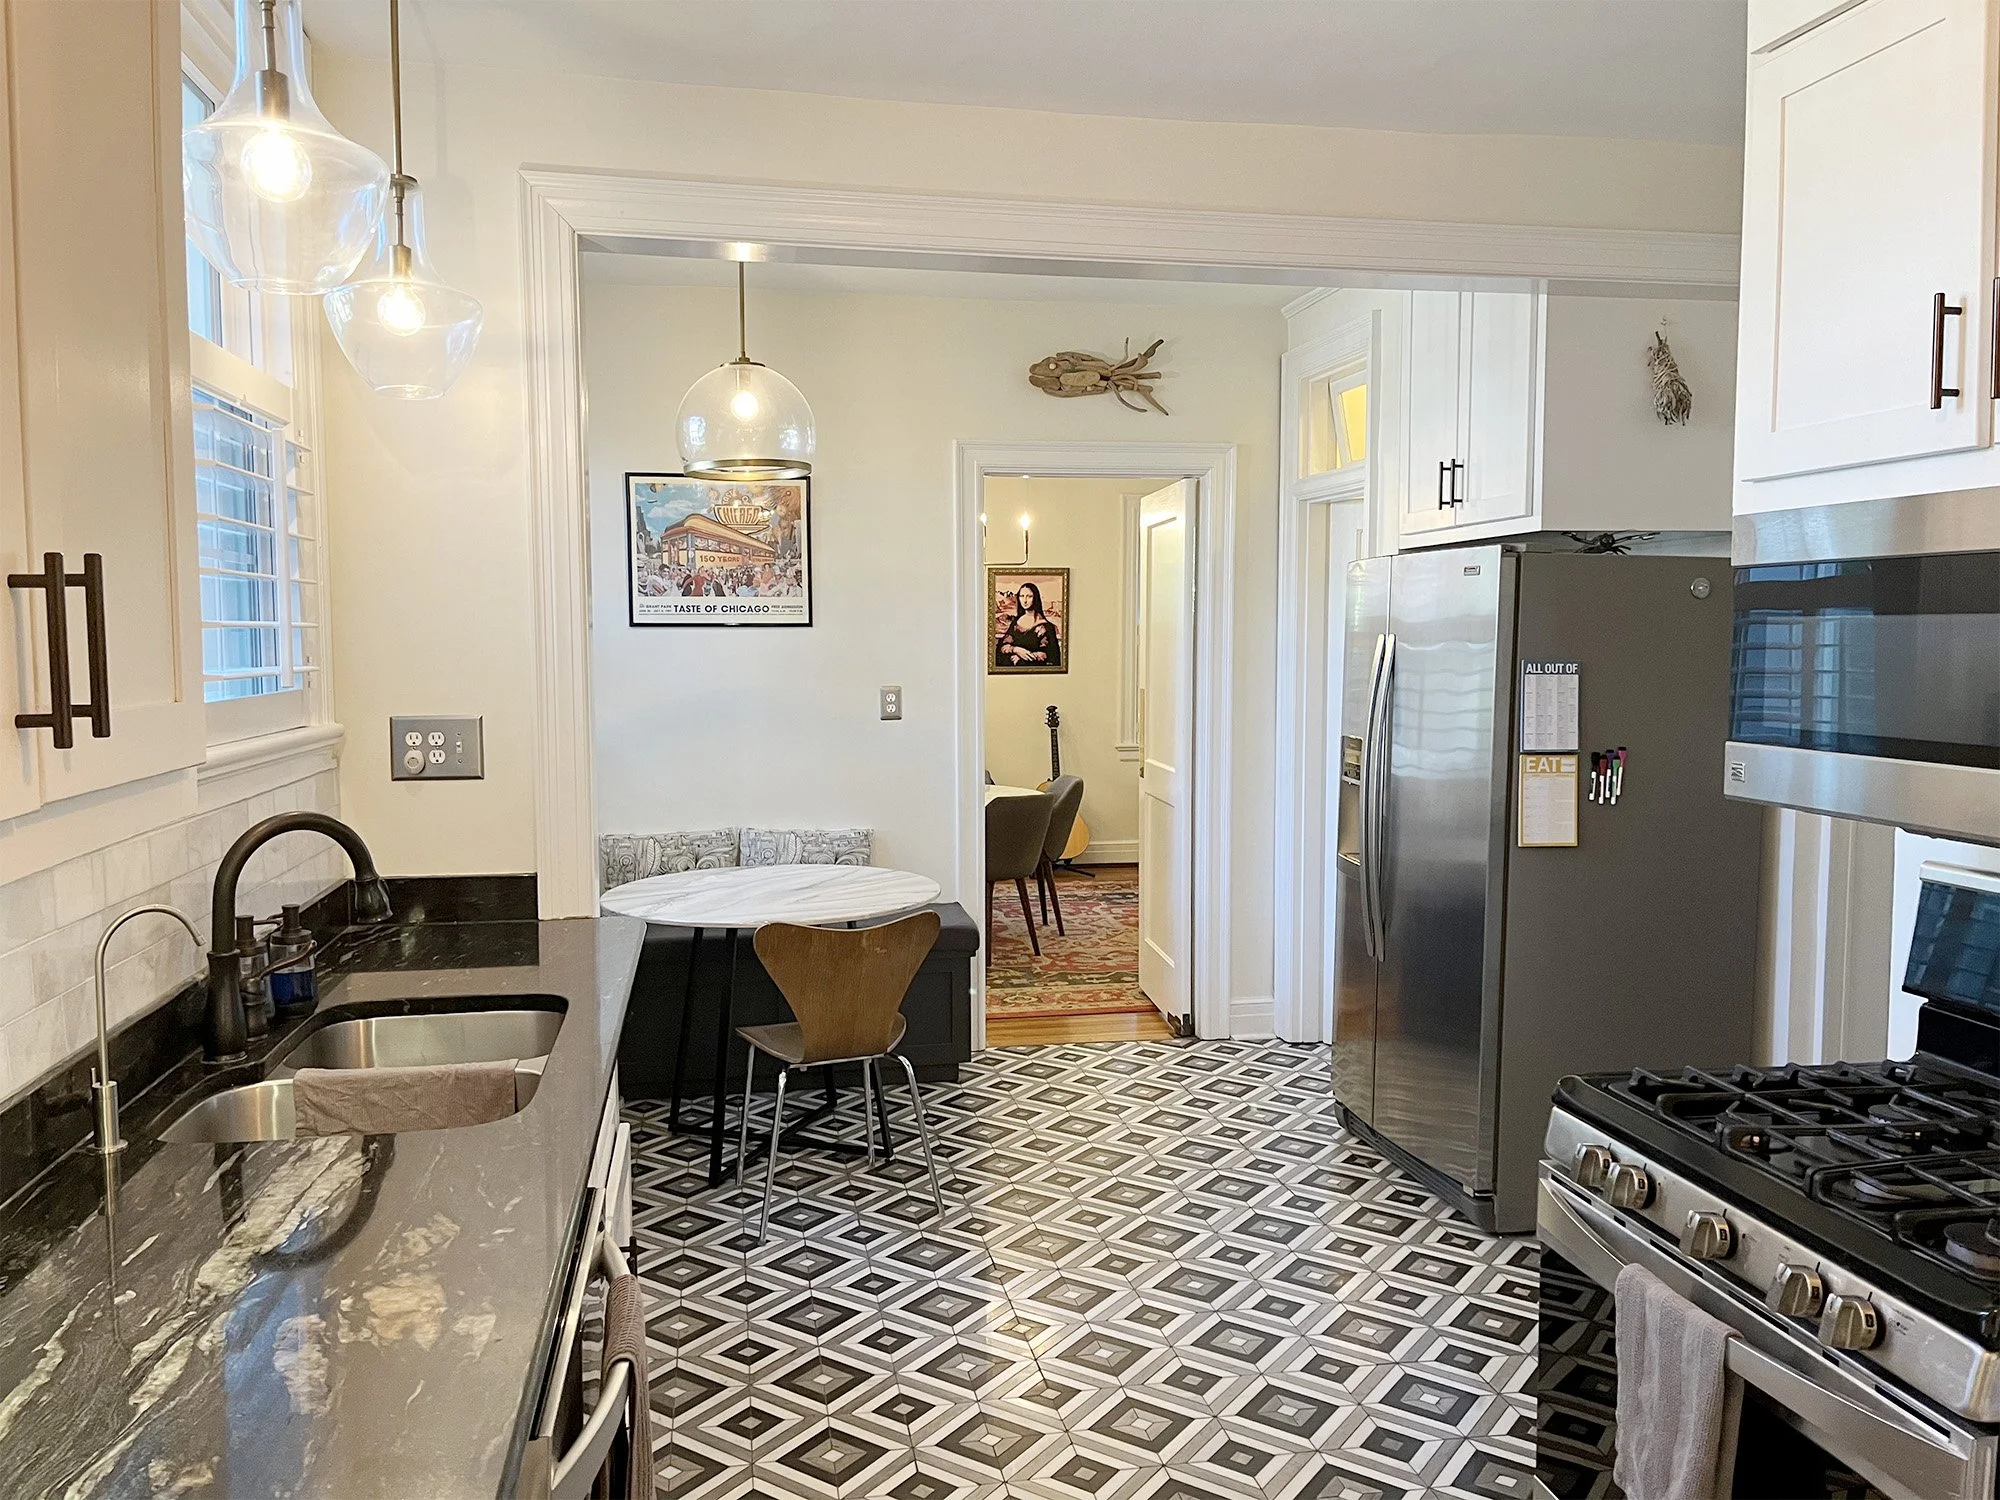
Below you’ll find a few “before” photos to orient you to what it looked like when we toured it originally. You can find more in this post.
What Wasn't Working
The biggest issue was the back portion of the first floor.
Our kitchen was a decent size on paper, but the layout and overall functionality weren’t cutting it. As you can see in the photos, it was also a bit dizzying with the material selections and odd angles. There were several small storage spaces and pantries that were difficult to access and use efficiently.
It then connected down a dark back hallway to the two bedrooms and full bath. We knew there was plenty of square footage back there; it just didn’t function for our needs.
We also wanted the kitchen to feel more connected to the rest of the house. I didn’t want to turn our entire first floor into one enormous open space—I actually really love having defined rooms in an older home—but the kitchen was cramped and cut off from any sort of hangout and entertaining space.
That distinction became a big driver of the renovation: more openness and better flow where it made sense, without removing all of the rooms and character that make the house feel like an old Colonial Revival.
The Renovation Plan
Once we started working through the possibilities, we realized we could dramatically improve the way the house functioned without changing its overall footprint.
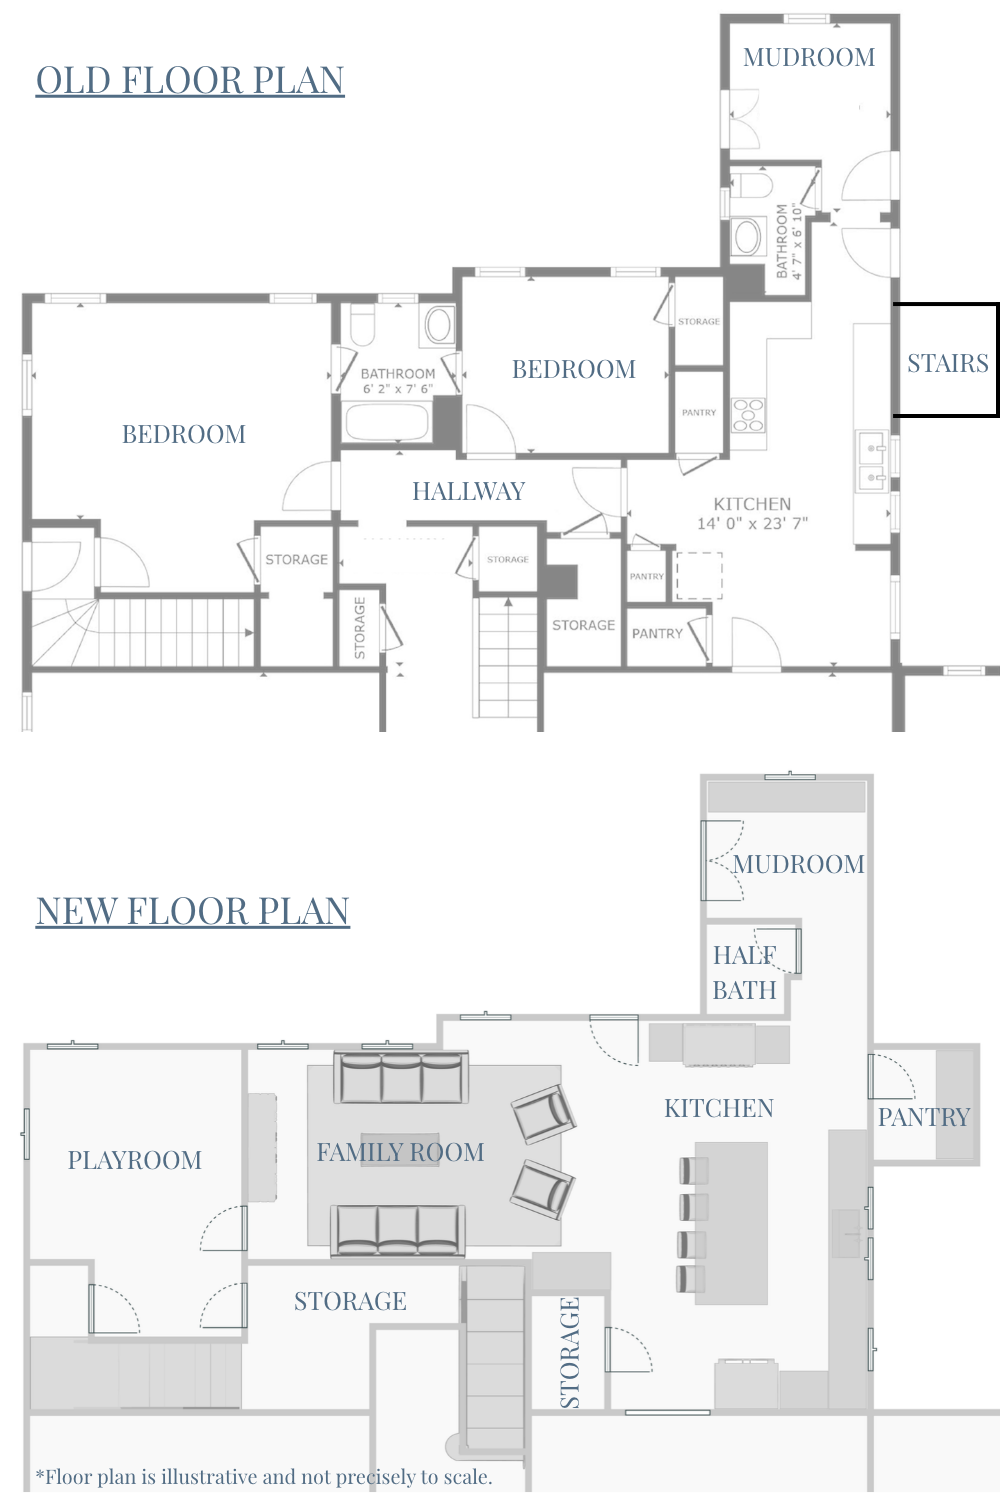
The biggest changes are happening across the back of the house, so that’s what I’m showing you today. The front half is essentially staying the same, but we’re flipping the functions of the two more formal living and dining spaces. They’ll get a refreshed look with paint and refinished floors.
The kitchen is staying in the same general area and now opens up to a family room that was a combination of bedroom, bathroom space, plus the main basement stairs. Eliminating the basement stairs might sound a little crazy, but we have secondary access elsewhere so that wasn’t a concern. The kitchen itself is being completely redesigned to make the best use of space, and we've reorganized the mishmash of smaller storage and pantry spaces into a layout that makes much more sense for us.
My favorite little detail is that we commandeered an old circular staircase additional to make it into our pantry! It used to be the entry to the second floor unit so there was no access to it from the first floor. We busted through a thick brick exterior wall to add a door there and create a cozy little pantry.
Off the back of the kitchen, we're also updating the mudroom and powder room while keeping that existing back portion of the house intact.
The result should still feel very much like our old house—just a version that functions significantly better.
The Kitchen Is the Heart of It
Not surprisingly, the kitchen has been the biggest piece of this puzzle.
I shared my initial kitchen inspiration earlier this year, and a lot of those ideas have carried through to the final design. We're using custom inset cabinetry from a wonderful local company called Jaeger & Ernst, honed marble countertops and backsplash, and a mix of classic details that I hope will feel appropriate for the age of the house but with a fresh vision for modern living.
I've spent an almost embarrassing amount of time thinking about everything from cabinet configurations to countertop edges to exactly where a marble seam should land—which means there is plenty more kitchen content coming. Stay tuned for that!
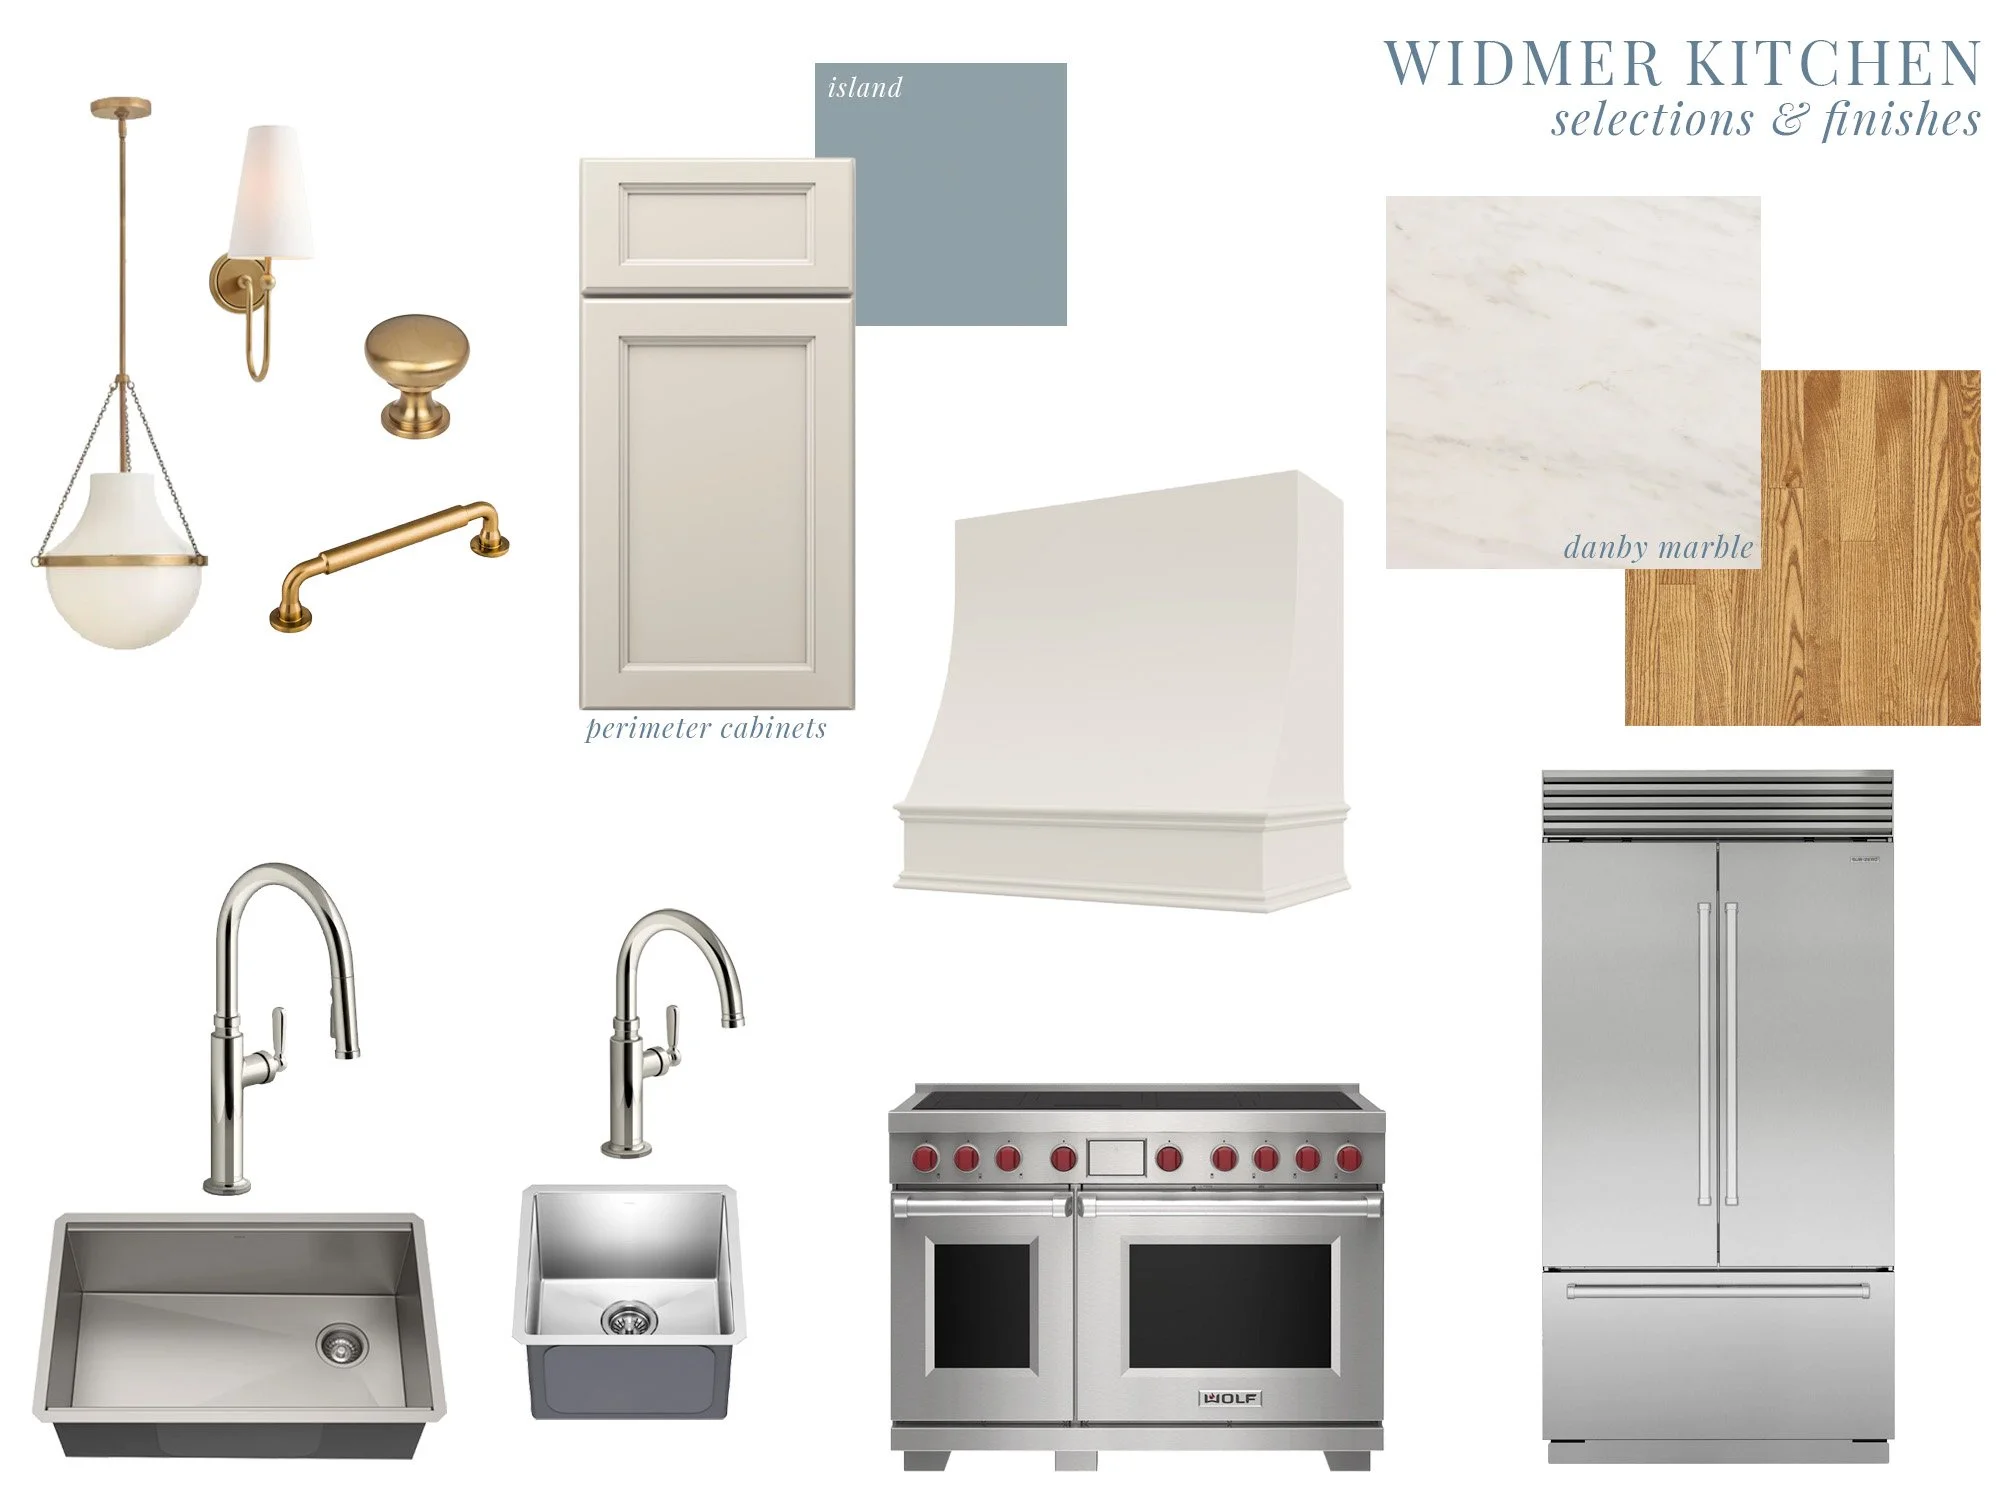
I'll share the kitchen plans in much more detail in a separate post because there are far too many decisions to squeeze into this one.
Keeping the Character
One of my biggest priorities throughout the renovation has been making sure the new spaces don't feel disconnected from the original house.
We're keeping the formal rooms. We're keeping and refinishing the existing hardwood floors wherever possible. We've been thoughtful about moldings, openings and other architectural details, and we've tried to avoid removing original elements simply for the sake of making everything feel new.
At the same time, this is a house our family actually lives in. I don't want to be so precious about preserving an old house that we end up with rooms that don't function for us.
That balance—old house character + modern family life—has probably been the guiding principle behind the entire project.
Where Things Stand Now
And this is where the timeline gets a little funny, because while I'm just beginning to share the renovation here, we’re nearing the end of construction in real life! Here’s a peek into some progress photos:
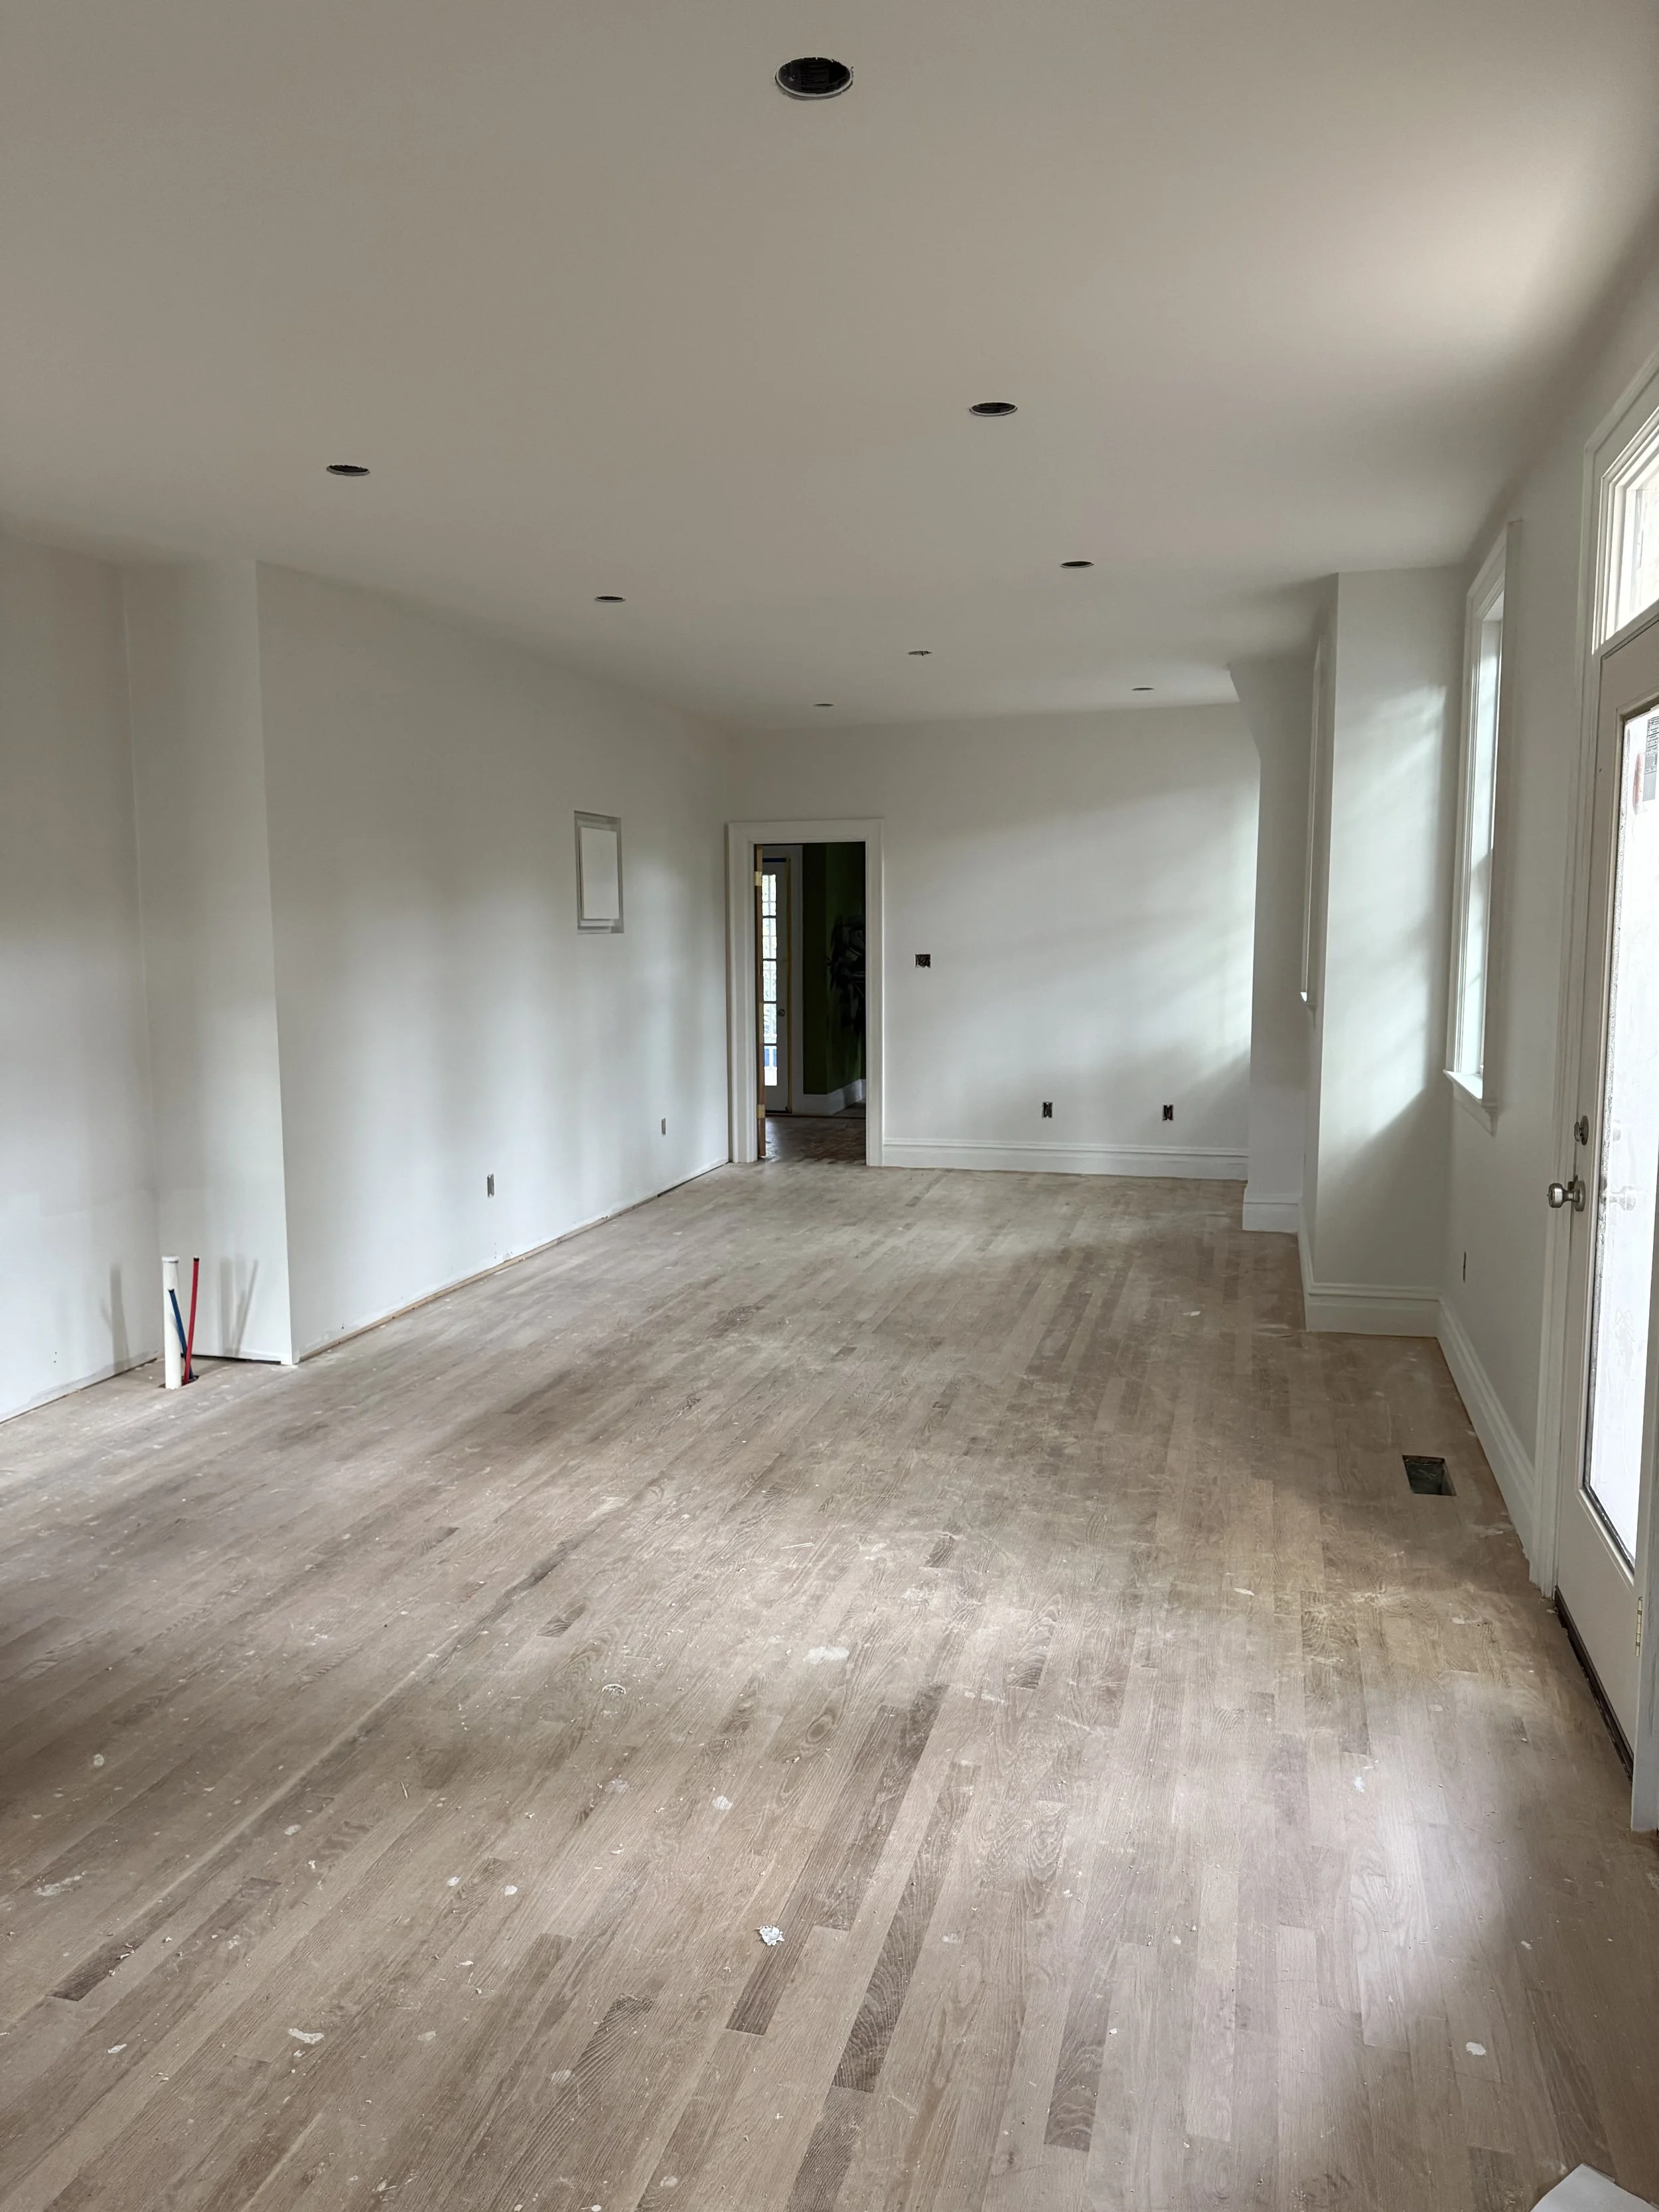
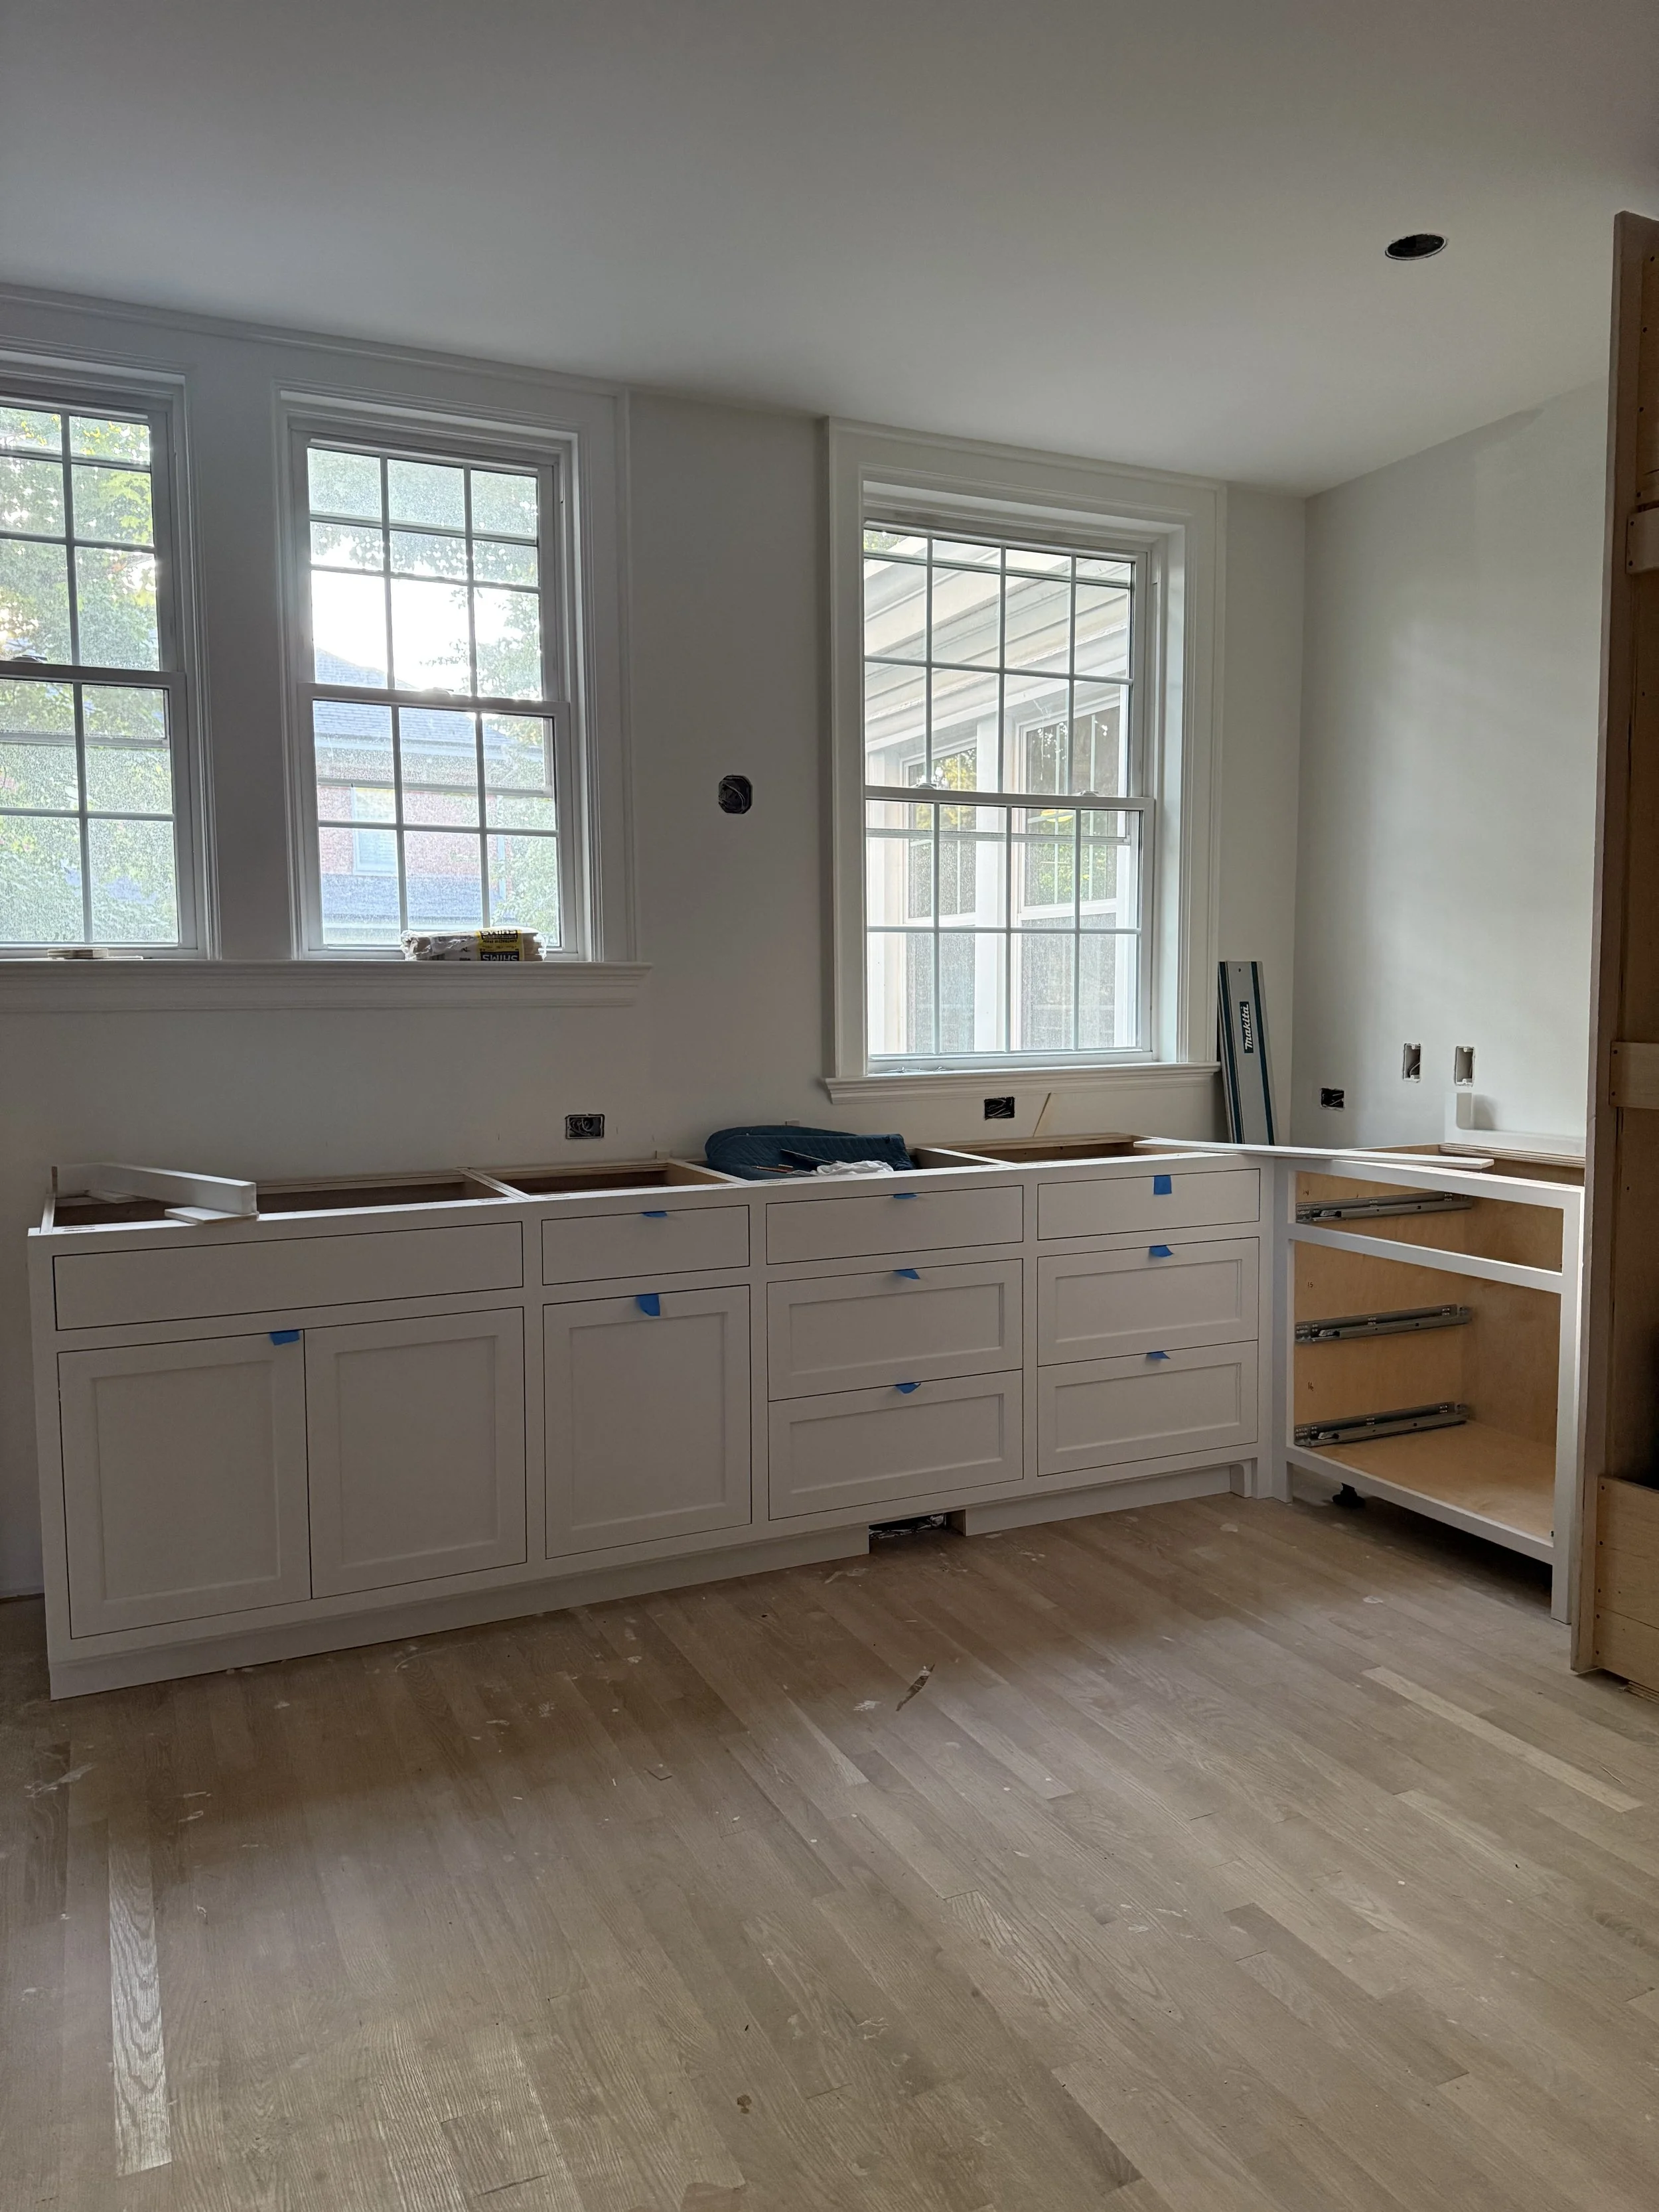
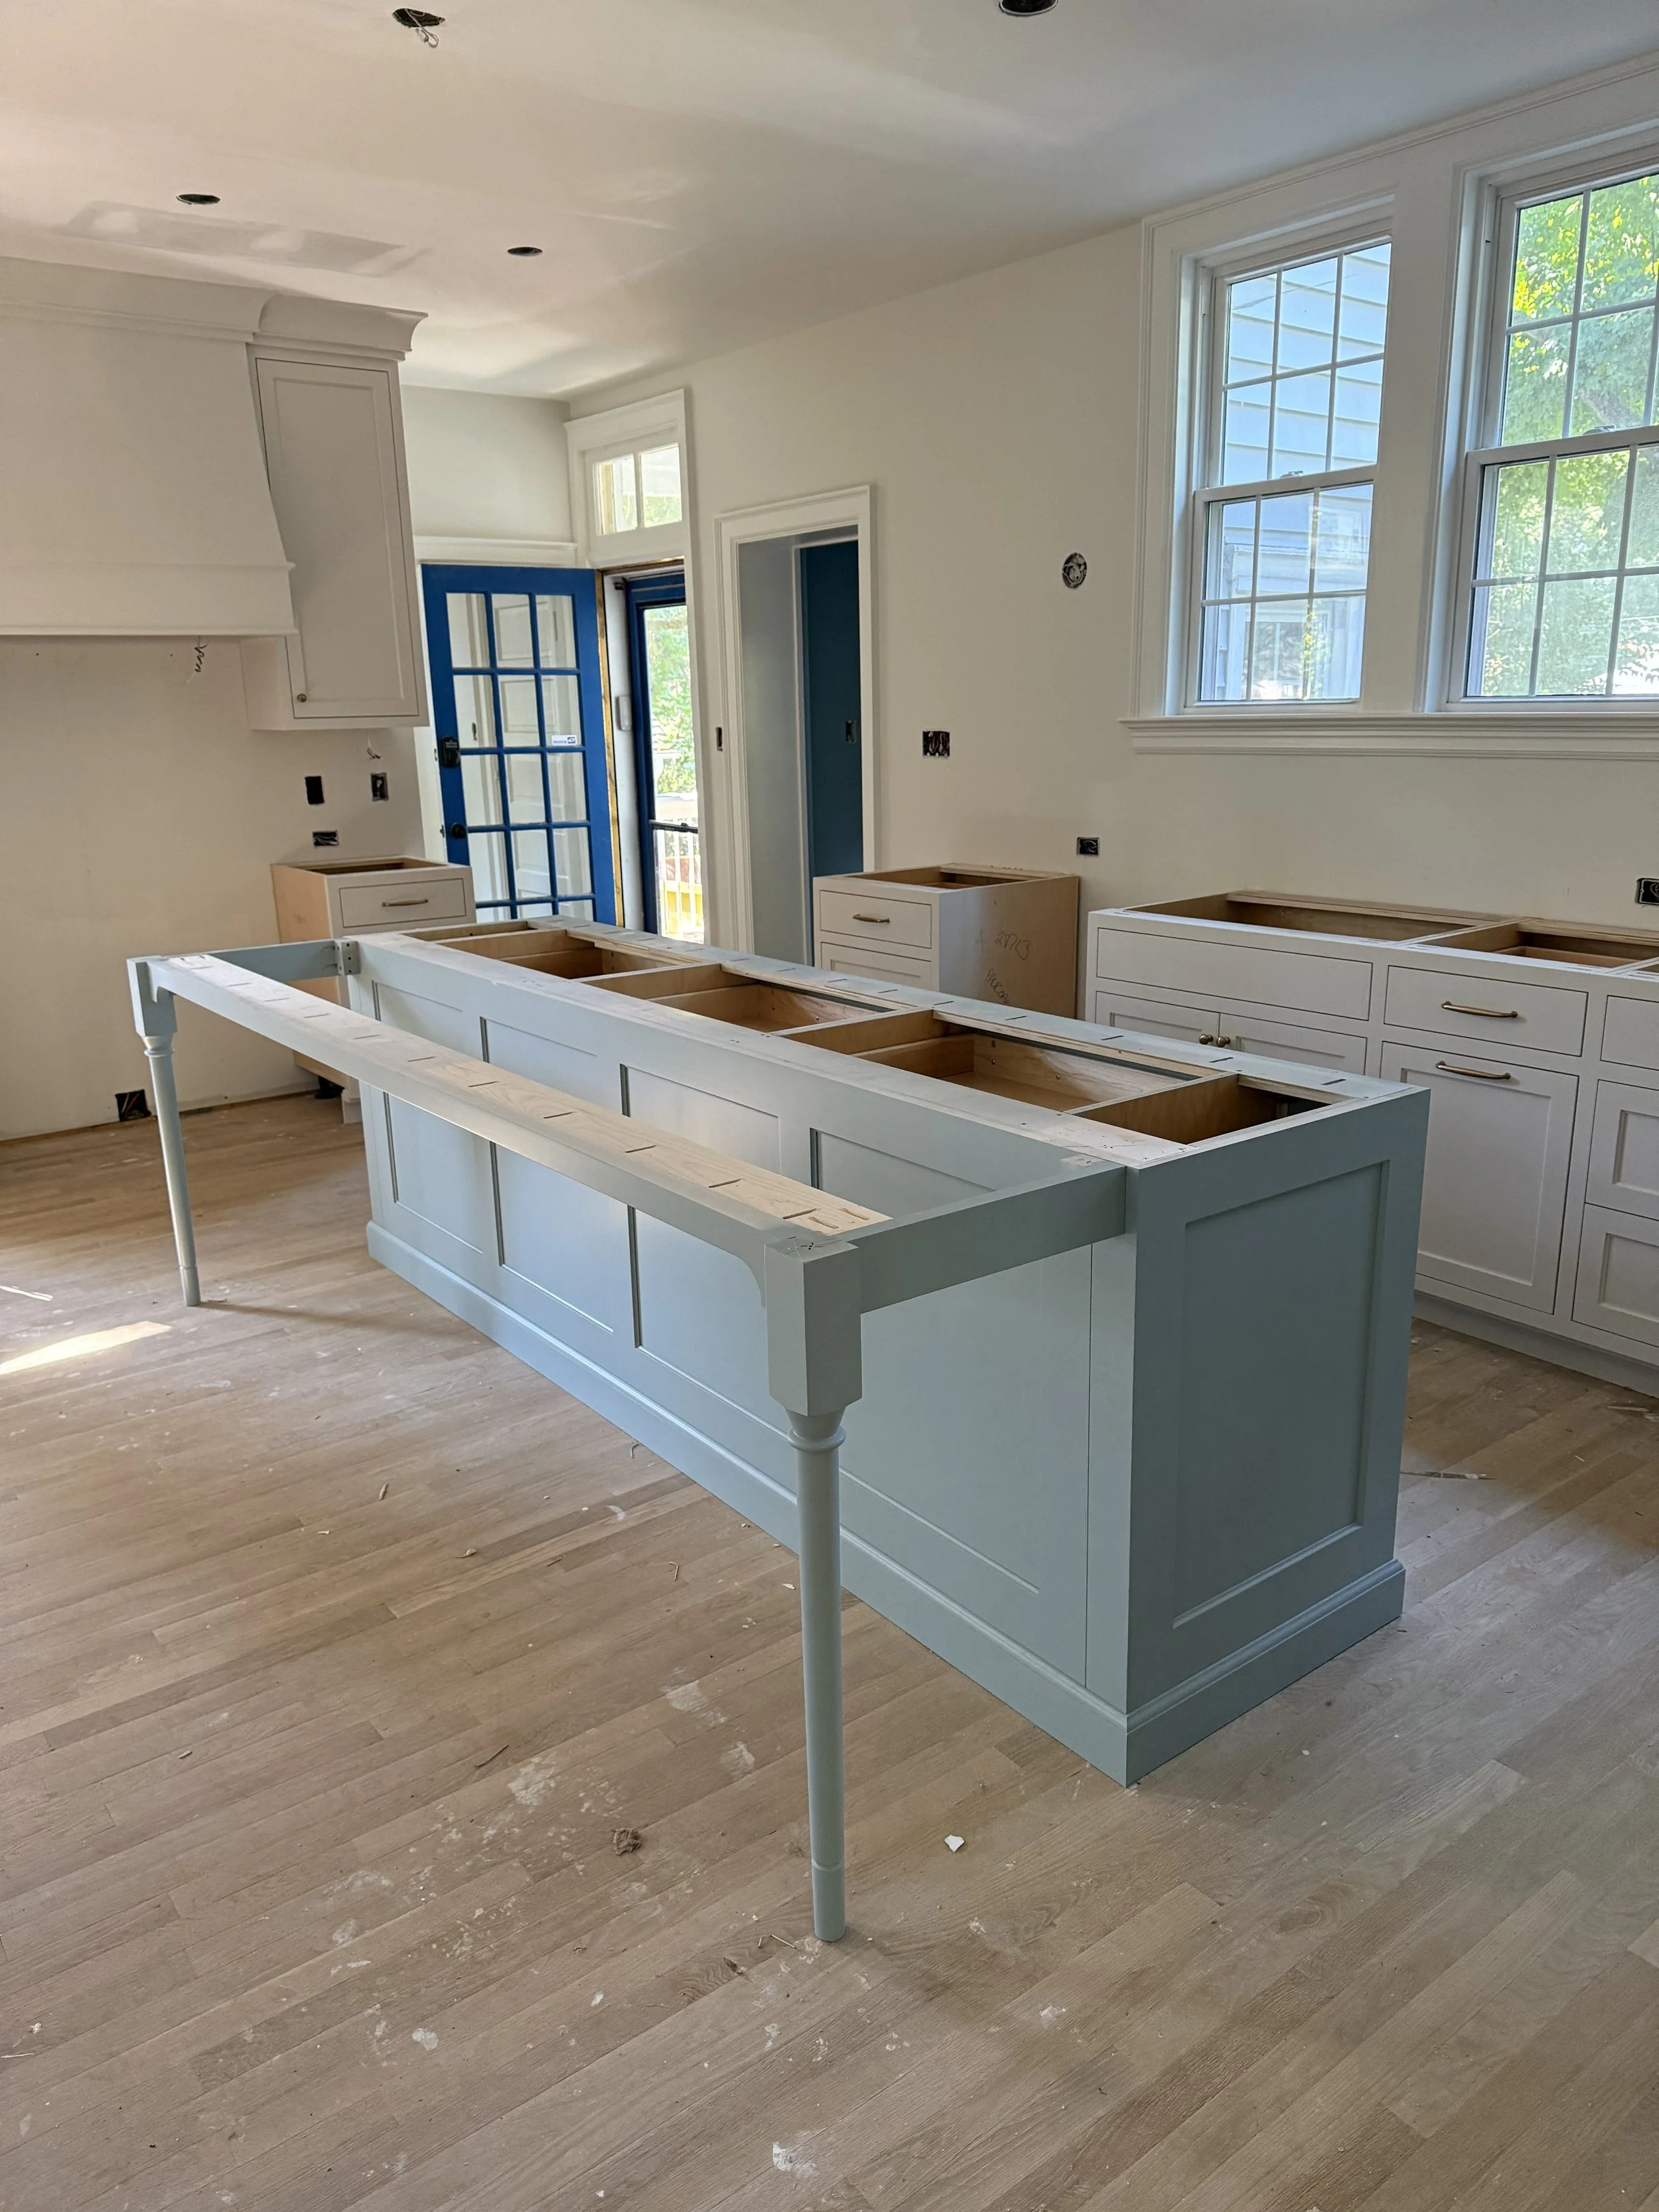
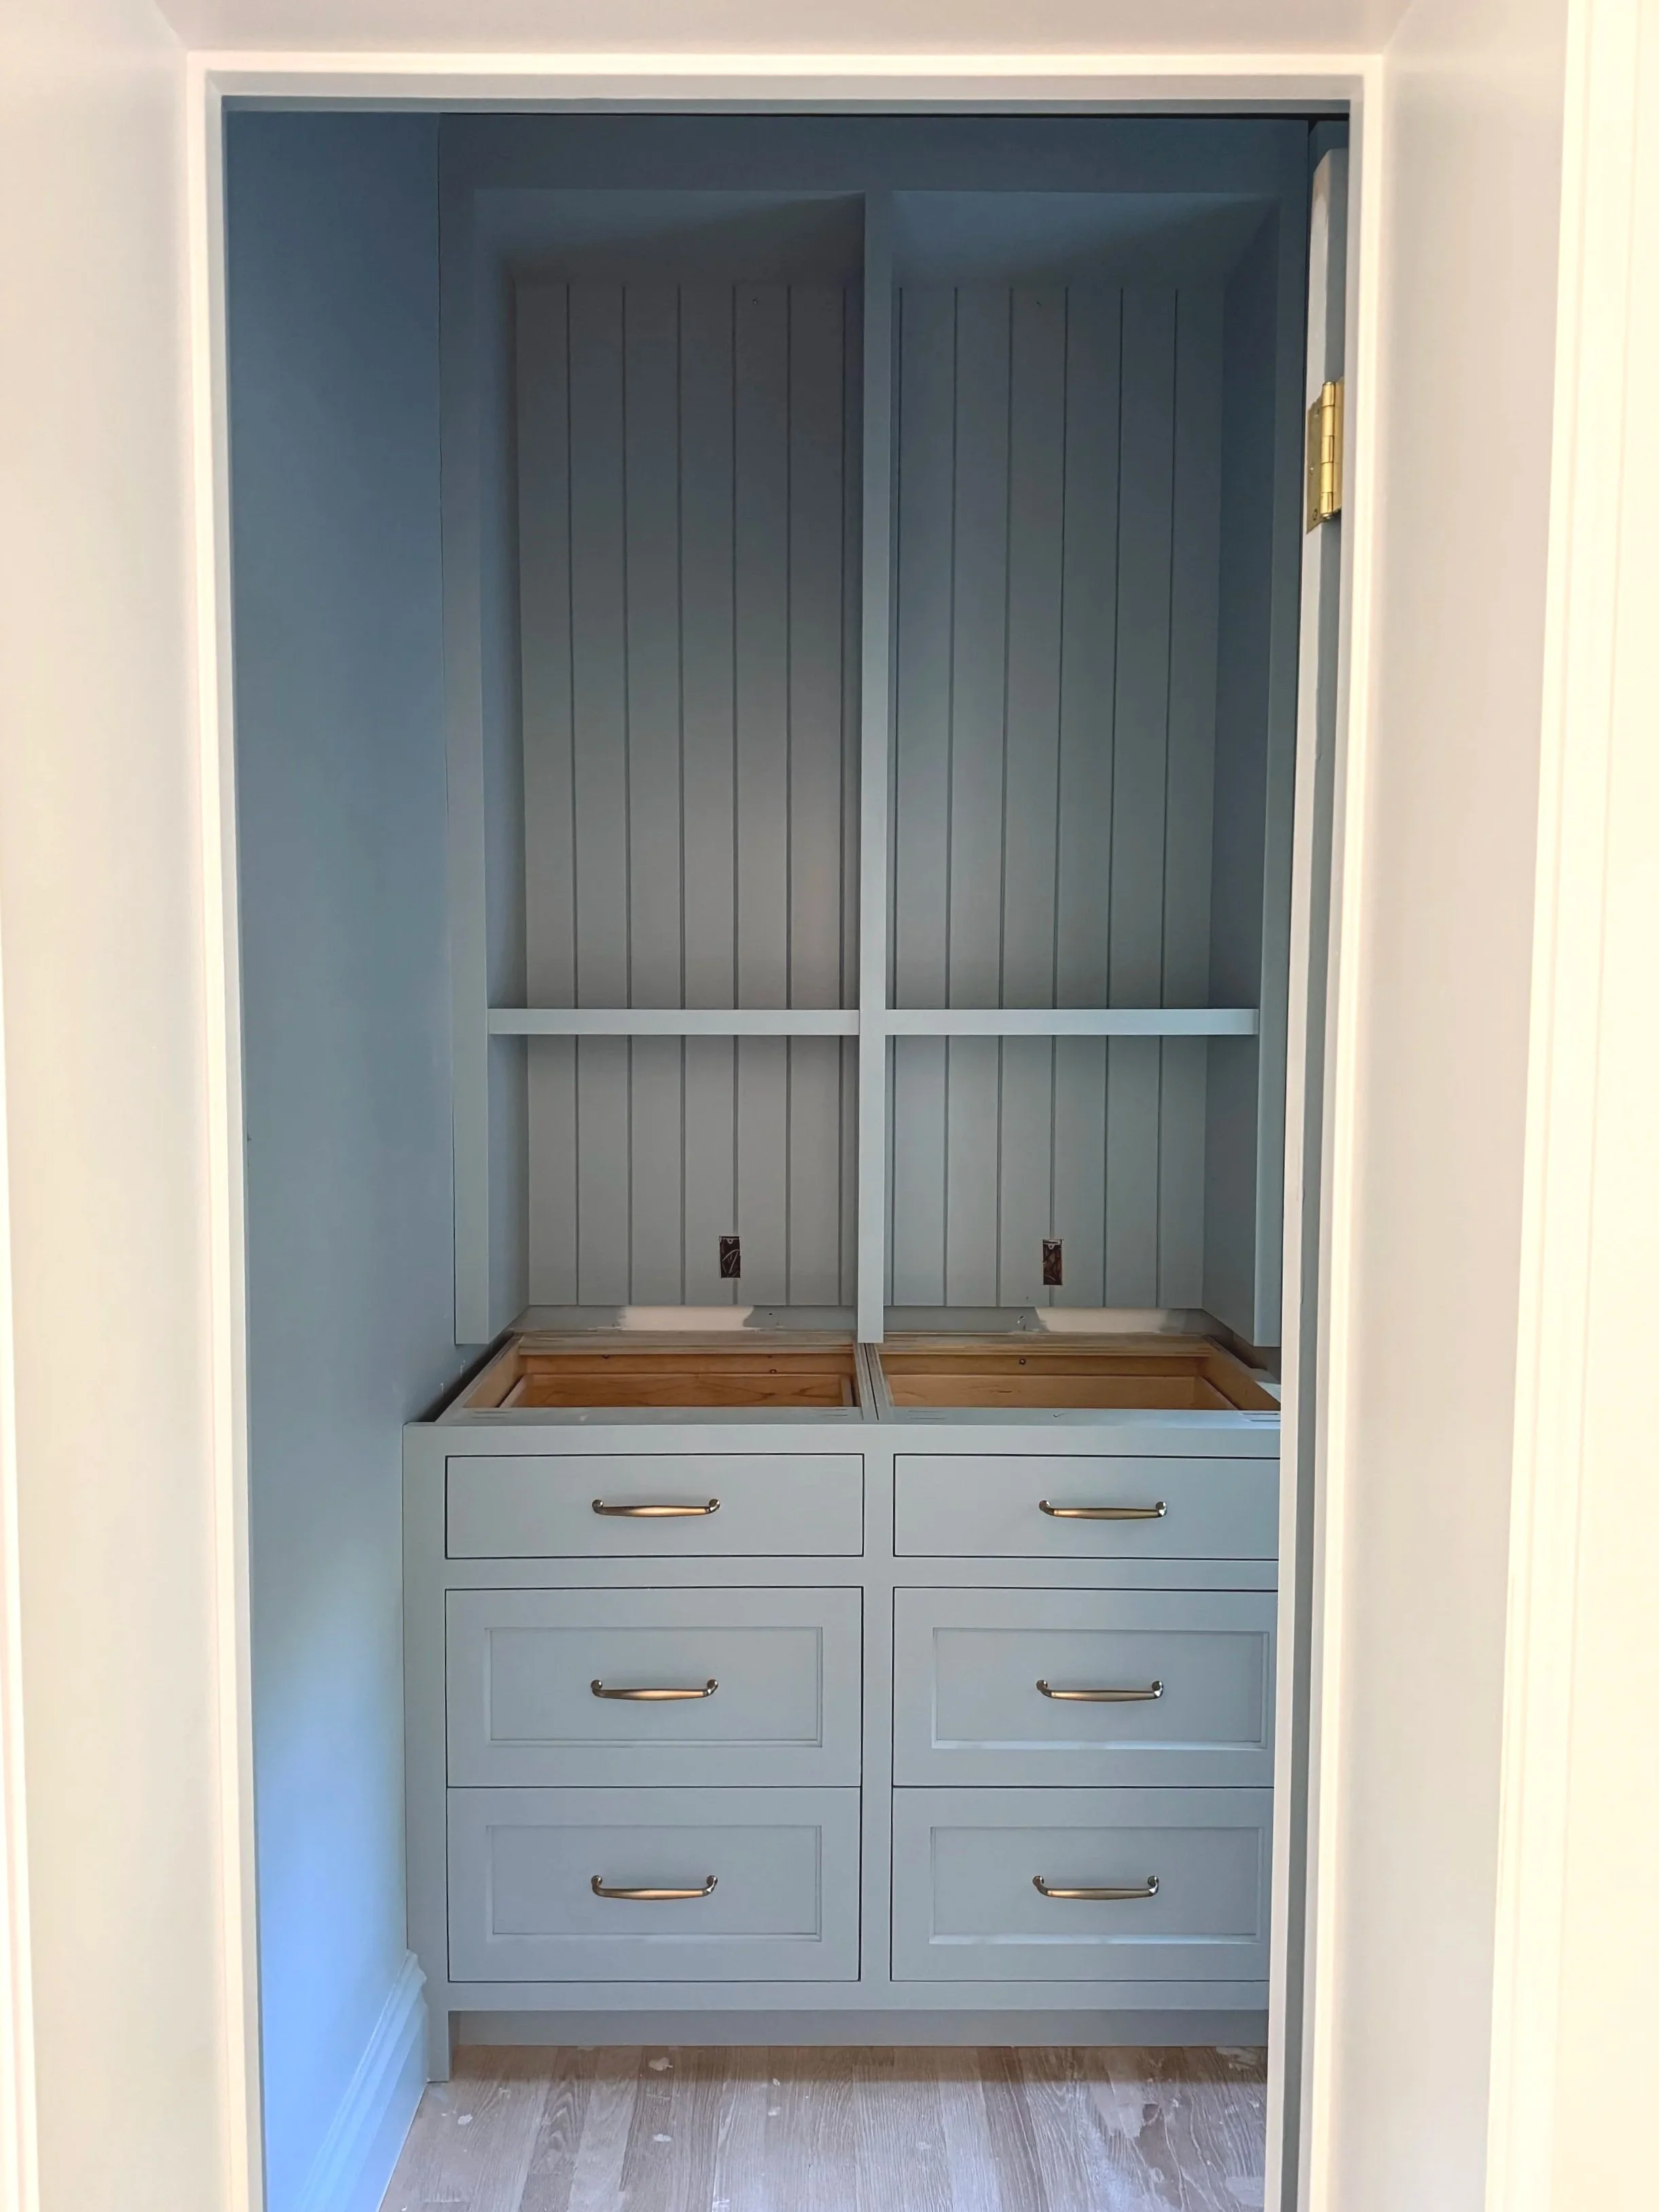
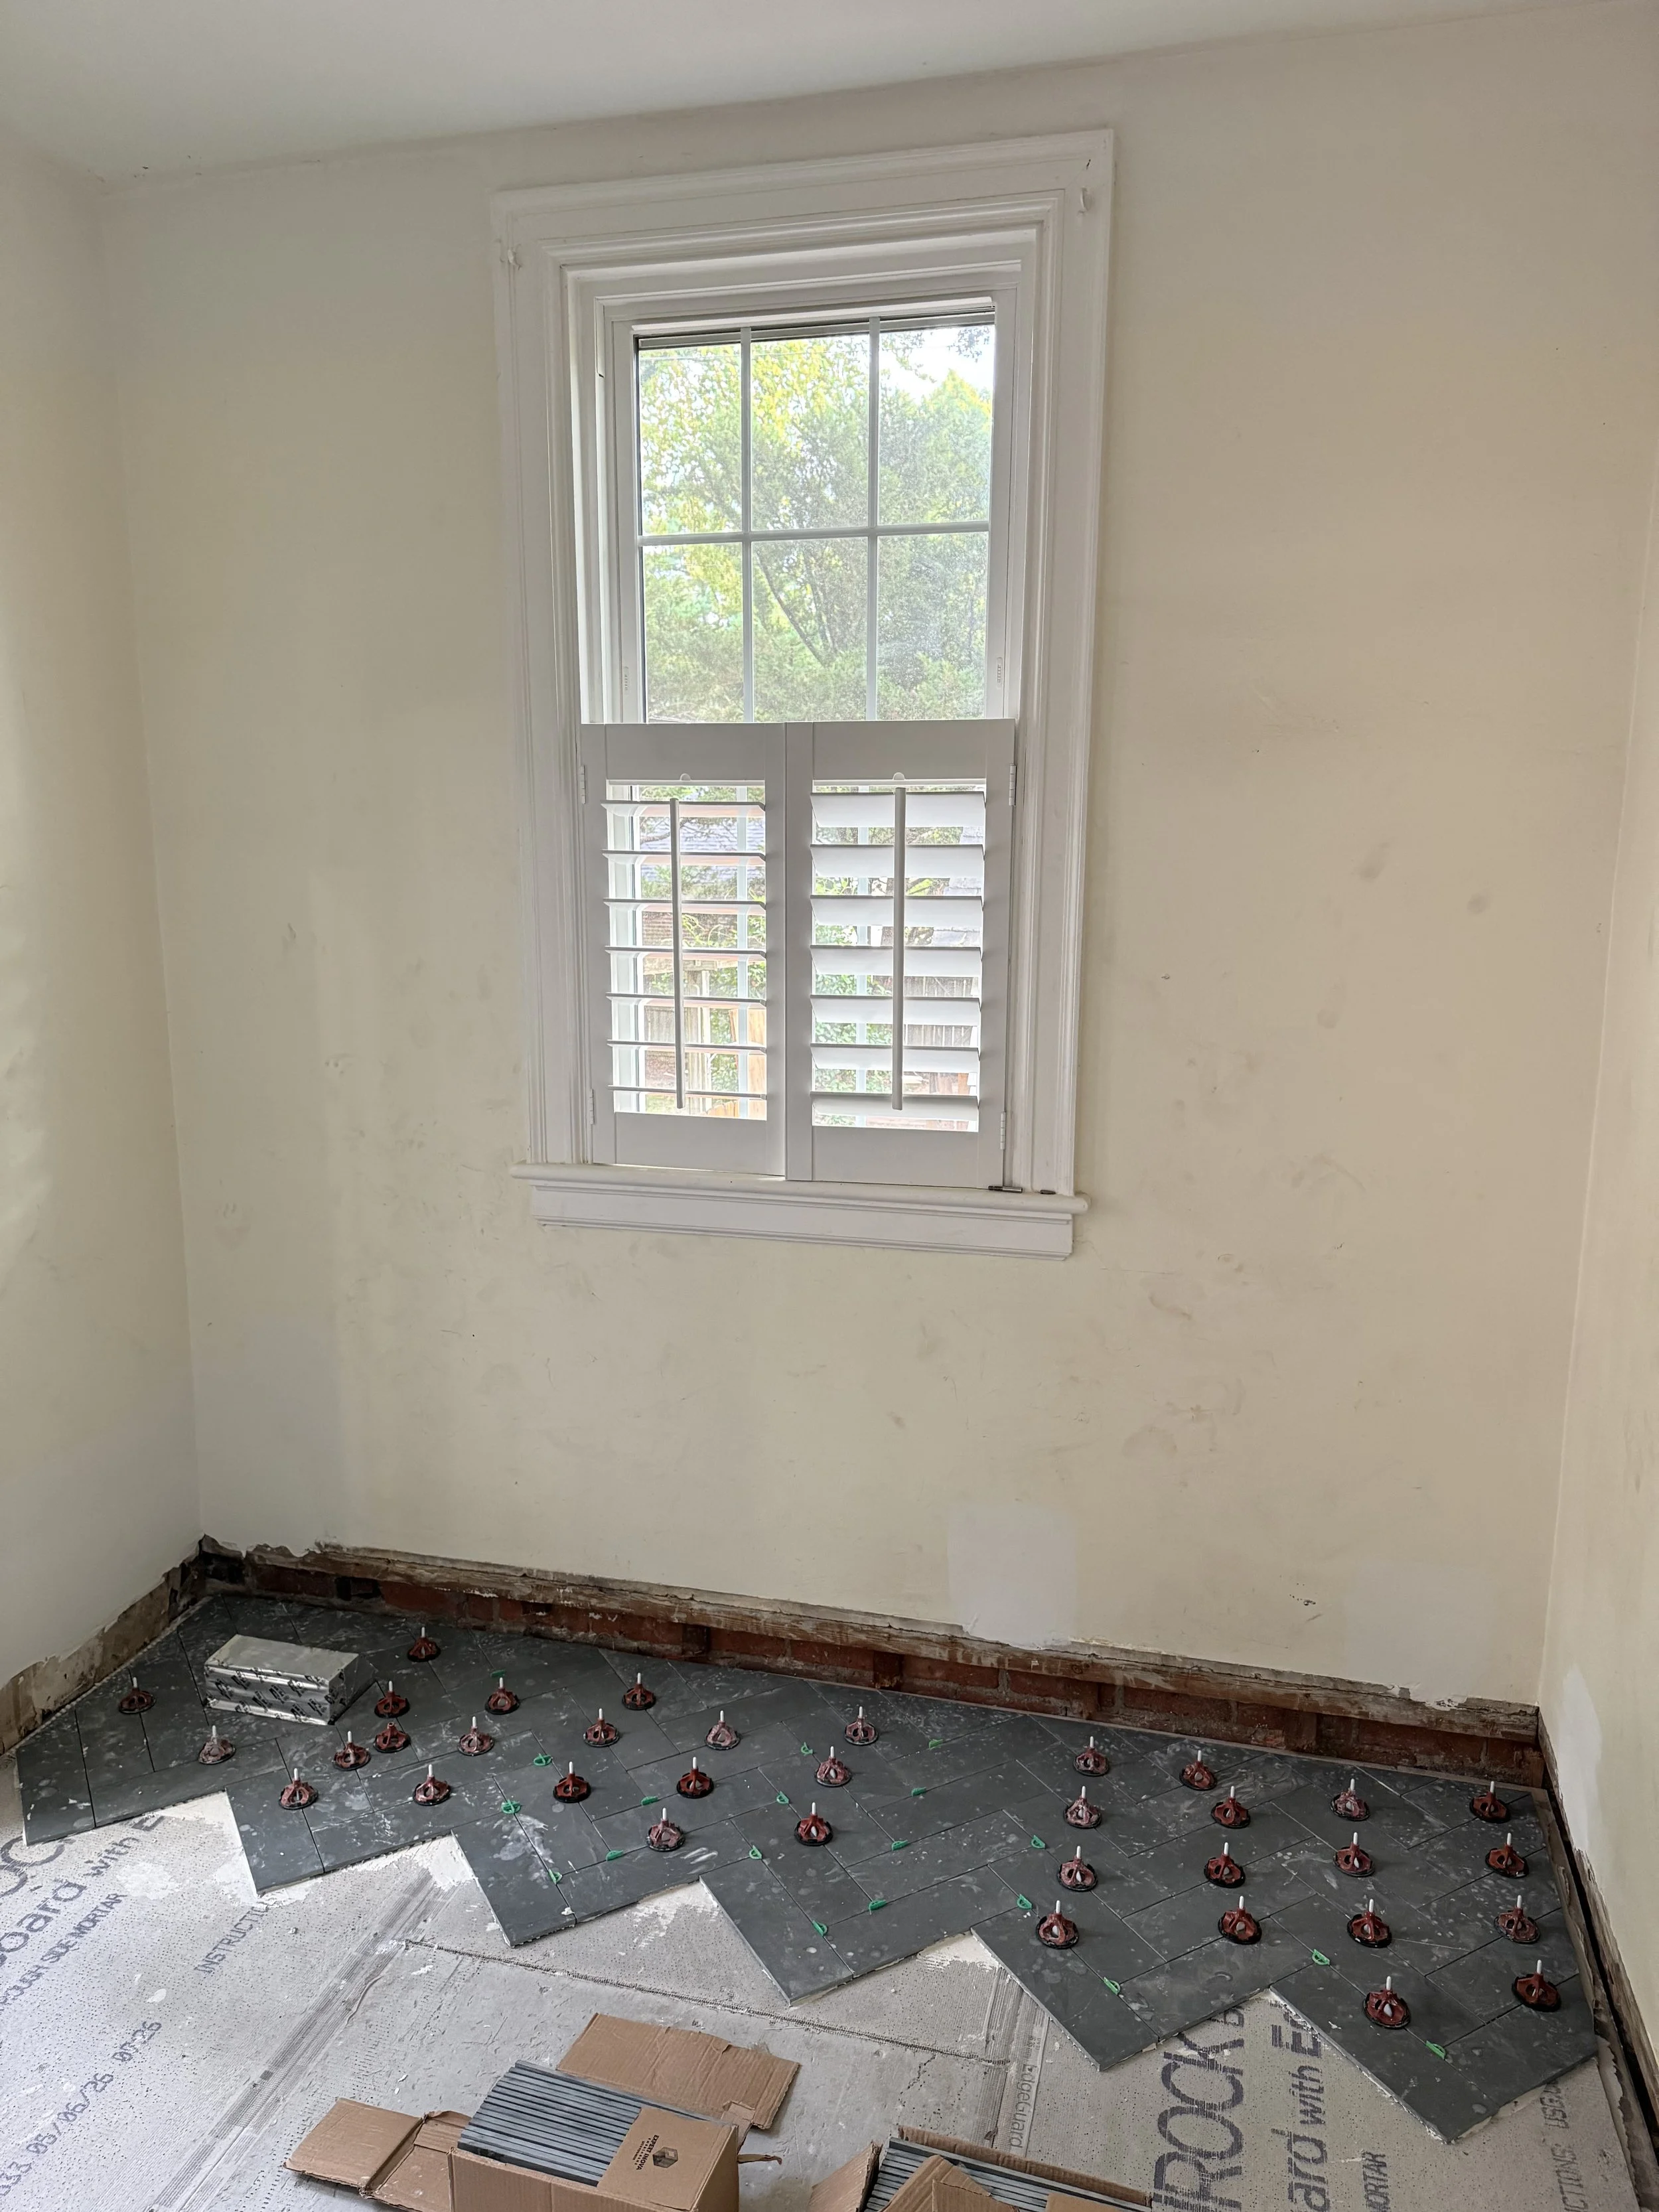
At this point we've made it through many of the big design decisions, and it's finally starting to feel like the plans we've stared at for months are becoming actual rooms again. There have been some surprises, changes, and plenty of decisions along the way—which I suppose is inevitable when you're renovating a 100-year-old house.
There are so many things I researched extensively that deserve their own posts, both because I want to have a record of them and because I hope they'll be helpful if you're working on a renovation of your own.
What's Coming Next
Over the next few months, I'll be sharing much more of the process: our kitchen layout and cabinetry plans, our marble selection, plumbing and lighting selections, flooring and paint decisions, and eventually all of the finished spaces.
And I'm sure there will be a few lessons learned along the way too.
It feels slightly strange to start telling the story when we're already well into construction, but I'm actually looking forward to going back through it all. There have been so many decisions packed into this renovation, and I think seeing why we made them will ultimately be much more interesting—and hopefully more useful—than simply jumping straight to the reveal. More to come!