
Traditional Guest Room Refresh + A Headboard Tutorial

It never ceases to amaze me that a few small changes can have a major impact on a room, and I'm here today to show you proof!
Last week, I took a quick trip down to Virginia to see my family, and while I was there, my mom and I had planned to give their guest room a little makeover. She was ready to change things up to make the room more inviting and give it a fresh feel without starting from scratch. We wanted to keep many of the existing large pieces the same, so we focused on swapping out some of the bed linens, creating a custom upholstered headboard (more on that below - it's a super easy, inexpensive project!), and doing some general "sprucing."
My mom and I have pretty different styles - I tend to have more modern/eclectic taste while hers leans more traditional - so it was a great exercise to take on a project that was a little bit outside of my comfort zone!
Here's what the room looked like before:


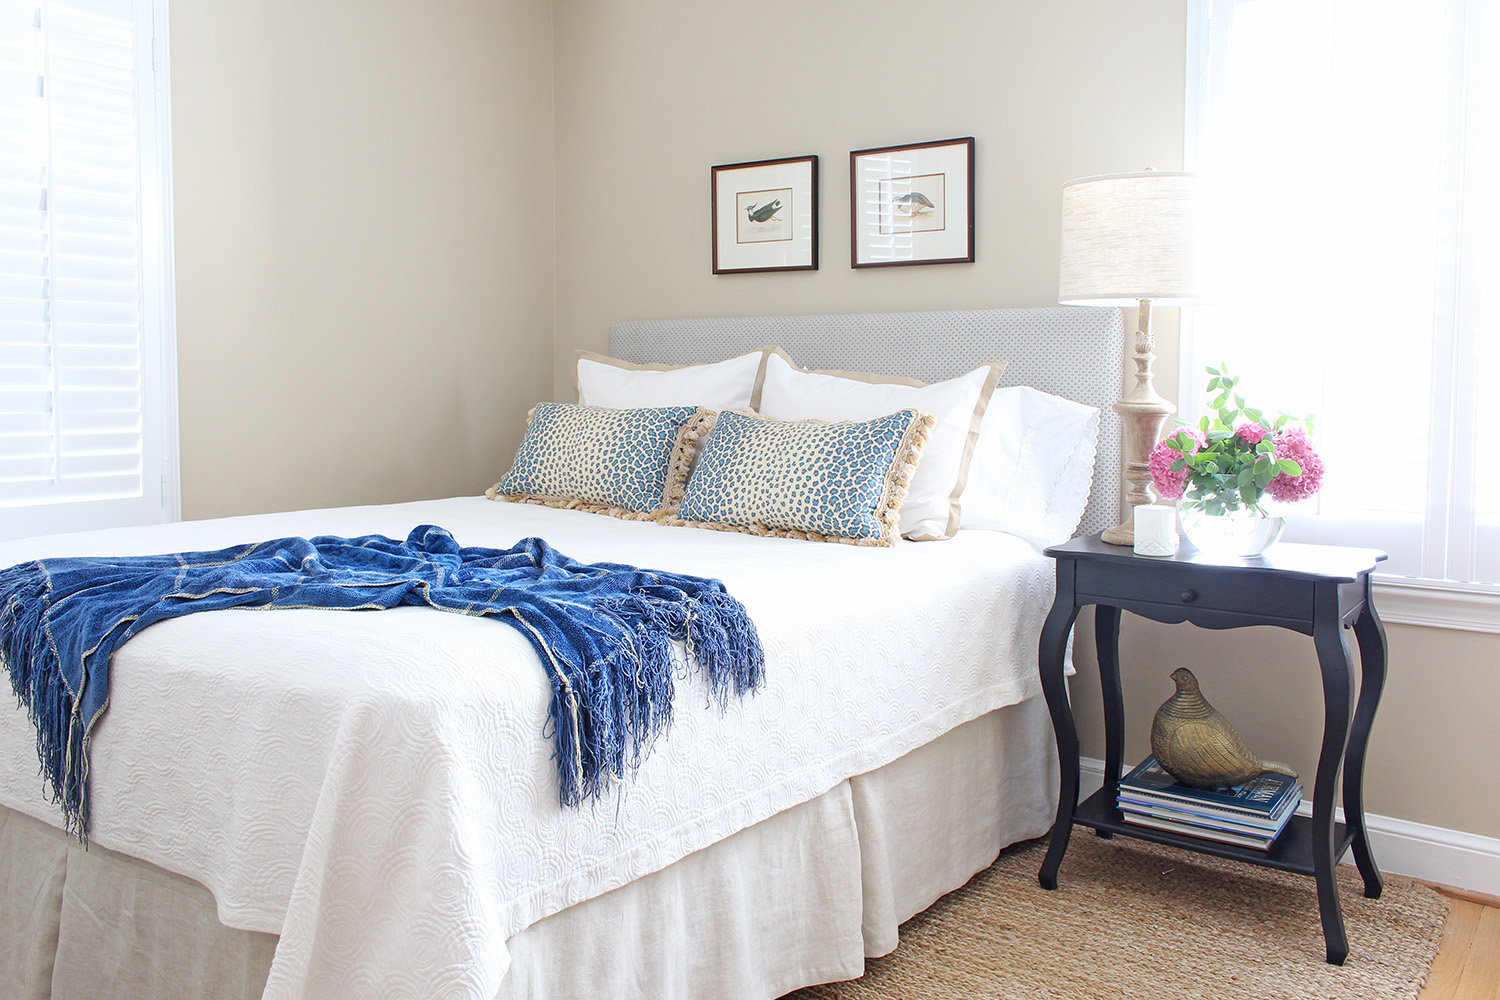
And here's what it looks like now!

My mom was ready to see the black and white toile/check theme go (adios shams, bedskirt, and valances) and wanted to add a headboard to give the bed a little more "presence" in the room. Her gut was certainly right, wasn't it? These photos show what a difference a few changes can make!
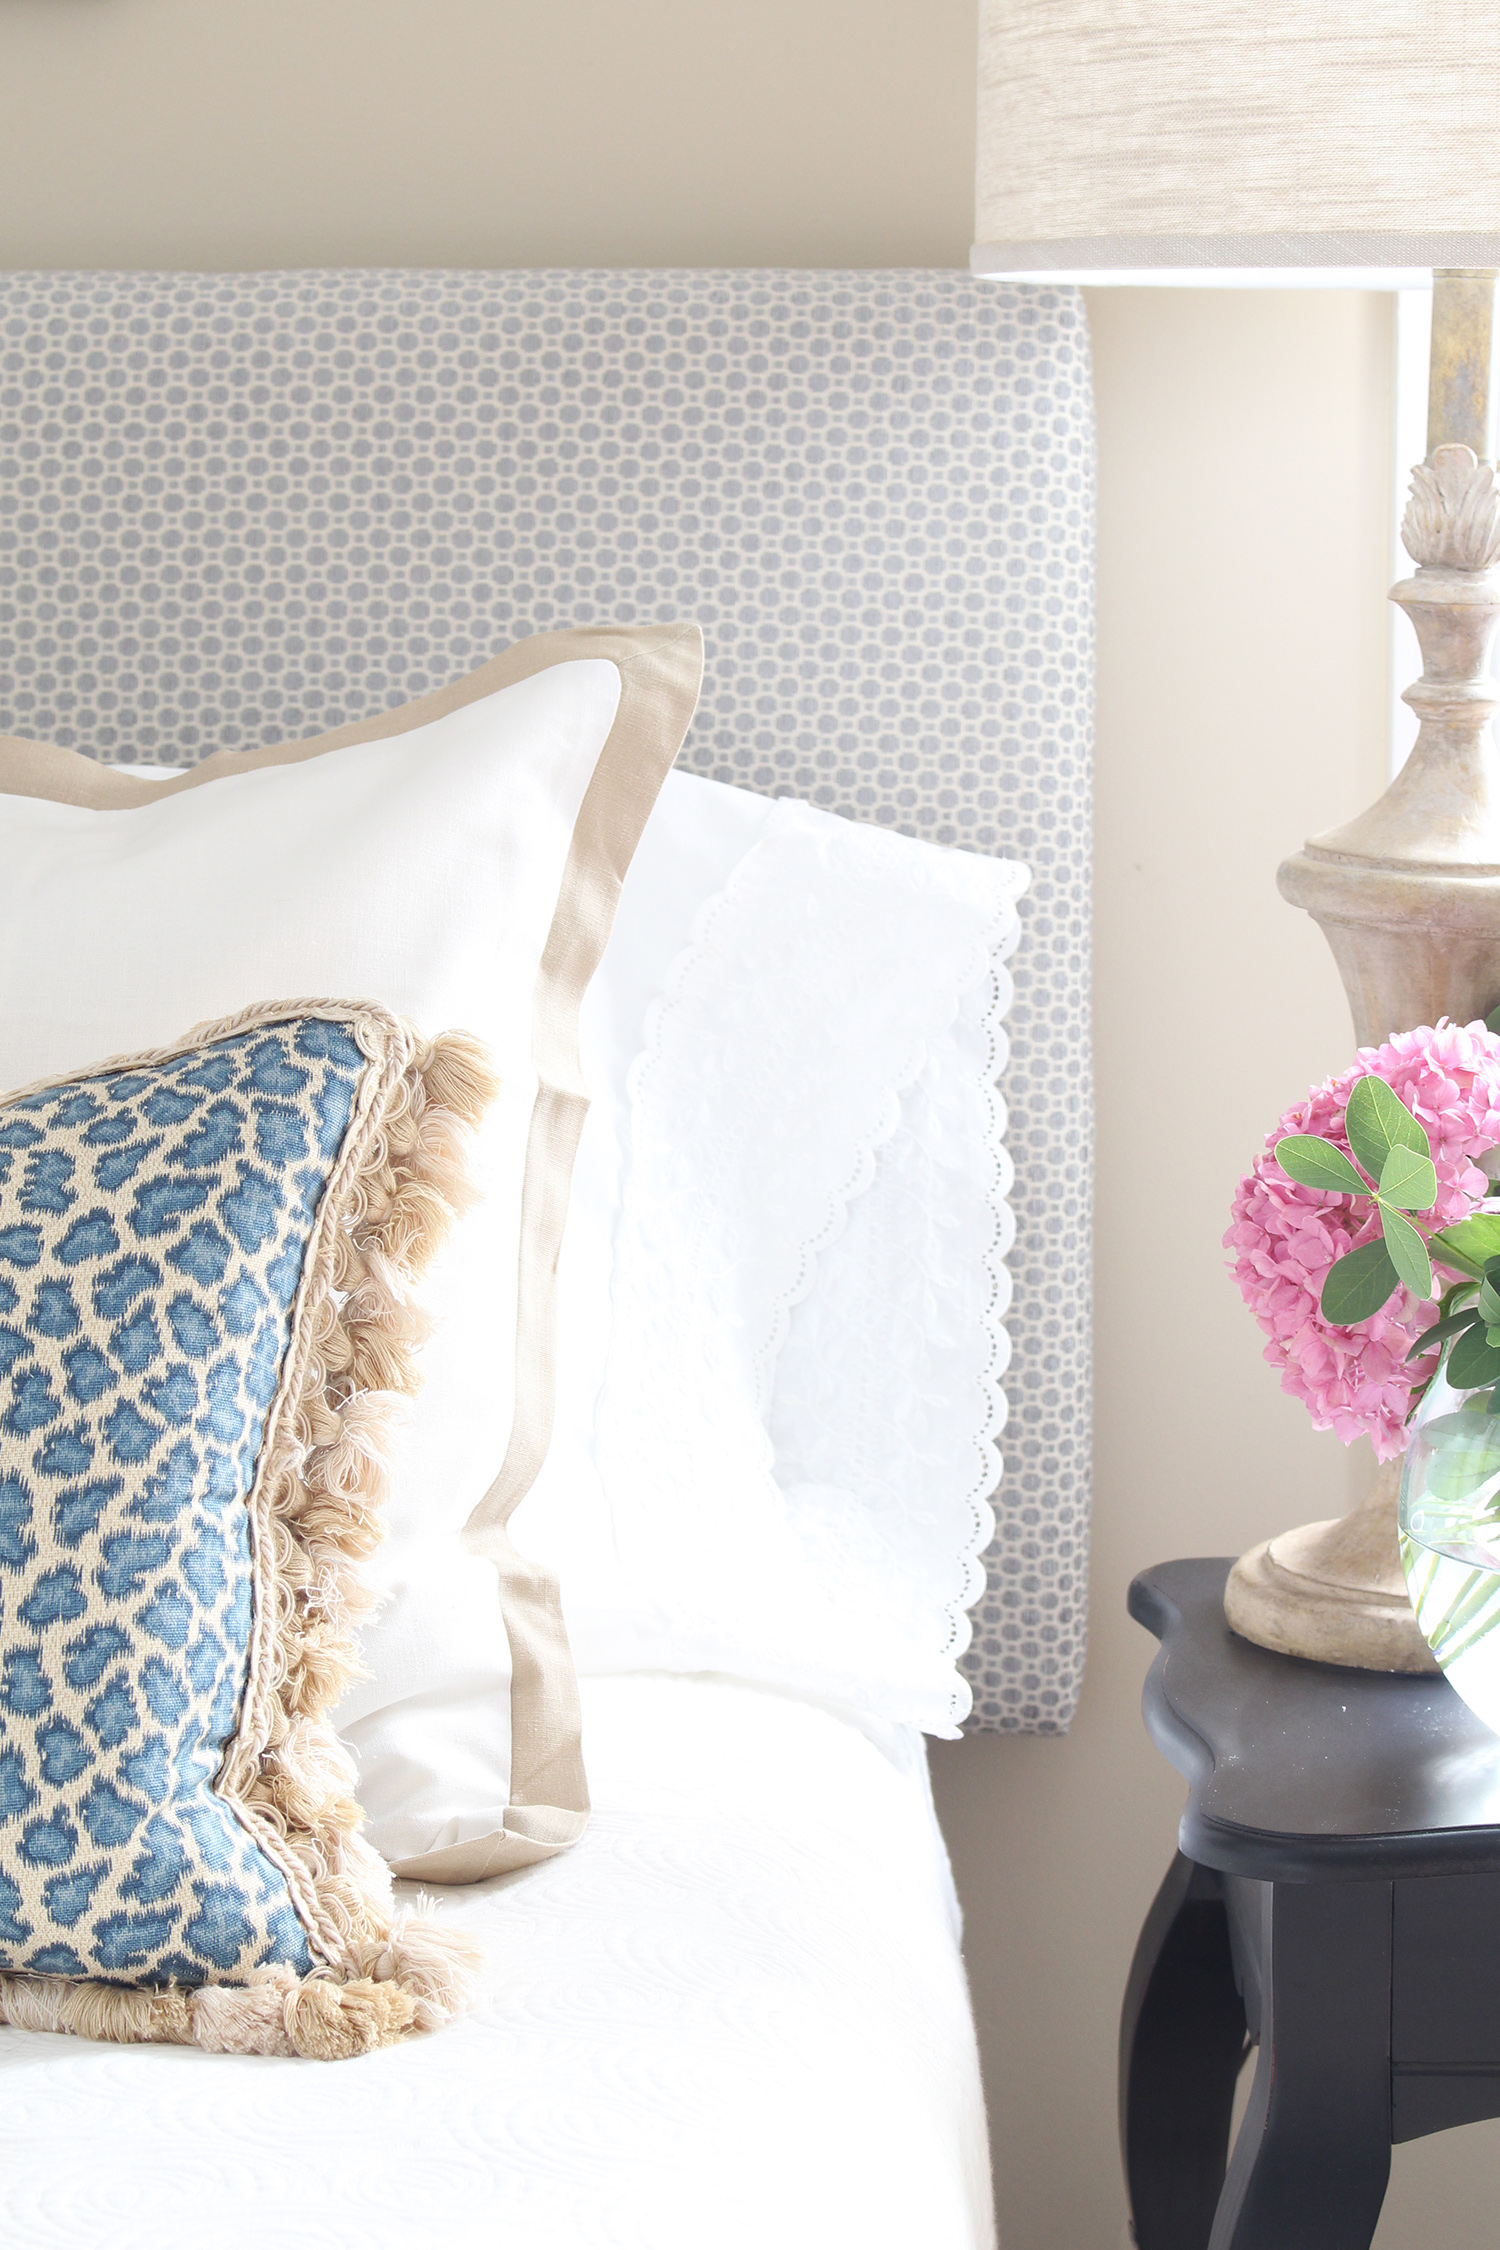
Besides the headboard, the only purchases we made for the room were a natural linen bedskirt, two standard natural linen border shams, and a lamp shade for the existing lamp. Otherwise, we shopped the house for everything else or used what was already in the room. Lots of folks asked about the blue leopard lumbar pillows after I shared these photos on Instagram, and I can't seem to find the exact pillow (they were from a local DC stored called the Kellogg Collection years ago), but this one is close. These also have a similar look: one, two, three.

For the headboard, I suggested we go custom so we could choose our own fabric, which would then serve as the jumping off point for the rest of the room. I sent her over to her local Calico store to shop since they have a really nice selection at different price points. She grabbed some samples, snapped some photos, and sent them over so we could finalize our pick and order it! We settled on Heaton in Platinum (from their Jaclyn Smith collection), which has a great weight and texture to it. In some lights, it reads more gray, and others, more blue - it's always a good idea to order samples for fabrics to make sure the color is exactly what you want! That extra effort can save you from frustration and heartache when you're ordering online since what appears on screen may not always be representative of the real thing!
Now let's talk about this custom headboard I keep mentioning.
Don't be scared off by that word! :) By doing the custom part ourselves, we actually saved a ton of money, and the project was really simple. I promise that anybody can make one just like it by using a little hack I like to use called: buy and reupholster a really cheap headboard. Seriously! No trip to the home improvement store and no major power tools necessary! Just use that mouse and order it online. It doesn't get any easter than that.
The key is finding a headboard with the right shape and dimensions, but you can totally ignore the fabric since it'll be recovered. My goal was to find a queen size one that was under $100 and this one* in a lovely faux beige leather fit the bill. :) It ended up being $72 (with free shipping!), so we were under budget - a good start. Our fabric was $32/yard plus shipping, and we needed about two yards, so the total cost of our headboard was about $150 - making it a super budget-friendly piece with a big impact.
In terms of tools, all you'll need is a heavy duty stapler, sharp scissors, and a little bit of patience. I've even got a tutorial for you at the bottom of this post!
Look at how beautifully this one turned out!

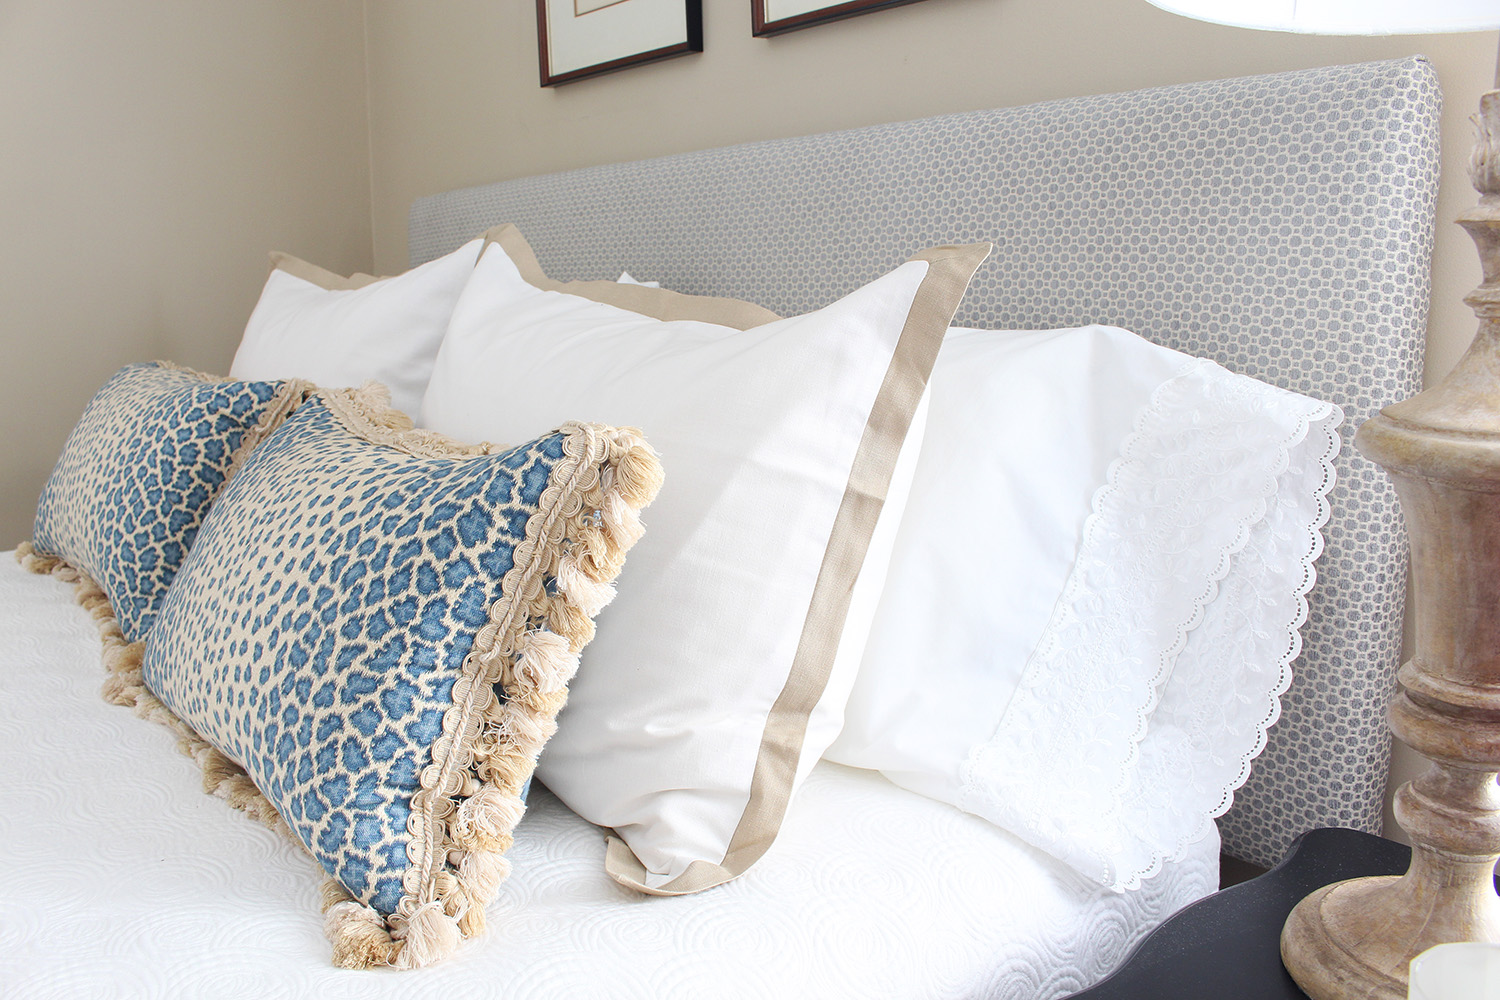
Here's how to reupholster it to take it from generic to custom - use the photos and written instructions below:

- Remove the headboard from its packaging, and leave it disassembled (i.e. don't attach the legs yet).
- Optional step: add a layer or two of batting to give it some extra padding. Our headboard felt a little firm, so we included this step. Lay the headboard on top of the batting and cut around it so that you leave about 6" of width around each side. Pull the batting so that it is smooth and taut, and then staple it to the backside to secure it. To make sure you maintain the smooth look all the way around, staple it to the middle of each side first, then work your way around. At the corners, fold them like you're wrapping a present to help them lay smoothly. Trim the excess so it doesn't bunch up in the corners.
- Lay your headboard on top of your fabric and cut around it so that you leave about 6" of width on each side. Adjust the fabric so that it's straight and your pattern is centered (if applicable), and begin to staple it to the backside to secure it. Again, start with a staple in the center of each side, pulling the fabric so that it is smooth and taut as you go, and then make your way around. When you get close to a corner, stop stapling about 6-8" away from it and finish all four corners last. Add as many staples as you need, but a good rule of thumb is to place one about every 4".
- At the corners, fold the fabric so that it looks smooth and finished from the front and staple it down in two or three places on the back. You may have to play around with it to see what looks best based on the thickness and texture. Trim the excess fabric away.
- Optional step: fold the excess fabric along the edges under to create a smooth, finished edge and staple it to the frame. You won't ever see the back of course, but it's a nice final touch!
- Attach the legs and mount the headboard onto your bed frame following the manufacturer's directions.
That's it! If you have all of your materials ready to go, this will only take you about an hour to complete, and you'll have a gorgeous new headboard. Let me know if you have any questions!
SOURCES to GET THE LOOK:
- Headboard
- Headboard fabric: Heaton in Platinum by Jaclyn Smith at Calico
- Linen border standard shams (these were the other ones we considered)
- Natural linen bedskirt
- Bedside table (similar)
- Table lamp (similar) +
- Jute rug ( similar)
- Blue leopard lumbar pillows (similar: one, two, three)
- Quilt (similar)
- Antique bird prints (similar)
